SPIRITT
Tutorial de ©CameronTags , original Aqui. Obrigada Cameron , por sua autorização.
© Tube da Pessoa - SilvinaVanesaOrsi
Material Necessário:
Plugins Utilizados:
ScreenWorksShapes Unplugged
Nik Software Color Efex Pro 3.0
I-Filter Decay
Mura'sd Meister Perspective Tiling
Eye Candy 5 Impact
Corel Paint Shop Pro
1 - Abra uma Nova Imagem transparente de 850 / 600 pixelsForeground cor #6f5f52 e Background cor #e6e2de
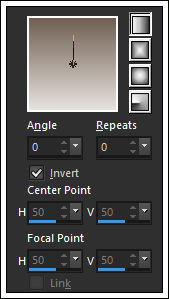
Forme um Gradiente estilo Linear:
Preencha a layer transparente com o Gradiente.
2 - Layers / New Raster LayerPreencha com a cor #ffffff
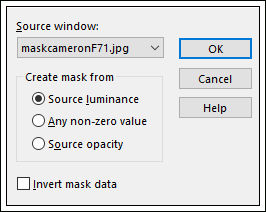
Ative a Mask <<maskcameronF71>> Minimize
Layers / New mask Layer / From Image / mask : maskcameronF71
Layers / Merge / Merge Group
3 - Na layer da Mask:
Effects / Plugin/ ScreenWorks / Pin Hole
Layers / Merge / Merge Visible
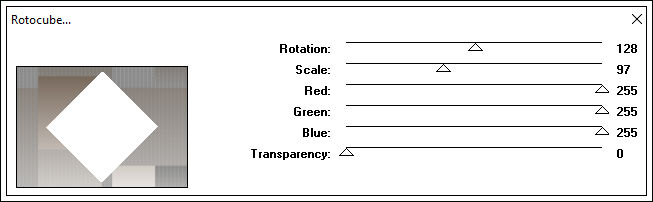
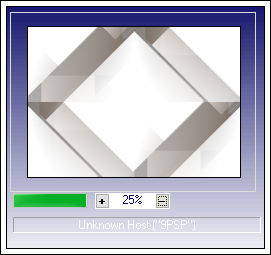
4 -Effects /Plugin / Unplugged Shapes / Rotocube :
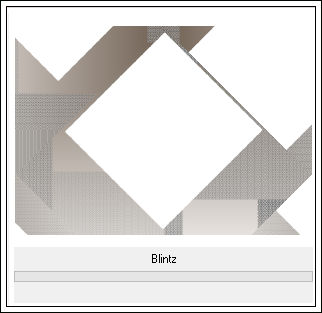
5 - Effects / Plugin / Simple / Blintz
Effects / Plugin / Simple / Quick Tile
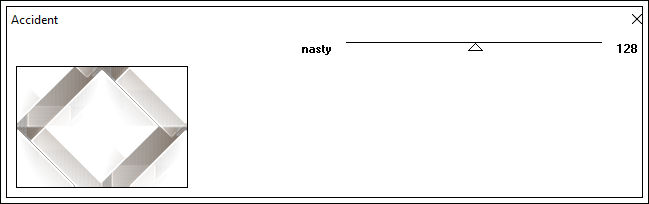
Effects / Plugin / I-Decay / Accident / Valor: 128
Adjust one step photo fix
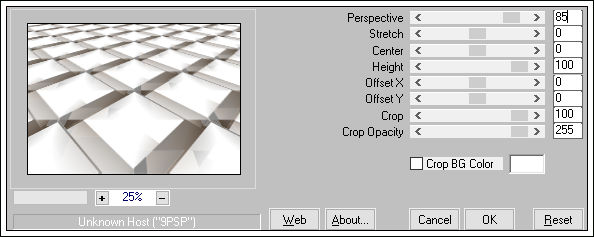
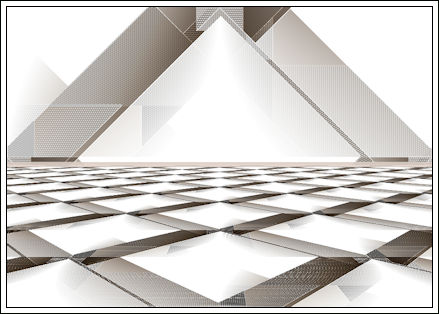
6 - Layers / DuplicateEffects / Plugin / Mura's Meister /Perspective tiling:
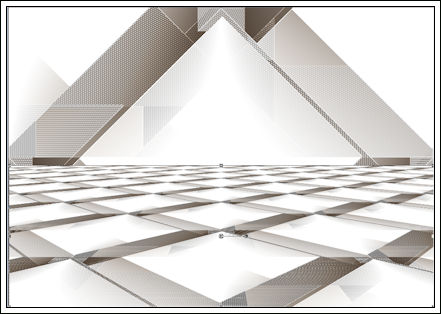
7 - Mova para baixo como segue:
Adjust one step photo fix.
Ative o tube <<zocalo.pspimage>>
Copie e cole como nova layer.
Posicione.
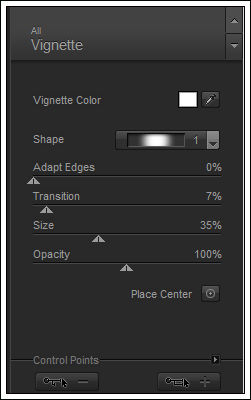
8 - Effects / Plugin / Nik Software / Color Efex Pro 3.0 / Vignette:
9 - Effects / Plugin / Nik Software / Color Efex Pro 3.0 / Graduated Filters
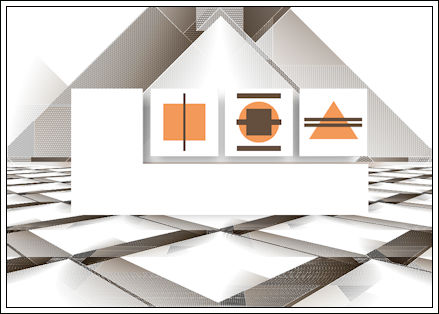
10 - Ative o tube <<murospiritt_camerontags.pspimage>>
Copie e cole como uma nova layer.
Posicione como segue:
11 - Ative o tube <<075_silvina_vanesa_orsi_enero_08_2009>>
Copie e Cole como Nova Layer
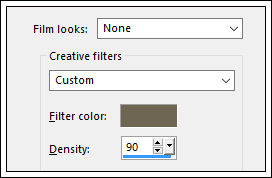
Effects / Image Effects / Film and Filters:
Image / Mirror / Mirror Horizontal (Image-Mirror)
Posicione à esquerda
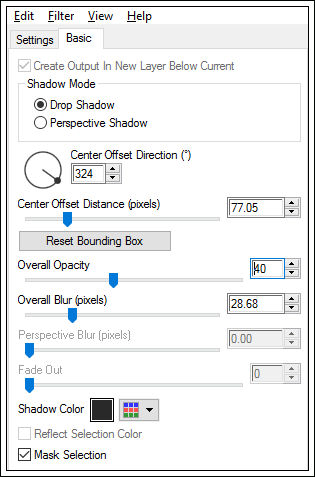
Effects / Plugin / Alien Skin Eye Candy 5 /Impact / Perspective Shadow / Drop Shadow Blurry
Basic: Overall opacity 40 / overall blur 28,68 /Shadow color: # 292929.
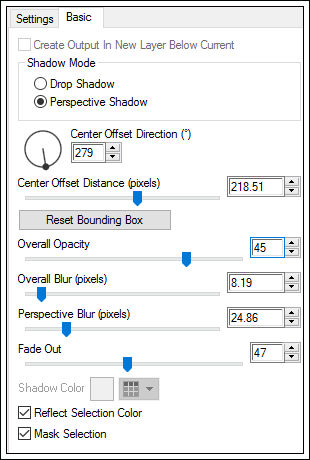
Effects / Plugin / Alien Skin Eye Candy 5 / Impact / Perspective Shadow / Reflect Behind
Basic:
12 - Ative o tube <<elementspiritt_camerontags.pspimage>>Copie e Cole como nova layer
Coloque do lado direito da tag.
13 - Layers / Merge / Merge All
Image / Add Borders / Symmetric / 1 Pixel cor #ffffff.
Image / Add Borders / Symmetric / 50 pixels cor #c1ad9b
Escreva seu textoSalve como jpg.
© Tutorial Traduzido por Estela Fonseca em 13/07/2009.
Obrigada, Cameron por me permitir traduzir este trabalho.