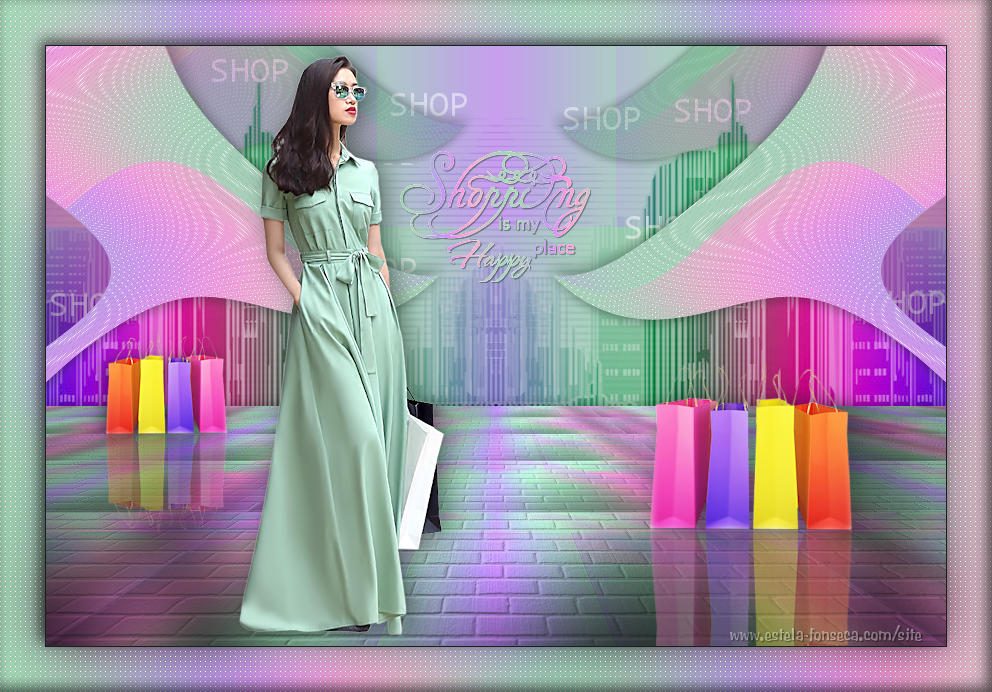
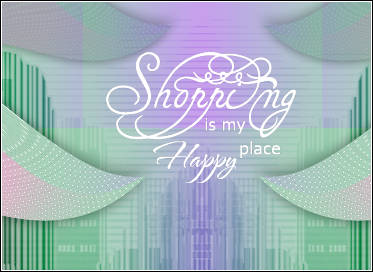
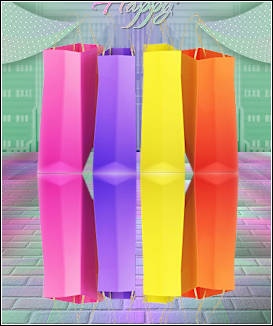
SHOPPING
Tutorial de KaDs , original, Aqui.
Tutorial traduzido no PSP X8 mas pode ser feito em versões anteriores do PSP.
Materiais Necessários:
Tubes de Kad's
Plugins Utilizados:
<I.C.NET Software> / Filters Unlimited 2.0
Mehdi / Wavy Lab 1-1
VM Distortion / Vision Impossible **
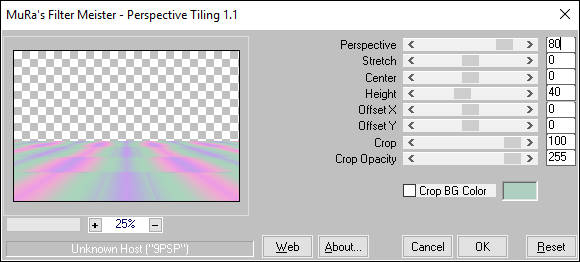
MuRa's Meister / Perspective Tiling
Tramages / Pool Shadow
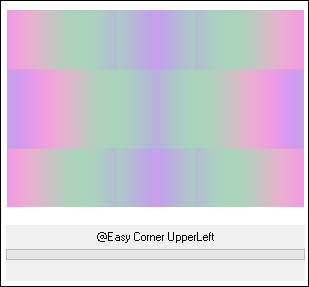
&<Bkg Designers sf10 IV> /@ Easy Corner upper Left **
**Importados para o Unlimited
Preparação:
Abra os tubes e a Mask no PSP, minimize e feche os originais.
NOTA: Se você trabalha com cores diferentes colorize com suas cores.
Copie a Textura para a Pasta de Texturas do PSP
Cores:
Primeiro Plano cor #15231c
Segundo Plano cor #aecebf
01- Abra a layer <<414_KaD_Alfakanaal>>Duplique e feche a original
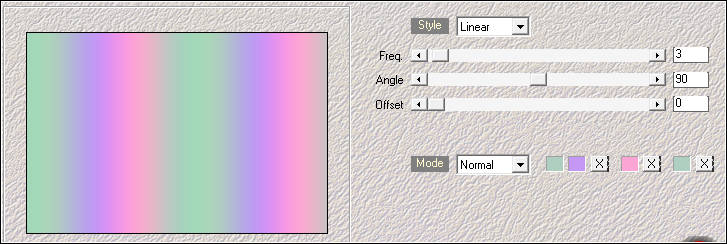
02- Effects / Plugins / Mehdi / Wavy Lab 1.1
Cores dos quadradinhos: #aecebf / #c597f4/#fba5d4 e cor #aecebf
03- Adjust / Blur / Gassian Blur / Radius 50
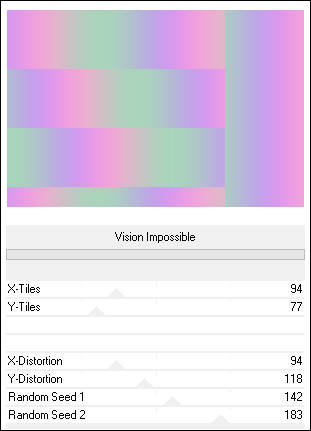
04- Effects / Plugins / <I.C.NET Software> / Filters Unlimited 2.0 / VM Distortion / Vision Impossible
05- Effects / Plugins /<I.C.NET Software> Filters Unlimited 2.0
&<BKg Designer sf10 IV> Easy Corner Upper Left
06- Layers / Duplicate
Effects / Edge Effects/ Enhance More
Effects / Plugins / MuRa's Meister / Perspective Tiling
Effects / 3D Effects / Drop Shadow: 0 / 0 / 40 / 20,00 / #000000
07- Ative a Layer do Fundo
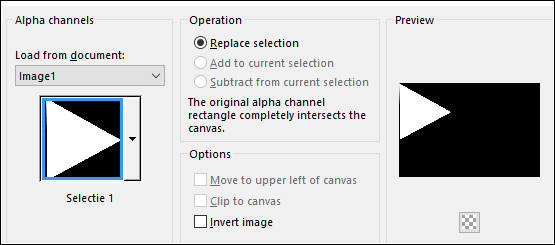
Selections / Load/Save Selection / Load Selection From Alpha Channel / Selections #1
Selections / Promote Selection to Layer
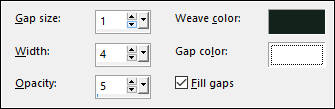
08- Effects / Texture Effects / Weave / Weave Color #000000 / Gap Color #fffff
Selections / Select None
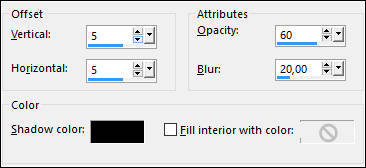
Effects / 3D Effects/ Drop Shadow : 0 / 0 / 60 /30,00 / Cor #16231c
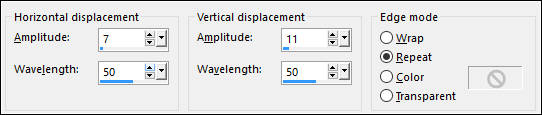
09- Effects / Distortion Effects / Wave
Layers / Duplicate
Image/ Mirror / Mirror Horizontal
Layers / Merge / Merge Down10- Layers / New Raster layer
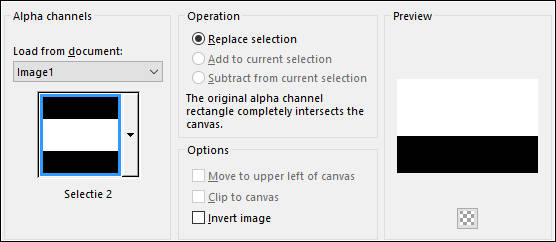
Selections / Load/Save Selection / Load Selection From Alpha Channel / Selections #2
Preencha com a cor do Primeiro Plano
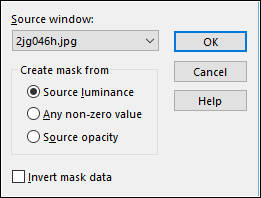
11- Layers / New Mask Layer / From Image / 2jg046h
Layers / Merge / Merge Group
Selections / Select None
12- Layers / Duplicate
Image / Mirror / Mirror Horizontal
Layers / Merge / Merge Down
Blend Mode / BurnOpacidade / 85%
13- Ative a Layer <<Promoted Selection>>
Layers / Duplicate
Ative a Ferramenta <<Pick Tool (K)>> Position X= 106/ Position Y= -105
Clique na letra M do teclado para sair da Ferramenta
Blend Mode / Multiply
Opacidade / 60%
Layers / Arrange / Move down (3 vezes)
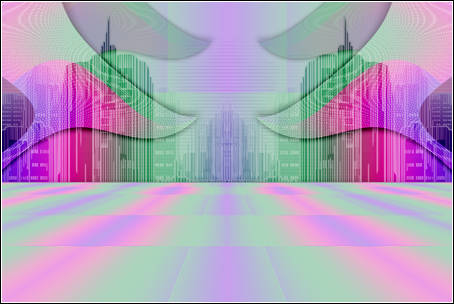
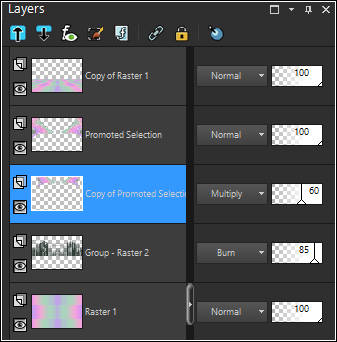
Resultado:
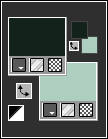
Veja se suas Layers estão assim:
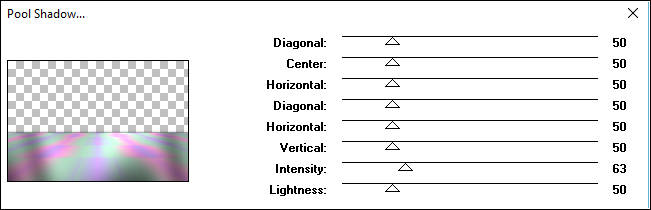
14- Ative a Layer do topo
Effects / Plugin / Tramage / Pool Shadow:
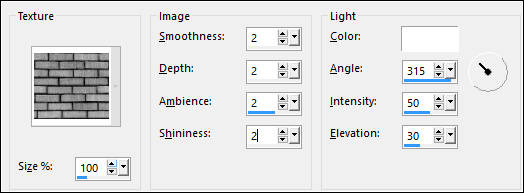
15- Layers / Duplicate
Effects / Texture Effects / Texture / Bricks
16- Effects / Plugins / MuRa's Meister / Perspective Tiling ( como antes)
Blend Mode /Multiply
Opacidade / 60%
17- Maximize o tube <<Shopping>>
Copie e Cole como Nova Layer
Image / Resize / 60% ... Resize all Layers desmarcado
Mova como segue:
18- Selections / Select All
Selections / Float
Selections /Defloat
Effects / Plugins / Mehdi / Wavy Lab 1.1 / (mesmas configurações de antes)Selections / Select None
Effects / 3D Effects / Drop Shadow: 1 / 1/ 45 / 1,00 / Cor #000000
19- Maximize o tube <<KaD_MiscDeco3>>Copie e Cole como Nova Layer
Nota: Selecione a << o Banner>> e Delete no teclado
Selections / Select None
Image / Resize / 70% ... Resize all layers desmarcado
20- Layers / Duplicate
Image / Mirror / Mirror Vertical
Mova para baixo como segue:
Layers / Arrange / Move Down
Opacidade 34%
Ative a Layer do topoEffects / 3D Effects / Drop Shadow: 0/7 /50 / 34,00/ #000000
Layers / Merge / Merge DownAtive a Ferramenta <<Pick Tool (K)>> Position X= 586/ Position Y= 304
Para sair do Pick Tool , clique em qualquer tecla do Teclado
21- Layers / Duplicate
Image / Resize / 60% ... Resize all Layers Desmarcado
Image / Mirror / Mirror HorizontalAtive a Ferramenta <<Pick Tool (K)>> Position X= 40/ Position Y= 280
Para sair do Pick Tool , clique em qualquer tecla do Teclado
Adjust / Sharpness / Unsharp Mask / Radius 2 / Strength 30 / Clipping 2 / Luminance Only Desmarcado
22- Maximize o tube <<KaD_Woman_117>>
Copie e Cole como nova layer
Selecione o banner com a ferramenta selection Tool em Rectangle
Delete no teclado e desfaça a seleção.
Image / Mirror / Mirror Horizontal
Image / Resize / 73% ... Resize all Layers DesmarcadoAtive a Ferramenta <<Pick Tool (K)>> Position X= 192/ Position Y= 9
Para sair do Pick Tool , clique em qualquer tecla do Teclado
23- Effects / 3D Effects / Drop Shadow : 0 / 7 / 50 / 34,00 / Cor #000000
Adjust / Sharpness / Unsharp Mask / Radius 2 / Strength 30 / Clipping 2 / Luminance Only Desmarcado24- Ative a layer do Fundo
Maximoze o tube <<414_Element1>>
Copie e Cole como nova layer
Ative a Ferramenta <<Pick Tool (K)>> Position X= 5/ Position Y= 13
Clique em qualquer letra do teclado para sair da FerramentaOpacidade /50%
25- Image / Add Borders / Symmetric Marcado / 1 pixel cor #15231c
Selections / Select All
Image / Add Borders / Symmetric Marcado / 45 pixels cor #ffffff
Selections / Invert
Effects / Plugins / Mehdi / Wavy Lab 1.1 (mesmas configurações de antes)26- Adjust / Blur / Gassian Blur / Radius 30
Effects / Texture Effects / Weave / Weave Color #000000 - Gap Color #fffff
Mantenha a Seleção!!!
27- Layers / New Raster Layer
Effects / 3D Effects / Cutout
Effects / 3D Effects / Cutout
Selections / Select None
28- Image / Add Borders / Symmetric Marcado / 1 pixel cor #15231cAssine seu trabalho
Layers / Merge / Merge All
Redimensione se desejar.
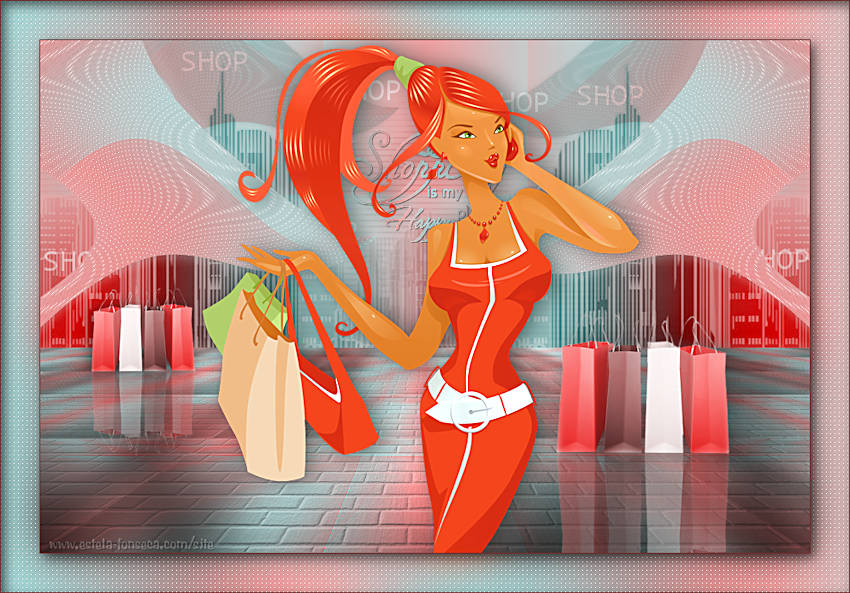
Salve como jpg.
Versão com de GrapgSabine:
©Tutorial traduzido por Estela Fonseca em 28/05/2017.
Não alterar nem repassar sem autorização.