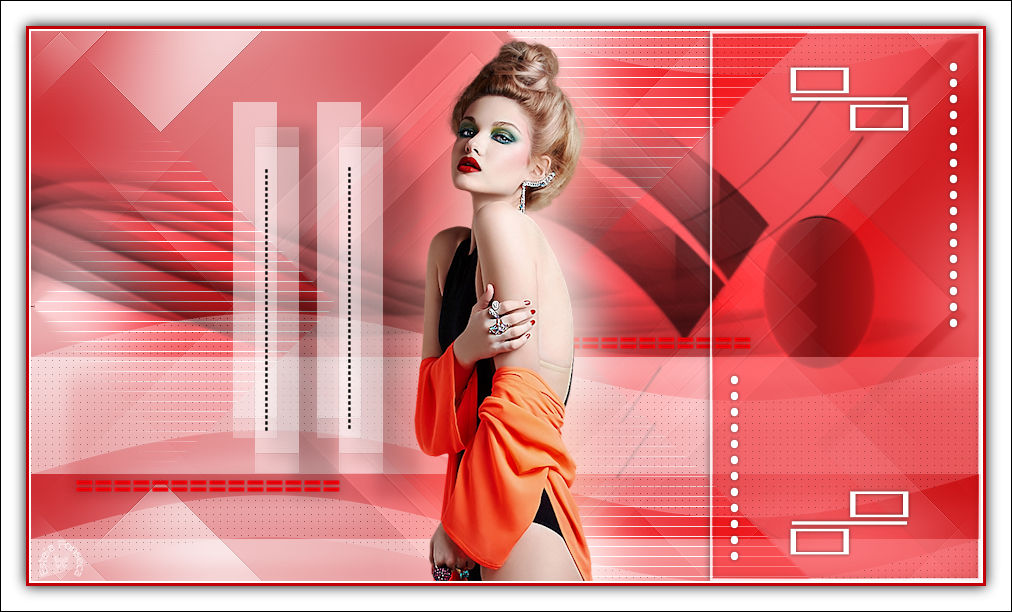
MARYSE
Tutorial de ©Creative Graphic Original Aqui
Traduzido no PSP X8
Materiais Necessários:
Tube de MaryseMask de Narah. Narah distribue seus trabalhos AQUI.
Plugins Utilizados:
Simple / Blintz & Centre TileAP 01[Innovations] / Lines - SilverLining
Toadies / What Are You?
It@lian Editors Effect / Effetto Fantasma
Preparação:
Abra a Mask no PSP e minimizeAbra o Brush no PSP e exporte como Custom Brush
Copie a "Styled Line" e cole na pasta de Styled Lines do PSP
Cores
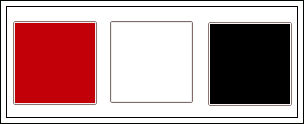
Primeiro Plano cor#c10007
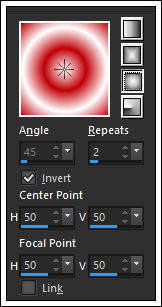
Segundo Plano cor #ffffffForme um Gradiente estilo Sunburst
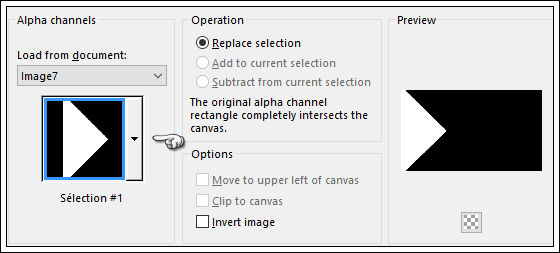
01- Abra "alpha-maryse" esta layer contém seleções em canal alfa.
Window / Duplicate (ou shift+D) / Feche o original
Preencha com o Gradiente
Adjust/ Blur / Gaussian Blur / 45
Effects / Plugins / Simple / BlintzEdit / Repeat Blintz
Effects / Edge Effects/ Enhance
Effects / Image Effects / Seamless Tiling / Preset Side by Side
02- Layers / Duplicate
Opacidade / 50
Image / Mirror / Mirror Vertical ( Image / Flip em versões anteriores)
Layers / Merge / Merge Down03- Selections / Load/Save Selection / Load Selection From Alpha Channel / Sélection 1
Selections / Promote Selection to Layer
Selections / Select None
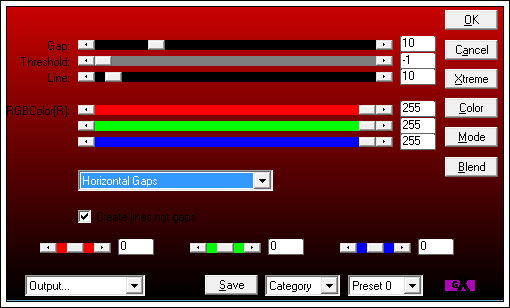
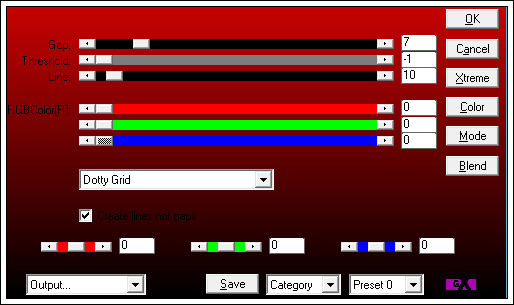
Effects / Plugins / Plugin AP 01[Innovations] / Lines - SilverLining
Effects / Image Effects /Seamless Tiling / Default
Layers / Duplicate
Blend Mode / "Overlay"
04- Clique na layer inferior
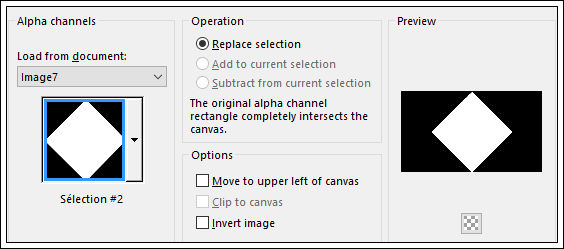
Selections / Load/Save Selection / Load Selection From Alpha Channel / Selection 2
Selections / Promote Selection to Layer
Selections /Select None
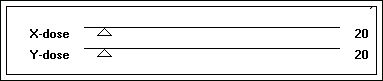
Effects / Plugins / Toadies / What Are You? / X-dose 39 / Y-dose 20
Adjust / Sharpness / Sharpen More
Blend Mode / "Luminance (Legacy)"
05- Ative a layer inferior
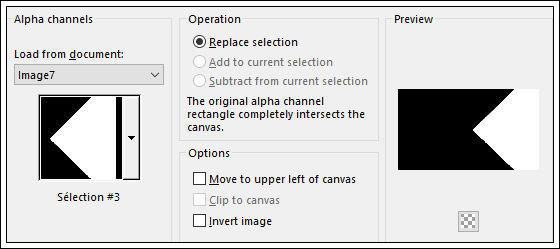
Selections / Load/Save Selection / Load Selection From Alpha Channel / Selection 3
Selections / Promote Selection to Layer
Selections / Select None
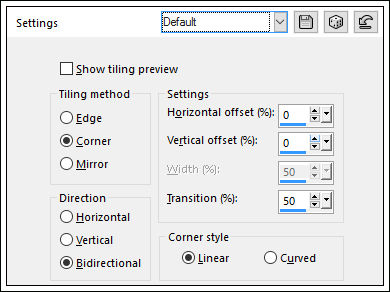
Effects / Plugins / Simple / Centre Tile
Effects / 3D Effects / Drop Shadow : 10 / 10 / 50 / 5,00 /Cor #000000Blend Mode / "Soft Light"
06- Mude a cor do Segundo Plano para #000000
Clique na Layer do topoLayers / New Raster Layer
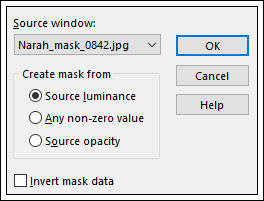
Preencha com a cor do Segundo PlanoLayers / New Mask Layer / From Image / Narah_mask_0842.jpg
Layers / Merge / Merge Group
07- Mude a cor do Segundo Plano para #ffffff
Layers / New Raster Layer
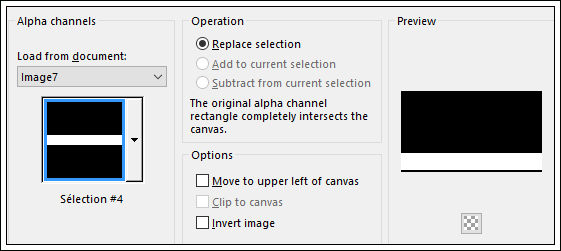
Selections / Load/Save Selection / Load Selection From Alpha Channel / Selection 4
Preencha a seleção com a cor do Segundo PlanoSelections / Select None
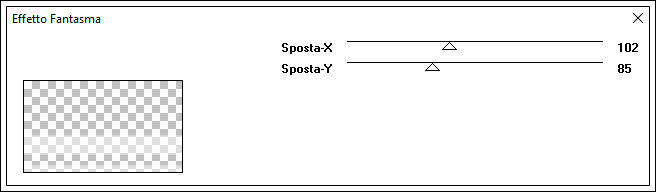
Effects / Plugins / It@lian Editors Effect / Effetto Fantasma / Sposta- X 102 / Sposta Y 85
Effects / 3D Effects /Drop Shadow: Cor #c10007
08- Layers / Duplicate
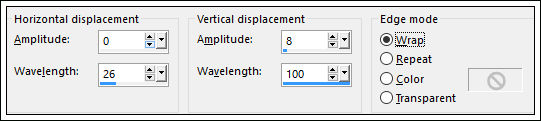
Effects / Distortion Effects / Wave
Effects / Plugins / Plugin AP 01[Innovations] / Lines - SilverLining
Opacidade / 60
09- Layers / New Raster Layer
Paint Brush Tool / "brush_Maryse" Size: 371
Carimbe duas vezes com a cor do Segundo Plano :
Adjust / Sharpness / Sharpen
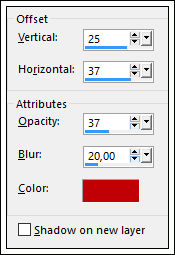
Effects / 3D Effects / Drop Shadow: 25 /37 / 37 /20,00 / Cor #000000
10- Primeiro Plano cor #c10007Layers / New Raster Layer
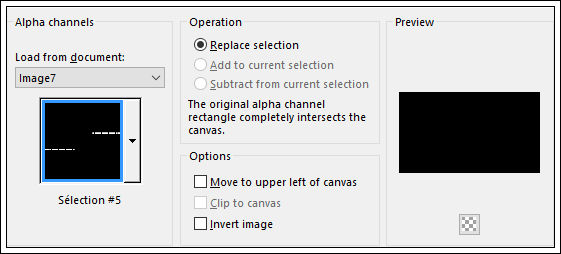
Selections / Load/Save Selection / Load Selection From Alpha Channel / Sélection 5
Preencha a seleção com a cor do Primeiro PlanoSelections / Select None
Adjust / Sharpness / Sharpen More
Effects / 3D Effects / Drop Shadow: 0 / 0 / 30 / 20,00 / Cor #000000
11- Mude a cor do Primeiro Plano para #000000
Layers / New Raster Layer
Pen Tool / Mode: Draw Lines and Poly Lines / Linestyle Dot (Corel_13_022) / Width 3
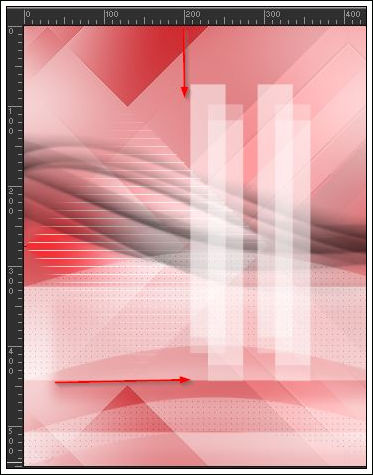
Trace duas linhas com a cor do Segundo Plano , como segue:
Layers / Convert to Raster Layer
12- Mude a cor do Primeiro Plano para #c10007Layers / New Raster Layer
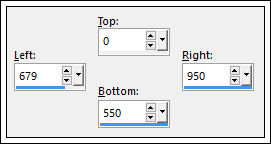
Selection Tool / Rectangle / Custom Selection:
Flood Fill Tool / Opacidade 30
Preencha a seleção com a cor do Primeiro Plano
Opacidade do Flood Fill 100
Mantenha a seleção!!!13- Layers / New Raster Layer
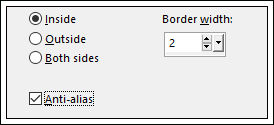
Selections / Modify / Select Selection Borders:
Preencha a seleção com a cor do Segundo Plano
Selections / Select None
Layers / Merge / Merge Down
Effects / 3D Effects / Drop Shadow: 0 / 0 / 60 / 10,00 /Cor#000000
Blend Mode / "Hard Light"Opacidade / 80
14- Abra o Tube "déco-maryse-1"
Copie e Cole como nova layerPosicione como segue:
Effects / 3D Effects / Drop Shadow; 0 / 0 / 60 / 5,00 / Cor#000000
15- Abra o Tube "déco-maryse-2"
Copie e Cole como nova layerPosicione como segue:
Effects / 3D Effects / Drop Shadow; 0 / 0 / 60 / 5,00 / Cor#000000
16- Abra o Tube "MR_Ekaterina"
Copie e Cole como nova layerImage / Resize / 65% / Resize all Layers not checked
Não Mova!Layers / Duplicate
Adjust/ Blur / Gaussian Blur / 30
Blend Mode / "Screen"
Layers / Move / Move Down
17- Image / Add Borders / Symmetric marcado / 2 pixels cor #ffffff
Image / Add Borders / Symmetric marcado / 3 pixels cor #c10007
Image / Add Borders / Symmetric marcado / 25 pixels cor #ffffffSelecione essa borda com a Varinha Mágica (Tolerance / 0 )
Selections / Invert
Effects / 3D Effects / Drop Shadow : 0 / 0 / 100 / 20,00 /Cor #000000
Selections / Select None
Image / Add Borders / Symmetric marcado / 1 pixel cor #000000
18- Image / Resize / Width 900 Pixels / Resize all Layers marcado
Adicione o seu nome ou a sua marca d'águaLayers / Merge / Merge All
Salve como JPG
©Tutorial Traduzido por Estela Fonseca 05/02/2016.
Obrigada Linnette por me permitir traduzir seu trabalho.