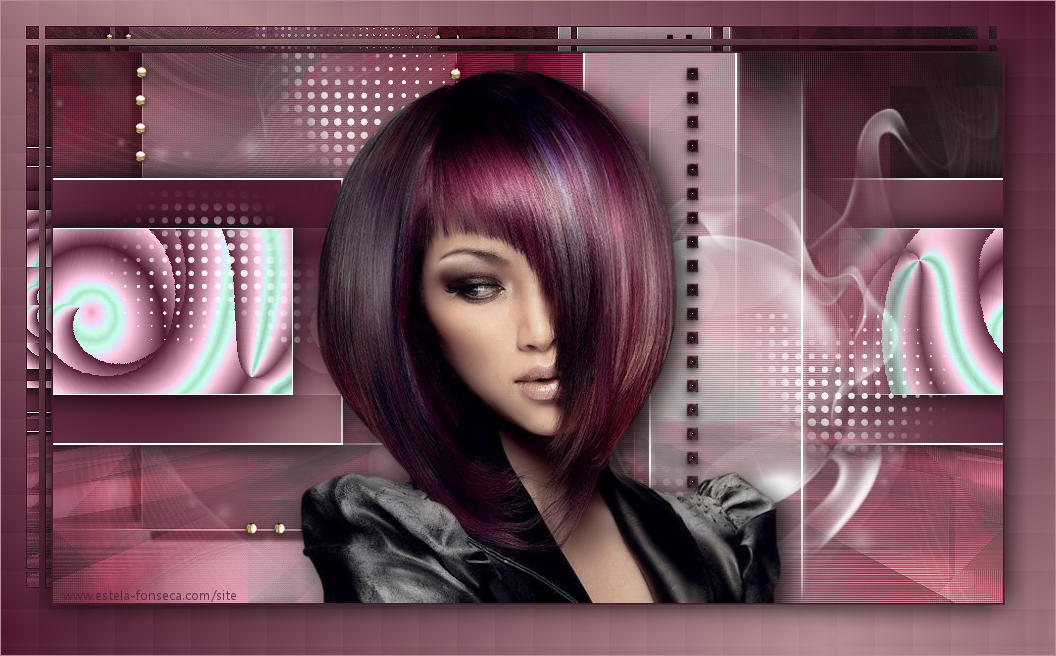
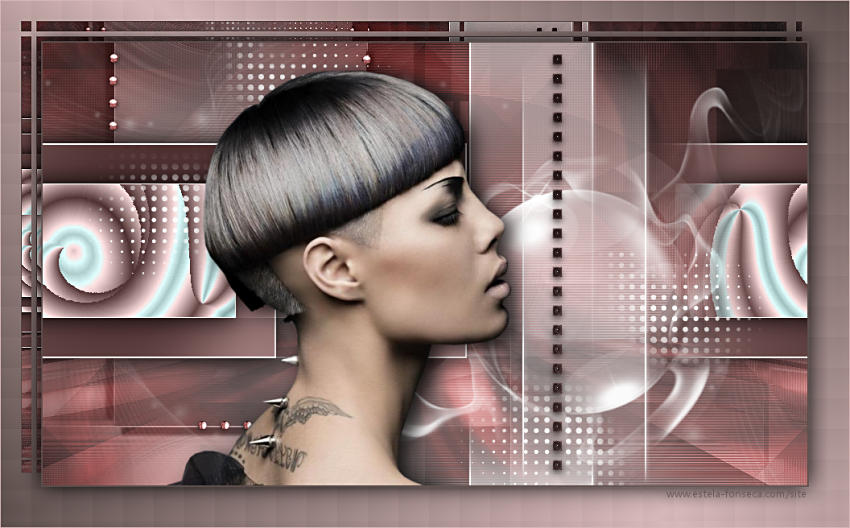
NAOMI
Tutorial de ©Creative Graphic Original Aqui
Traduzido no PSP X9
Materiais Necessários:
Tube de Karine Dreams, seu blog, Aqui.
Mask de Narah, seu grupo, Aqui.
Plugins Utilizados:
Medhy/Wave lab
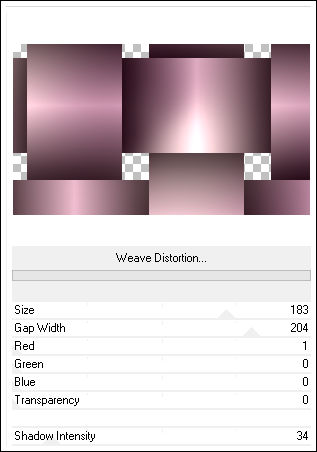
Unlimited /VM Natural /Weave Distorsion
Unlimited /Bkg Designersf10 I /Corner Right Wrap
Richard Rosenman /Solid border
Unlimited /VM Etravaganza/aura detector
UNlimited/ It@lian Editors Effect/Effeto Fantasma
Alien eyes candy impact 5/Perspective shadow
Unlimited / &<BKg Designer sf10 II>/ DIS Refractor 2**
Sinta-se livre para mudar suas cores e modo de camada. Dependendo das cores que você irá usar.
**
Preparação:
Abra o tube no PSP, duplique e feche o original.
Abra as Masks no PSP e Minimize.
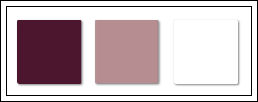
Paleta de Cores:
Primeiro Plano cor 1 #4c162f
Segundo Plano cor 2 #b68e92
01- Abra o Arquivo << alpha-naomi>> no PSP, duplique e feche o original
Effects / Plugins / Medhy / Wave Lab:
Adjust / Blur / Gaussian Blur / Radius: 40Layers / Duplicate
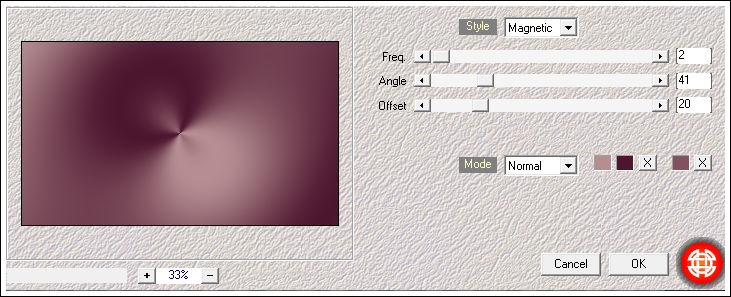
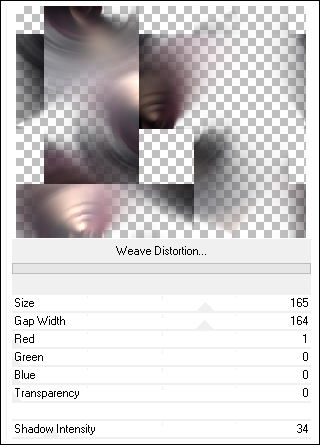
Effects / Plugins / <I.C.NET Software> Filters Unlimited 2 /VM Natural /Weave Distortion:
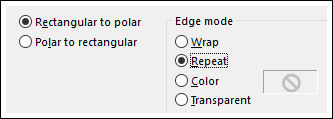
Layers / DuplicateEffects / Distortion Effects / Polar Coordinates:
Effects / Texture Effects / Blids:
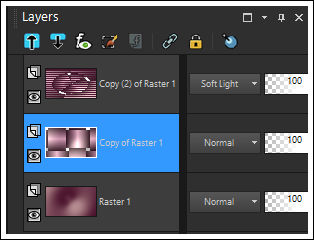
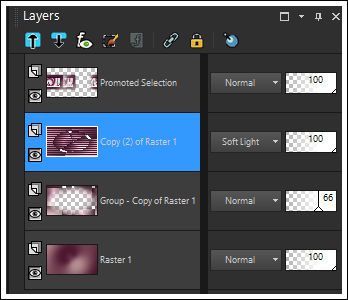
Blend Mode / Soft Light
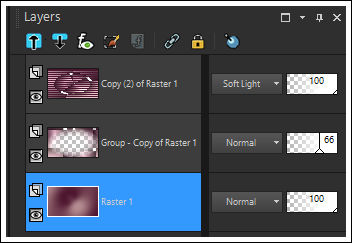
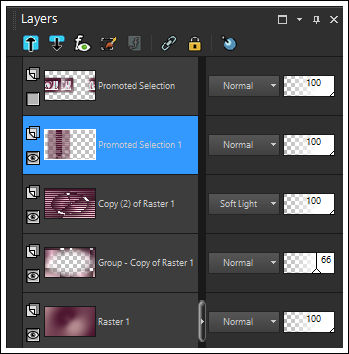
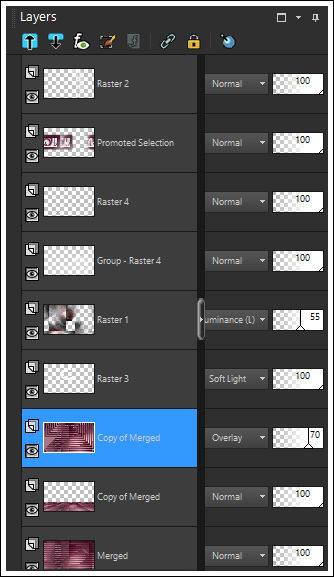
02- Ative a Layer <<Copy of Raster 1>> (a layer do meio)
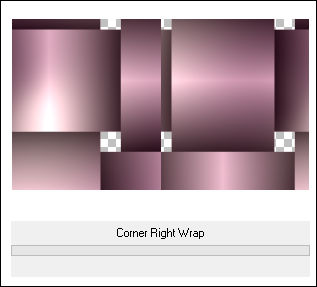
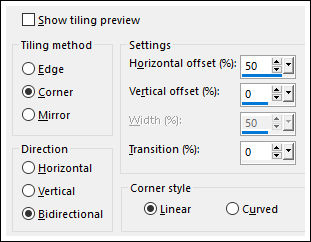
Effects /Plugins /<I.C.NET Software> Filters Unlimited 2 /Bkg Designersf10 I /Corner Right Wrap:
Opacidade / 66
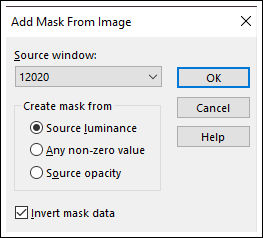
Abra a Mask << 12020 >> MinimizeRetorne ao seu trabalho
Layers / New Mask layer / From Image: <<12020>>
Layers / DuplicateLayers / Merge / Merge Group
03- Ative a Layer do Fundo (Raster 1)
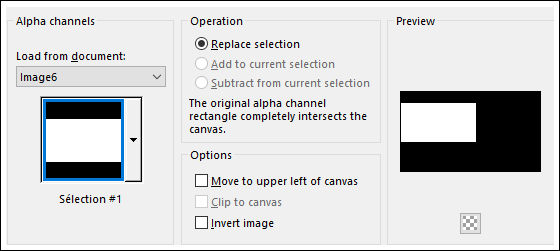
Selections / Load save selection / Load selection from alpha channel: Selection #1
Selections / Promote selection to LayerLayers / Arrange / Bring to top
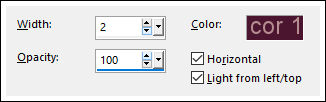
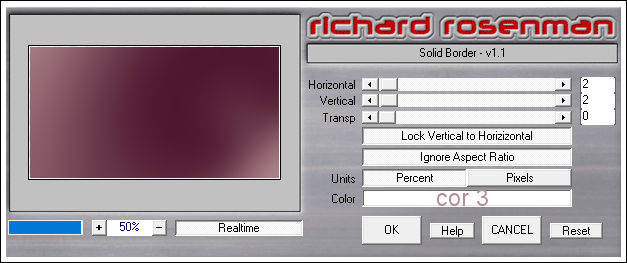
Effects / Plugins / Richard Rosenman /Solid border:
Selections / Modify / Contract 50 Pixels
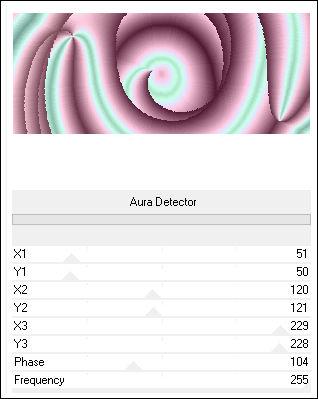
Effects / Plugins /<I.C.NET Software> Filters Unlimited 2 /VM Etravaganza / Aura Detector:
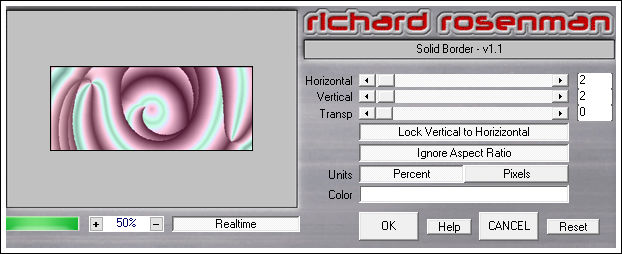
Effects / Plugins / Richard Rosenman /Solid Border ( Mesmas configurações de antes)
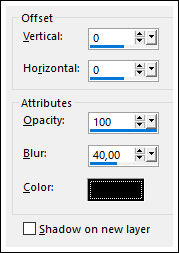
Effects / 3D Effects / Drop Shadow: 0/0/100/40 / #000000
Selections / Select NonePick Tool (K) Configure Posição de X e de Y como segue (X=24,00/ Y=125,00)
Tecle "M" para sair da Pick Tool
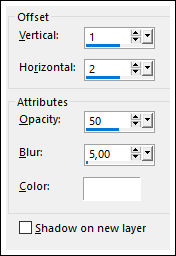
Effects / 3D Effects / Drop Shadow: Cor #000000
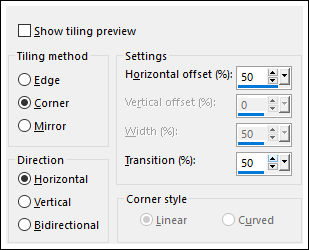
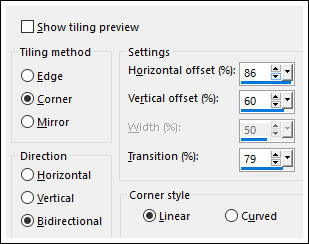
Effects / Image Effects / Seamless Tilig:
04- Ative a Layer <<Copy(2) of Raster 1>>
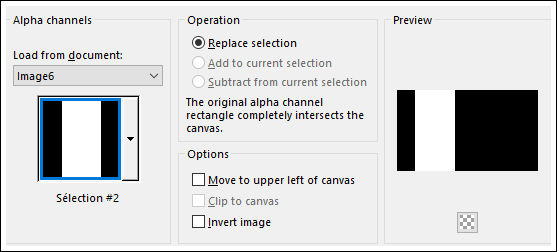
Selections / Load save selection / Load selection from alpha channel: Selection #2
Selections / Promote Selection to Layer
Selections / Select None
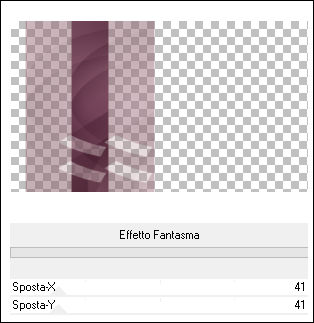
Effects / Plugins / <I.C.NET Software> Filters Unlimited 2 / It@lian Editors Effect / Effeto Fantasma
Effects / 3D Effects / Drop Shadow: Cor 1
05- Oculte a Layer do topo e ative a layer <<Promoted Selection 1>>
Layers / Merge / Merge VisibleRetorne a visibilidade da Layer do topo
06- Ative a Layer <<Merged>>
Ative o tube <<_k@rine_ Dreams_Hair_Style_2863_Mars_2014>>
Copie e Cole como nova layer no seu trabalho
(Eu aconselho você a usar o meu tube para este passo para ter o mesmo resultado)
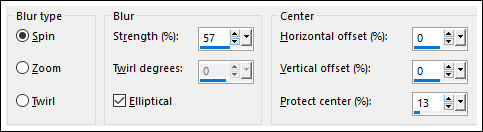
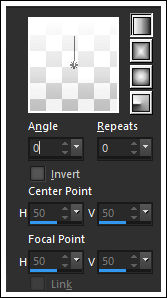
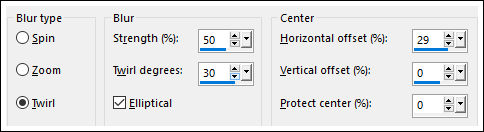
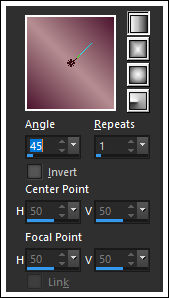
Adjust / Blur / Radial Blur:
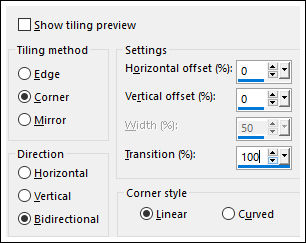
Effects / Image Effects / Seamless Tiling:
Effects / Edge Effects / EnhanceEffects / Plugins / <I.C.NET Software> Filters Unlimited 2 /VM Natural /Weave Distortion
Blend Mode / Luminance (Legacy)Effects / Edge Effects / Enhance
Opacidade / 55
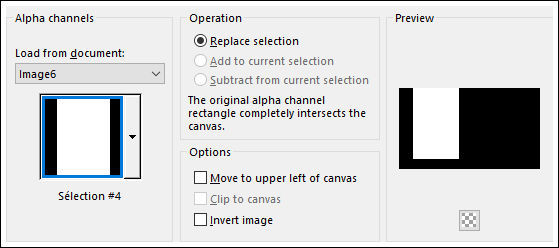
Selections / Load save selection / Load selection from alpha channel: Selection #4
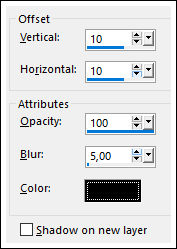
Effects / 3D Effects / Drop Shadow: Cor #000000
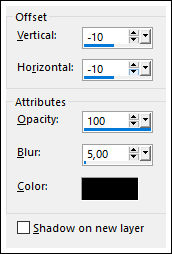
Repita em negativo:
Selections / Select None07- Ative a Layer do Topo <<Promoted Selection 1>>
Layers / New Raster Layer
Segundo Plano cor 3
Forme no Primeiro Plano um Gradiente <<Fading Whate>> Corel 06_028 <<Linear>>
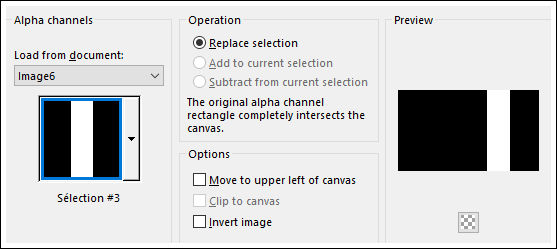
Selections / Load save selection / Load selection from alpha channel: Selection #3
Baldinho de Pintura opacidade 50%
Preencha a seleção com o Gradiente
Volte a Opacidade do Baldinho para 100
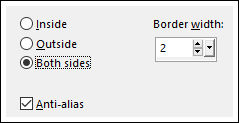
Desfaça o Gradiente e Mantenha a cor branca no Segundo PlanoSelections / Modify / Select selection borders
Preencha com a cor do Segundo Plano
Selections / Select NoneEffects / 3D Effects / Drop Shadow: Cor #ffffff
Effects / Image Effects / Seamless Tiling:
08- Ative a Layer do FundoCopie
Ative a Layer do Topo
Layers / New Raster Layer
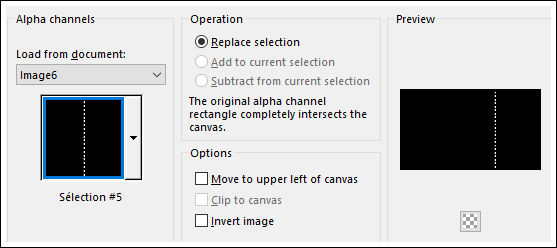
Selections / Load save selection / Load selection from alpha channel: Selection #5
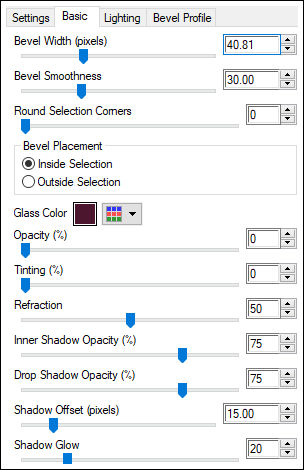
Cole na seleçãoEffects / Plugins / Alien Skin Eyes Candy 5 / Impact /Glass / Clear
Basic com a seguinte configuração:
Selections / Select NoneLayers / Merge / Merge Down
09- Ative a Layer do Fundo <<Merged>>
Layers / Duplicate
Effects / Plugins / Simple /Blintz (2 Vezes)
Blend Mode / Overlay
Adjust / Sharpness / Sharpen
Opacidade / 70
10- Layers / New Raster LayerPreencha com a cor do Segundo Plano
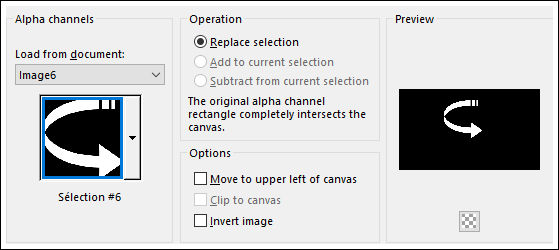
Selections / Load save selection / Load selection from alpha channel: Selection #6
Preencha com a cor do segundo plano (cor branca)Blend Mode / Soft Light
Selections / Select None
11- Ative a Layer <<Raster 1>>
Layers / New Raster Layer
Preencha com a cor do Segundo Plano (cor 3)
Layers / New Mask layer / From Image: Narah_Mask_1112
Layers / Merge / Merge DownImage / Mirror / Mirror Horizontal
Layers / Duplicate
Layers / Merge / Merge Down
12- Ative o elemento <<déco 1>>
Copie e Cole como nova layer
Pick Tool (K) Configure Posição de X e de Y como segue (X=79,00/ Y=11,00)
Tecla "M" para sair da Pick Tool
Effects / 3D Effects / Drop Shadow: Cor #000000
13- Ative a Layer do FundoLayers / Duplicate
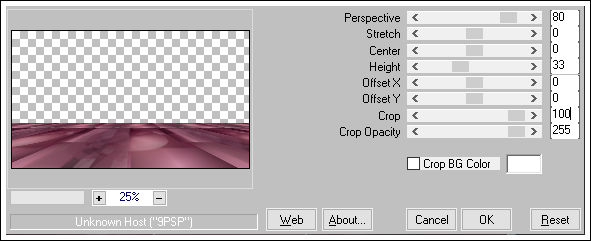
Effects / Plugins / Mura Meister / Perspective Tilling
Adjust / Sharpness / Sharpen14- Ative a Layer <<copy of Merged>> a terceira de baixo para cima:
Ative o tube da PersonagemCopie e Cole como nova layer
Effects / Image / Effects / Seamless Tiling:
Adjust / Blur / Radial Blur
Opacidade / 77
Blend Mode / Hard Light15- Ative a Layer do topo
Ative o elemento <<déco-2>>
Copie e Cole como nova layer
Blend Mode / Screen
16- Ative o tube <<K@rine Dreams Hair-Style2863>>
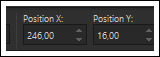
Copie e Cole como nova layerPick Tool (K) Configure Posição de X e de Y como segue (X=246,00/ Y=16,00)
Tecla "M" para sair da Pick Tool
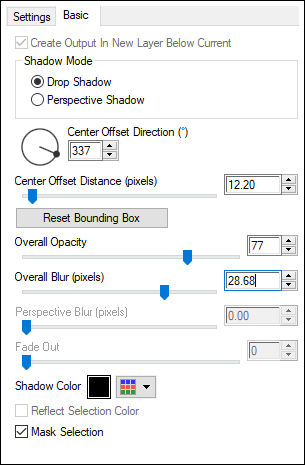
Effects / Plugins / Alien Skin Eye Candy 5 / Imapact / Perspective Shadow / Drop Shadow Blury
Basic com as seguinte configuração:
Layers / Merge / Merge Visible17- Primeiro Plano cor 1 / Segundo Plano cor 2
Gradiente <<Linear>> Configurado como segue:
Image /Add Borders / Symmetric Marcado / 2 pixels cor 1Image / Add Borders / Symmetric Marcado / 50 Pixels cor 2
Varinha Mágica configurada como segue:
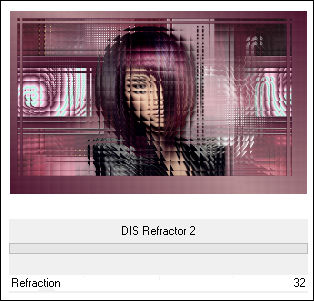
Preencha com o GradienteEffects / Plugins / <I.C.NET Software> Filters Unlimited 2 / &<BKg Designer sf10 II>/ DIS Refractor 2
Adjust / Sharpness / SharpenSelectios / Invert
Effects / 3D Effects / Drop Shadow: 0/0/100 / 40 / #000000
Selections / Select None
Image / Add Borders / Symmetric Marcado / 1 pixel cor 2
Layers / New Raster layer
Adicione a sua assinatura
Layers / Merge / Merge All
Salve como JPG
Redimensione se desejar
Versão com tube de @nn:
© 2019 - Tutorial Traduzido por Estela Fonseca.
Obrigada Linette por me permitir traduzir seus trabalhos.