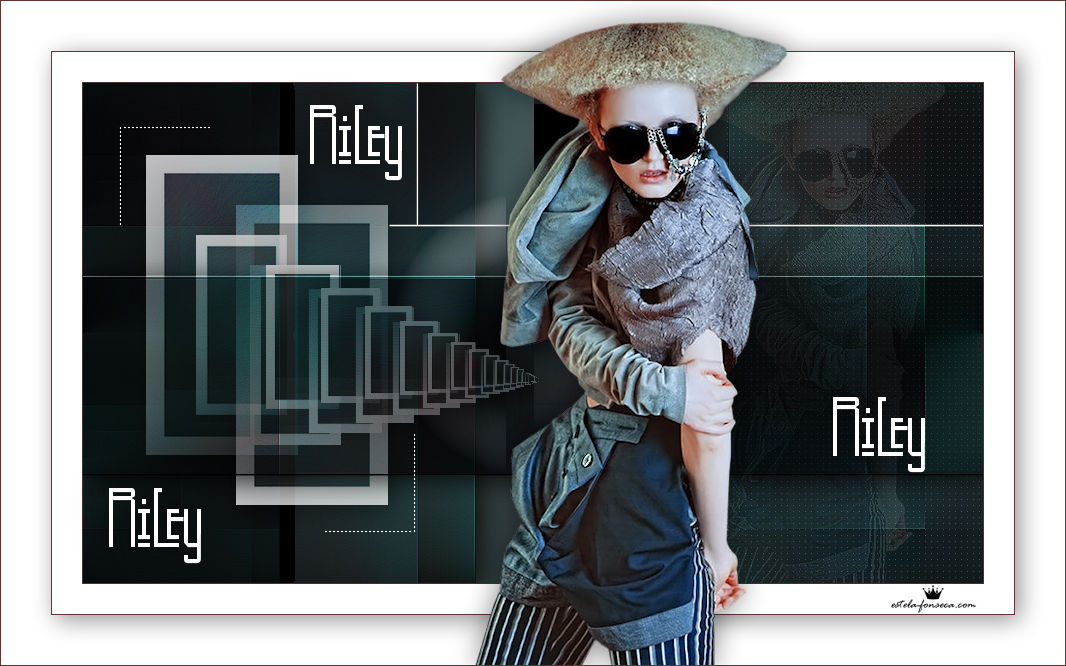
RILEY
Tutorial de ©Crealine Graphic Original Aqui
Traduzido no PSP X9
Materiais Necessários:
Tube de Thafs
Demais materiais de Crealine Graphic
Plugins Utilizados:
MuRa's Seamless / Emboss at Alpha
Mehdi / Wavy Lab 1.1 e Sorting Tiles
Transparency / Eliminate White
Carolaine and Sensibility / CS-LDots
Filter Factory Gallery C / Tile Mix **
<I.C.NET Software> / Filters Unlimited 2.0
**Importados para o Unlimited 2.0
Preparação:
Abra o material no PSP e Minimize-os.
Não exite em mudar o blend mode e as opacidades das layers , se trabalhar com outras cores.
Cores:
Primeiro Plano cor #4c3131
Segundo Plano cor #243037
01- Abra a layer <<alpha-riley>> Duplique e feche a original. Trabalharemos na cópia!02- Effects / Plugins / Medhi / Wavy Lab 1.1
Adjust / Blur / Gaussian Blur / Radius: 50
Effects / Plugins / Mehdi / Sorting Tiles
Effects / Image Effects / Seamless Tiling
Effects / Edge Effects / Enhance
02- Selections / Load/Save Selection / Load Selection From Alpha Channel : Selection #1
Selections / Promote Selection to Layer
Mantenha a seleção ativaSegundo Plano cor #ffffff
Layers / New Raster Layer
Preencha com a cor do Segundo PlanoSelections / Modify / Contract / 30 Pixels
Edit/Cut ou Delete no Teclado
Selections / Select None
Layers / Merge / Merge DownImage / Resize / 60% ... Resize All layers ...Desmarcado
Effects / Image Effects / Seamless Tiling / Preset - "Stutter Diagonal"
Layers / Duplicate
Image / Resize / 60% ... Resize All layers ... DesmarcadoEffects / Reflection Effects / Feedback
Layers / Merge / Merge Down
Pick (K) Posição X (63) Posição Y (72) / Letra "M" para desativar a Pick
Effects / 3D Effects / Drop Shadow: 5/5/42/35 Cor: #000000
Blend Mode / LuminanceOpacidade / 77%
03- Ative a Layer do Fundo (Raster1)
Selections / Load/Save Selection / Load Selection From Alpha Channel :Selection #2
Selections / Promote Selection to Layer
Effects / 3D Effects / Drop Shadow: 5/5/42/35 Cor: #000000
Selections / Select None
Blend Mode /Hard Light04- Layers / Duplicate
Effects / Plugins / <I.C.NET Software> Filters Unlimited 2.0 / Filter Factory Gallery C / Tile Mix
Effects / Plugins / Transparency / Eliminate White
Resultado:

05- Ative a layer do FUNDO (Raster 1)
Selections / Load/Save Selection / Load Selection From Alpha Channel :Selection #4
Nota: Não se preocupe, as seleções 3 e 4 são as mesmas seleções, um erro da minha parte
Durante o registro.Selections / Promote Selection to Layer
Selections / Select None
Layers / Arrange / Bring to TopLayers / Duplicate
Blend Mode / Hard Light
Layers / Merge / Merge DownEffects / Plugins / Carolaine and Sensibility / CS-LDots / Default
06- Ative a Layer do FUNDO (Raster 1)
Selections / Load/Save Selection / Load Selection From Alpha Channel :Selection #5
Selections / Promote Selection to Layer
Layers / Arrange / Bring to Top
Blend Mode / Hard Light
Effects / 3D Effects / Drop Shadow: 5/5/42/35 Cor: #000000
Selections / Select NoneEffects / Plugins / MuRa's Seamless / Emboss at Alpha / Default
Abra o tube <<198_2_by_aydan_kerimli_tubed_by_thafs>>
Copie e Cole como nova layer
Image / Resize / 70% ... Resize All Layers ... Desmarcado
Pick (K) Posição X (605) Posição Y (-19) Letra "M" para desativar a Pick
Opacidade / 12
Effects / Edge Effects / Enhance
Layers / Arrange / Move Down08- Ative a Layer do TOPO (Promoted Selection 3)
Pen Tool (V) configurada como segue: (ou se preferir use uma layer que está no material)
Desenhe duas linhas, uma horizontal como mostra a imagem abaixo e outra vertical conforme o print:
Tecla Shift pressionada para a linha ficar reta.
Cor branca no Primeiro Plano
Layers Convert to Raster Layer
***
Nota: Se usar a layer DECO do material:
Copie e Cole como nova laye
Pick (K) Posição X (304) Posição Y (-20) Tecla "M" para desativar a Pick
***
09- Layers / New Raster Layer
Selections / Load/Save Selection / Load Selection From Alpha Channel :Selection #6
Preencha a seleção com a cor branca #ffffff
Selections / Select None10- Image / Add Borders / Symmetric Marcado / 1 Pixel cor 1 (#4c3131)
Image / Add Borders / Symmetric Marcado / 30 pixels cor 4 (#ffffff )
Image / Add Borders / Symmetric Marcado / 2 pixels cor 1 (#4c3131)
Selections / Select All
Image / Add Borders / Symmetric Marcado / 50 pixels cor #ffffff
Effects / 3D Effects / Drop Shadow: 5/5/42/35 Cor: #000000
Selections Select None11- Abra o tube <<198_2_by_aydan_kerimli_tubed_by_thafs>>
Copie e Cole como nova layer
Image / Resize / 85% ... Resize All layers ... Desmarcado
Adjust / Sharpness / Sharpen
Mova sutilmente para a Direita e para baixo
Effects / 3D Effects / Drop Shadow: 0/0/45/40 Cor: #000000
Layers / Duplicate
Blend Mode / Screen
Layers / Arrange / Move Down12- Ative o <<texte_riLey_linette>> (ou crie seu próprio texto)
Copie e Cole como nova layer
layers / Arrange / Bring to top
Posicione no alto à esquerda como no modelo
Layers / Duplicate
Posicione no canto inferior à esquerda (veja o modelo)
Layers / Duplicate
Posicione à direita como no modelo
Image / Add Borders / Symmetric Marcado / 1 Pixels cor 1 (#4c3131)
Assine seu trabalho
Salve como JPG.
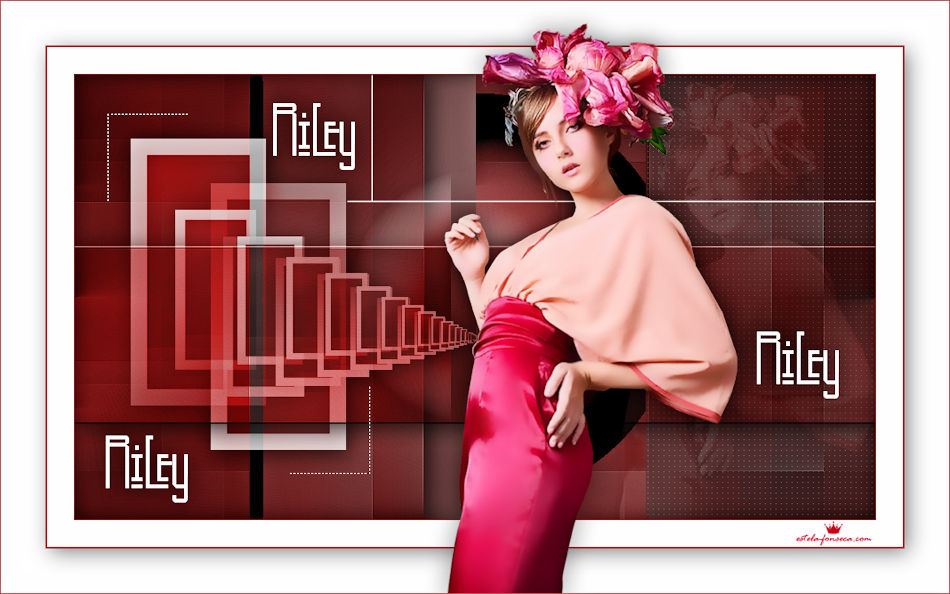
Versão com tube de Cibi Bijoux :
©Tutorial Traduzido por Estela Fonseca 03/11/2020.
Obrigada Linette por me permitir traduzir seu trabalho.