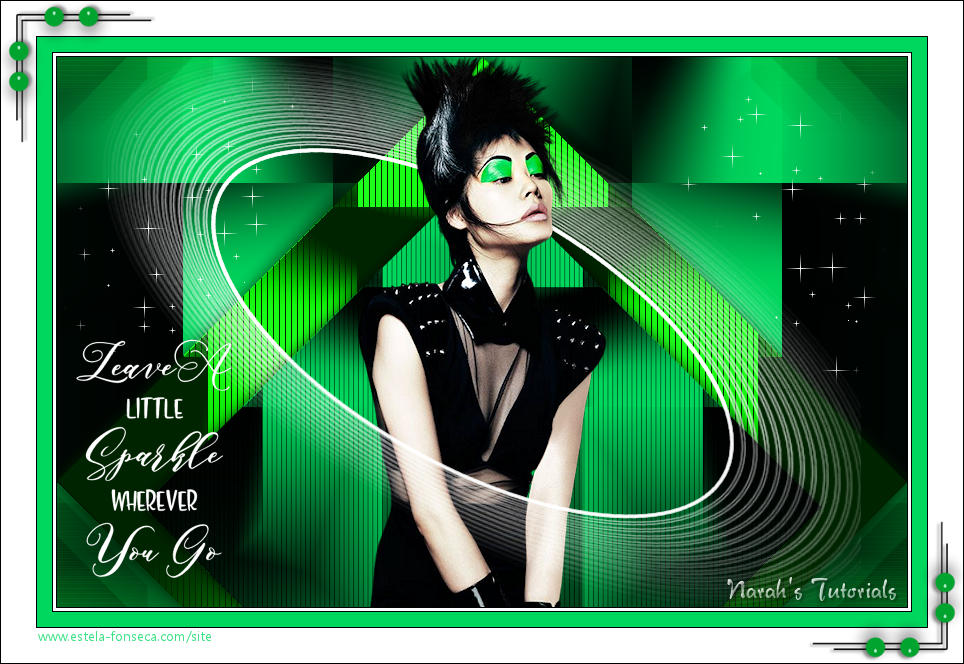
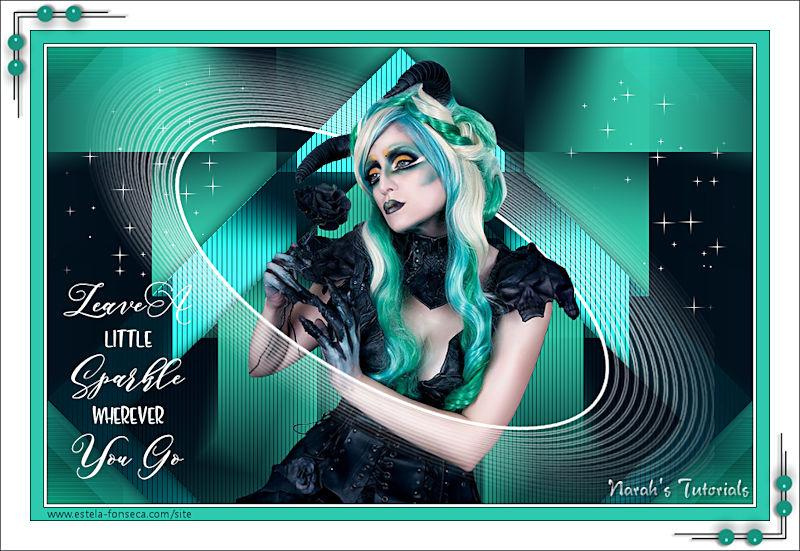
SPARKLES
Tutorial de ©Narah - Original Aqui
Tutorial realizado e traduzido na versão PSP X9.
Materiais Necessários:
Tube "Alies 1VR659i-woman-14092013.pspimage"Narah_Sparkles_AlphaChannel.pspimage
Demais Materiais de Narah
Plugins Utilizados:
Medhi / Wavy Lab / Sorting TilesSimple / Blintz**
AP 01 [Innovations] / Lines - Silverling
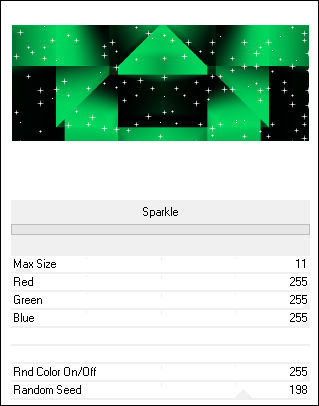
VM Natural / Sparkle**
Carolaine and Sensibility / cs_texture
Italian Editors Effect / Effetto Fantasma**
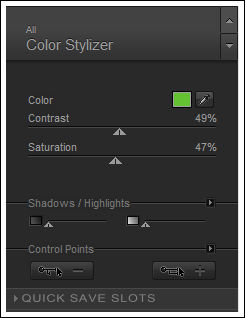
Nik Software / Color Efex Pro 3.0 Complete / Color Stylizer
** Importados para o Unlimited 2
Preparação:Abra o tube no PSP, duplique e feche o Original. Remova a Marca d'água apenas da cópia do tube.
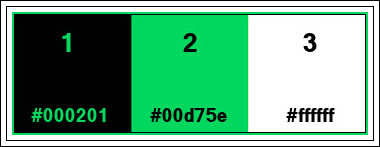
Tabela de Cores:
1. Abra "Narah_Sparkles_AlphaChannel" , duplique e feche o original (esta layer contém seleções em canal alfa)
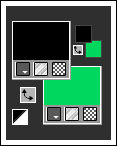
2. Primeiro Plano cor 1 (#000201) / Segundo Plano cor 2 (#00d75e)
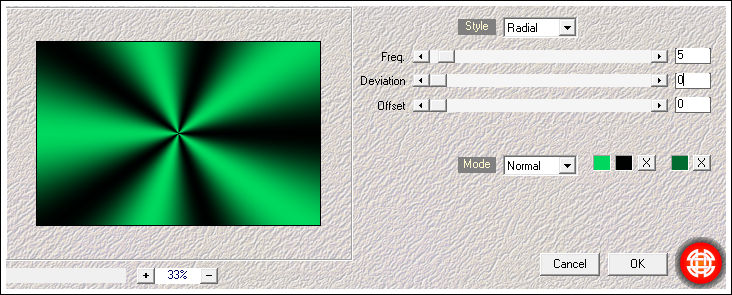
3. Effects / Plugins / Medhi / Wavy Lab / Radial: 5 / 0 / 0
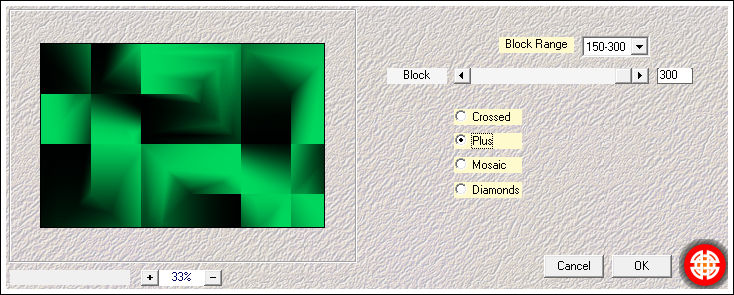
4. Effects / Plugins / Medhi / Sorting Tiles: 150-300 / 300 / Plus
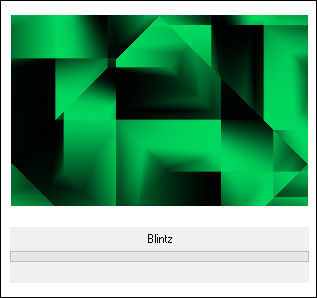
5. Effects / Plugins / Simple / Blintz
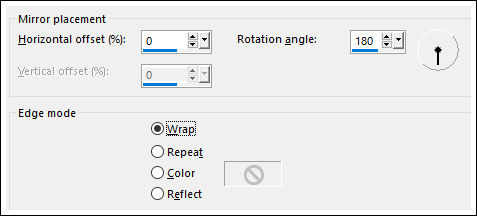
6. Effects / Reflection Effects / Rotation Mirror: 0 / 180 / Wrap
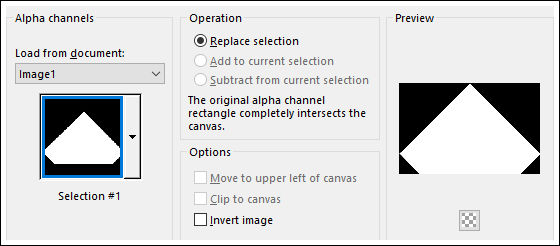
7. Selections / Save/Load Selection / Load Selection From Alpha Channel: Selección #1.
Selections / Promote Selection to Layer.
Selections / Select None
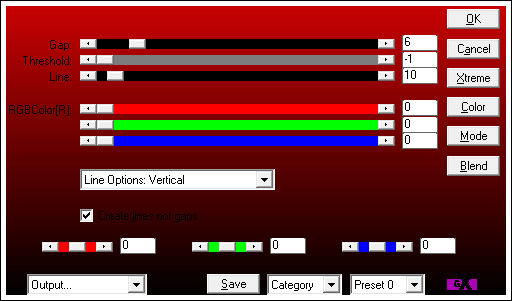
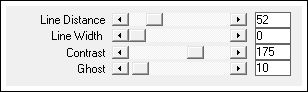
Effects / Plugins / AP 01 [Innovations] / Lines-SilverLining: Vertical / 6 / -1 / 10 / 0 / 0 / 0
Layers / Duplicate
Image / Resize / 80% ... Resize all layers... Desmarcado
Objects / Align / Bottom (Ou mover para a borda inferior)
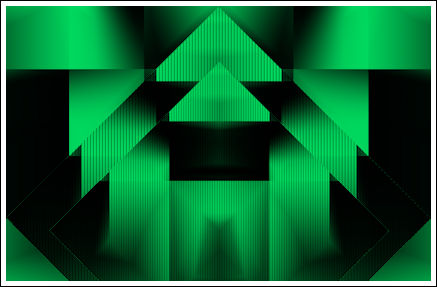
Assim:
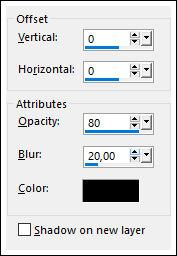
Ative as Layers "Promoted Selection"Effects / 3D Effects / Drop Shadow: 0 / 0 / 80 / 20,00 / #000000
Ative a Layer "Copy of Promoted Selection"
Effects / 3D Effects / Drop Shadow: 0 / 0 / 80 / 20,00 / #000000
8. Ative a layer "Raster 1" (Layer do Fundo)
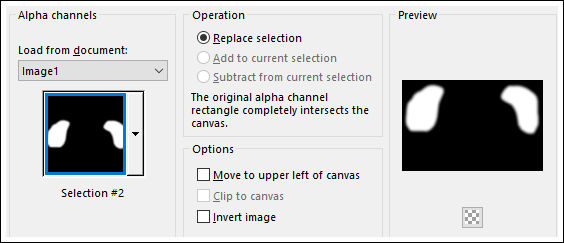
Selections / Load/Save Selection / Load Selection From Alpha Channel:Selección #2.
Effects / Plugins / VM Natural / Sparkle: 11 / 255 / 255 / 255 / 255 / 198
Selections / Select None
9. Ative a Layer "Promoted Selection"Effects / Plugins / Nik Software / Color Efex Pro 3.0 Complete / Color Stylizer
Cor #64c132 / Contrast 49% / Saturation 47%
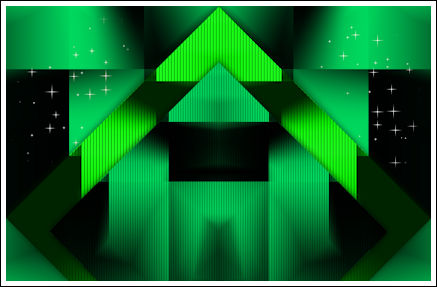
(Nota: A cor depende das cores utilizadas no trabalho. Podem mudar os valores de Contrast e Saturation.)Resultado até agora:
10. Ative a layer "Raster 1"
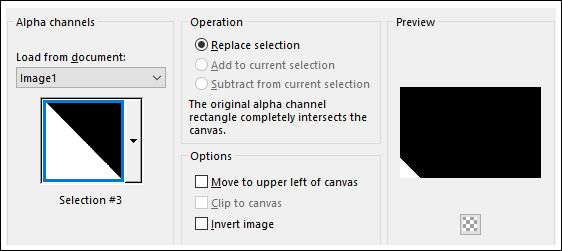
Selections / Load/Save Selection / Load Selection From Alpha Channel: Selection #3
Selections / Promote Selection to Layer
Selections / Select None
Effects / Plugins / Carolaine & Sensibility / cs_texture / Default
Layers / Duplicate
Image / Mirror / Mirror Horizontal (Image / Mirror em versões anteriores)
Layers / Merge / Merge Down
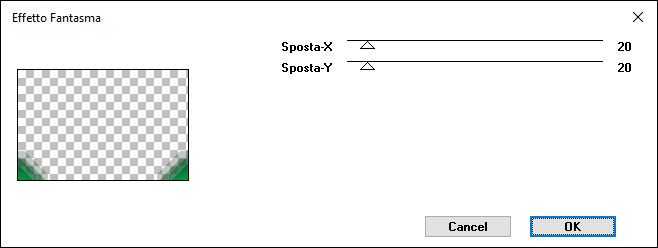
11. Filtro Italian Editors Effect / Effetto Fantasma / 20 / 20
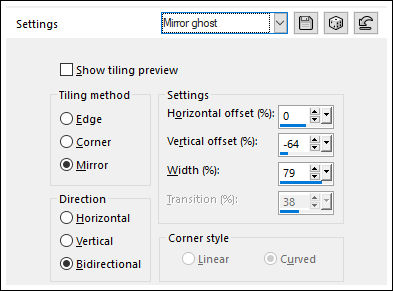
12. Effects / Image Effects / Seamless Tiling / Mirror Ghost
Blend Mode / Multiply (ou outro dependendo das cores usadas).
13. Ative a Layer "Promoted Selection"Abra o tube "Narah_Sparkles_Deco1" copie e cole como nova layer
Não Mova!!!
Layers / Duplicate
Layers / Arrange / Bring to Top
14. Ative a layer do topoAbra o tube "Narah_Sparkle_Text" copie e cole como nova layer.
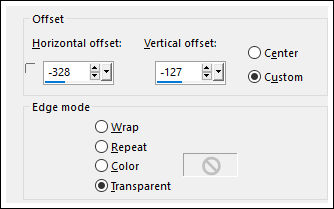
Effects / Image Effects / Offset: -328 / -127 / Custom e Transparent ... Marcados
15. Ative a layer <<Copy of Promoted Selection>>
Abra o tube <<Alies 1VR659i-woman-14092013.pspimage>> Copie e Cole como nova layerImage / Resize / 80% / Resize ... All Layers ... Desmarcado
Adjust / Sharpness / Sharpen
Layers / Duplicate
Layers / Arrange / Bring to Top
16. Ative a layer <<Copy of Raster 2 >> (a copia do Deco 1)Ative a <<Varinha Mágica>> e clique no centro da elipse
Selections / Invert
Ative a Layer do tube <<Copy of Raster 4>>Ative a Borracha (Eraser Tool)
Apague a parte de baixo do tube
Selections / Select None
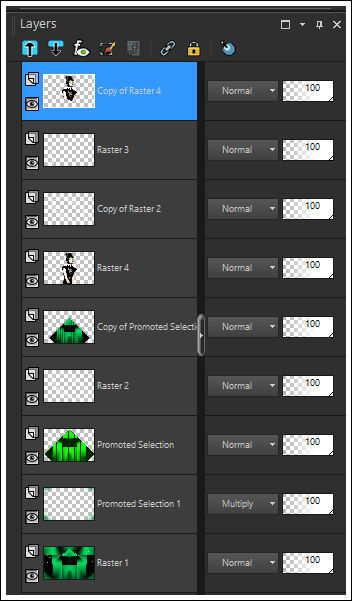
Resultado da Palete das Layers:
17. Image / Add Borders / Symmetric Marcado / 1 pixel cor 1 #000201
Image / Add Borders / Symmetric Marcado /3 pixels cor 3 #ffffff
Image / Add Borders / Symmetric Marcado / 1 pixel cor 1 #000201
Image / Add Borders / Symmetric Marcado / 15 pixels cor 2 #00d75e
Image / Add Borders / Symmetric Marcado / 1 pixels cor 1 #000201
Image / Add Borders / Symmetric Marcado / 35 pixels cor 3 #ffffff
Image / Add Borders / Symmetric Marcado / 1 pixels cor 1 #000201
18. Abra <<Narah_Sparkles_Deco2>> Copie e Cole como nova layerNão Mova!
(Se usar outros tubes pode colorir usando o efeito: Adjust/ Hue and Saturation / Hue/Saturation/Lightness.)
19. Assine seu trabalho. Adicione a marca d'água de <<Narah's Tutorials>>Layers / Merge / Merge All
Salve como JPG.
Versão com tube de Ysa:
© 2018 Tutorial criado por Narah e Traduzido por Estela Fonseca.
Não alterar nem repassar sem autorização.