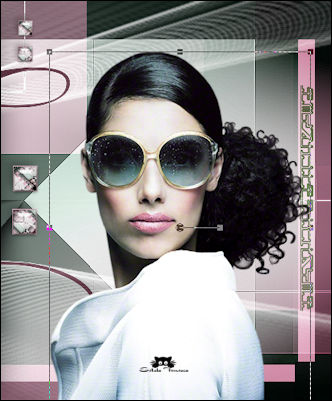
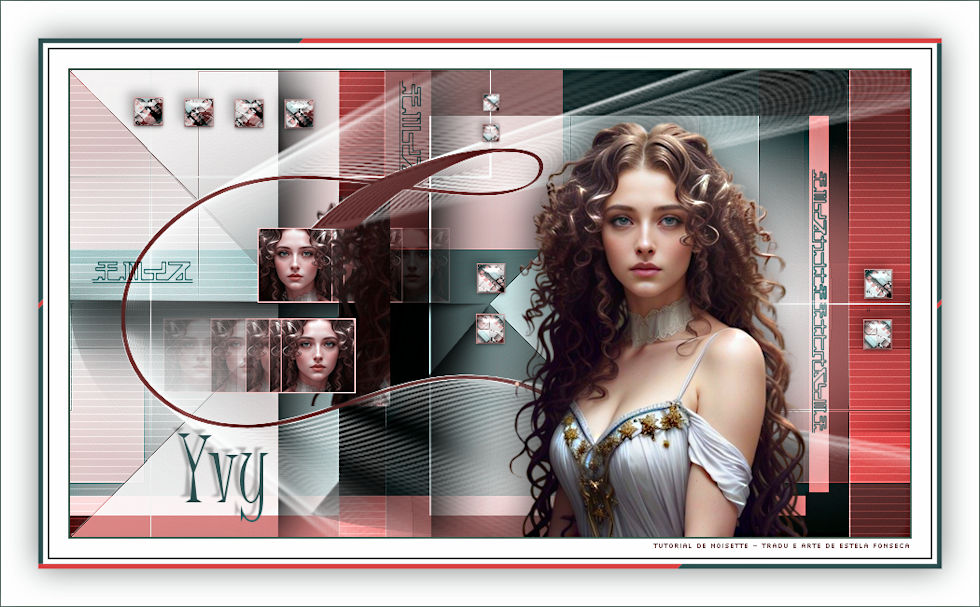
IVY
Tutorial de ©Noisette - Original Aqui
Traduzido no Corel PaintShop Pro 2021 ULTIMATE, mas pode ser realizado nas versões anteriores!
Materiais Necessários:
Tube de SYL, seu site: AQUI
É proibido modificá-los, alterar o nome e remover a marca d'água.
É proibido compartilhá-los em grupo ou oferecê-los na rede (site, blog ...).
Seu uso em tutoriais está sujeito a autorizações.
Plugins Utilizados:Alien Skin Eye Candy 5, Impact, Glass, Backlight
Filter Factory Gallery Q, Mosaic ( importado para o Unlimited 2.0 )
Mock, Windo
UnPlugged Shapes, Pieslice ( importado para o Unlimited 2.0 )
Penta.com, VTR2 ( importado para o Unlimited 2.0 )
&<Bkg Designer sf10I>, Cut Glass 04 (importado para o Unlimited 2.0 )
Preparação:Copie as seleções para a pasta de seleções do PSP.
Abra as imagens no PSP
Abra o tube, duplique e feche o original.
Abra a Mask no PSP e minimize-a.
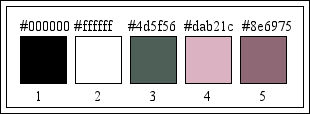
Use a paleta de cores para capturar as cores do trabalho.
Dê dois cliques rápidos nos presets do Alien Skin Eye Candy 5 / Glass e Backlight para instalá-los imediatamente
na pasta de configurações do Plugin.
Se você quiser usar suas próprias cores, não hesite em alterar o modo e a opacidade das layers.
1- Primeiro Plano cor #4d5f56
Segundo Plano cor #dab2c1
2- Abra uma nova imagem transparente de 900/500 Pixels
3- Forme no Primeiro Plano um Gradiente estilo Linear configurado como segue:
4- Preencha a layer transparente com este gradiente
5- Adjust / Blur / Gaussian Blur / Radius 30%
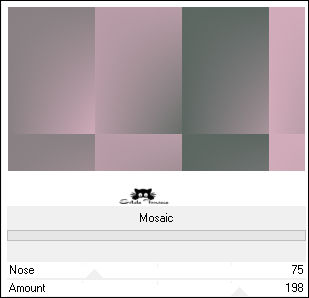
6- Effects / Plugins / <I.C.NET Software> Filters Unlimited 2.0 / Filters Factory Gallery Q / Mosaic
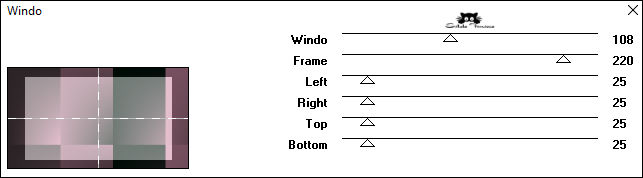
7- Effects / Plugins / Mock / Windo
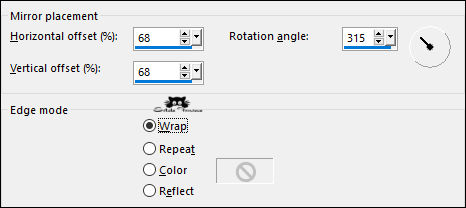
8- Effects / Reflection Effects / Rotating Mirror
9- Layers / Duplicate
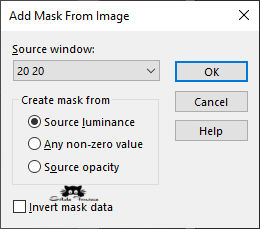
10- Layers / New Mask Layer / From Image: 20.20
11- Layers / Merge / Merge Group
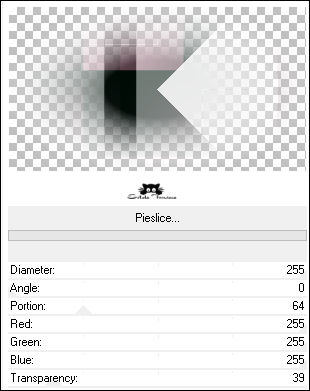
12- Effects / Plugins / <I.C.NET Software> Filters Unlimited 2.0 / UnPlugged Shapes / Pieslice
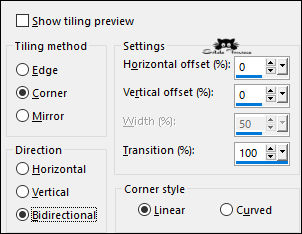
13- Effects / Image Effects / Seamless Tiling
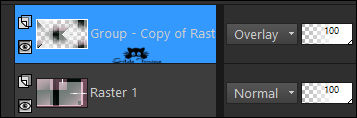
14- Effects / Edge Effects / Enhance15- Blend Mode / Overlay ... Opacidade / 100 %
16- Layers / Merge / Merge Down
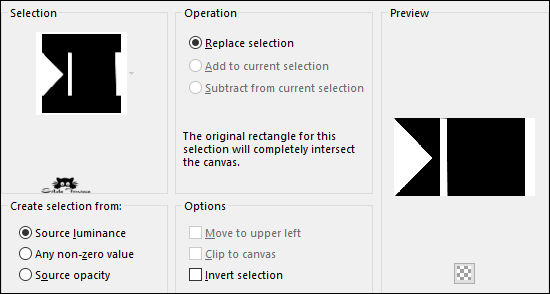
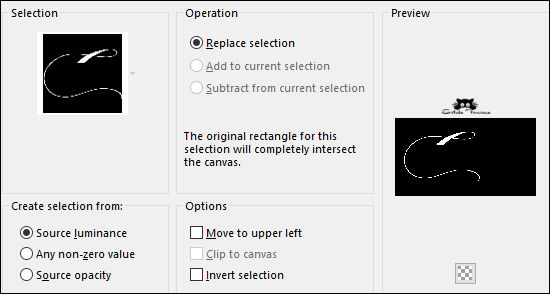
17- Selections / Load/Save Selection / Load selection from disk: ivy-selnoisette01
18- Selections / Promote selection to layer
19- Selections / Select None
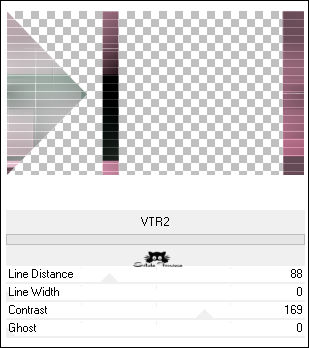
20- Effects / Plugins / <I.C.NET Software> Filters Unlimited 2.0 / Penta.com / VTR2
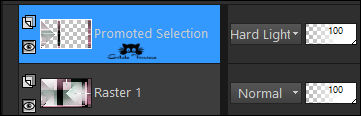
21- Blend Mode / Hard Light ... Opacidade / 100 %
22- Layers / New Raster Layer ...Raster 2
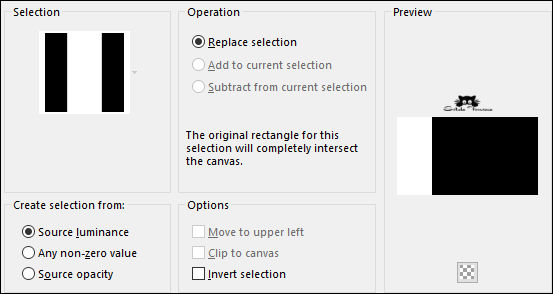
23- Selections / Load/Save Selection / Load selection from disk: ivy-selnoisette02
24- Effects / 3D Effects / Drop Shadow: 0/0/100/100, Cor #000000
25- Ainda nesta layer:
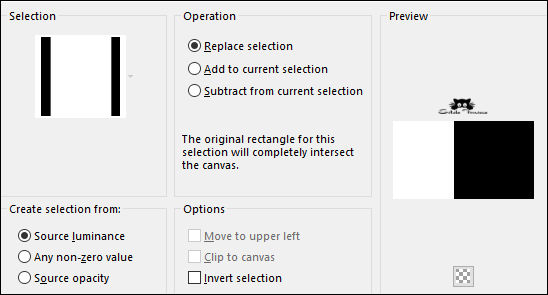
26- Selections / Load/Save Selection / Load selection from disk: ivy-selnoisette03
27- Effects / 3D Effects / Drop Shadow: 0/0/100/100, Cor #000000
28- Selections / Select None
29- Blend Mode / Multiply ... Opacidade / 100 %
30- Layers / Duplicate
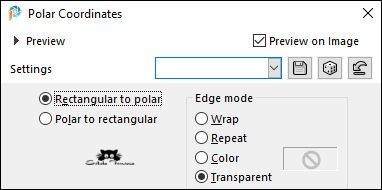
31- Effects / Distortion Effects / Polar Coordinates: Rectangular to polar / Transparente
32- Layers / New Raster Layer... Raster 3
33- Selection Tool (S) Custom Selection:
34- Preencha a seleção com a cor #dab2c1
35- Selections / Modify / Contract / 2 pixels
36- Ative o tube «SvB (1067) Beauty.png» Copie
37- Retorne ao seu trabalho e cole como nova layer (Não esqueça de remover a assinatura)
38- Ferramenta Move (M), Posicione o tube sobre a seleção
39- Selections / Invert
40- Edit / Cut ou Delete no Teclado
41- Selections / Select None
42- Layers / Merge / Merge Down
43- Effects / Plugins / MuRa's Meister / Copies
44- Image / Resize / 35% ... Resize All Layers ... Desmarcado45- Pick Tool (K) Position X: 201,00 / Position Y:169,00 (Tecla "M" para desativar a Pick Tool)
46- Layers / Duplicate
47- Image / Mirror / Mirror Horizontal
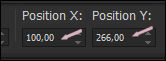
48- Pick Tool (K) Position X: 100,00 / Position Y:266,00 (Tecla "M" para desativar a Pick Tool)
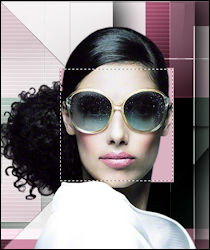
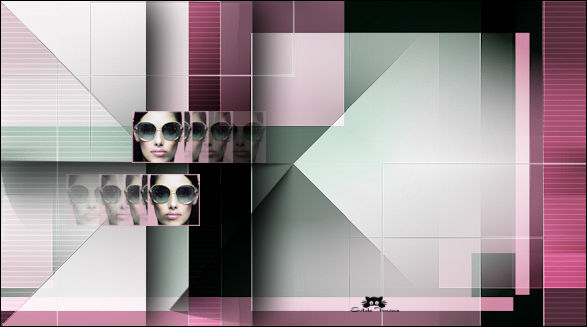
49- Resultado:
50- Layers / New Raster Layer ... Raster 4
51- Selections / Load/Save Selection / Load selection from disk: ivy-selnoisette04
52- Preencha com a cor #8e6975
53- Selections / Select None
54- Layers / Duplicate
55- Ative a Layer imediatamente abaixo: «Raster 4»
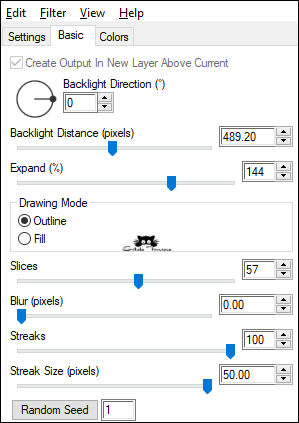
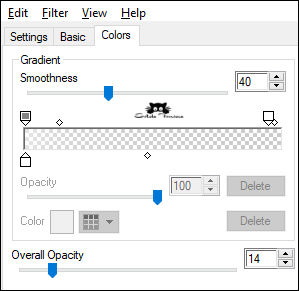
56- Effects / Plugins / Alien Skin Eye Candy 5 / Impact / Backlight :«preset ivy-noisette-backlight»
57- Ative a Layer do Topo58- Blend Mode / Multiply ... Opacidade / 100 %
59- Layers / New Raster Layer ...Raster 5
60- Selections / Load/Save Selection / Load selection from disk: ivy-selnoisette05
61- Preencha com a cor #dab2c1
62- Selections / Modify / Contract / 1 pixel
63- Na paleta de Estilos e Texturas : Clique em «Pattern» e procure a imagem do seu trabalho nas miniaturas à esquerda
configure como segue:
64- Para mim «image11» para Noisette «ivy.pspimage»
65- Verifique se o pequeno quadro está selecionado (não deve ser clicado)66- Preencha a seleção com a pattern
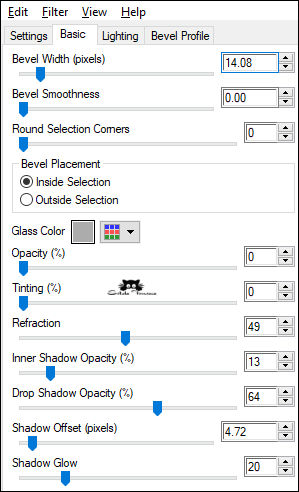
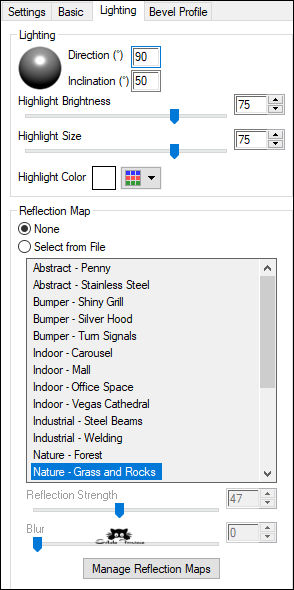
67- Effects / Plugins / Alien Skin Eye Candy 5 / Impact / Glass: «preset ivy-noisette-glass»
68- Selections / Select None69- Effects / 3D Effects / Drop Shadow: -6/-6/25/15, Cor #000000
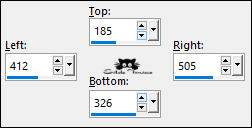
70- Selection Tool (S) / Custom Selection:
71- Copie
72- Selections / Select None
73- Cole como nova layer... Raster 6
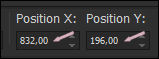
74- Pick Tool (K) Position X: 832,00 / Position Y:196,00 (Tecla "M" para desativar a Pick Tool)
75- Layers / Duplicate
76- Image / Resize / 60% ... Resize All Layers ... Desmarcado
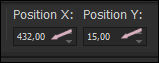
77- Pick Tool (K) Position X: 432,00 / Position Y:15,00 (Tecla "M" para desativar a Pick Tool)
78- Ative a imagem «Ivy-deco01-noisette.png» Copie
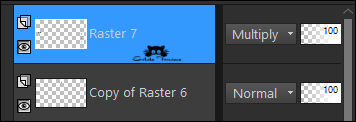
79- Retorne ao seu trabalho e cole como nova layer...Raster 7
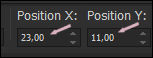
80- Pick Tool (K) Position X: 23,00 / Position Y:11,00 (Tecla "M" para desativar a Pick Tool)
81- Blend Mode / Multiply ... Opacidade / 100 %
82- Ative a imagem «Ivy-texte-noisette.png» Copie
83- Retorne ao seu trabalho e cole como nova layer ...Raster 8
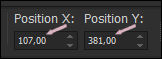
84- Pick Tool (K) Position X: 107,00 / Position Y:381,00 (Tecla "M" para desativar a Pick Tool)
85- Ative novamente o tube«SvB (1067) Beauty.png» Copie
86- Retorne ao seu trabalho e cole como nova layer ...Raster 9.
87- Image / Mirror / Mirror Horizontal
88- Image / Resize / 80% ... Resize All Layers ... Desmarcado
89- Pick Tool (K) Posicione como segue:
90- Effects / 3D Effects / Drop Shadow: -8/-8/50/42, Cor #000000
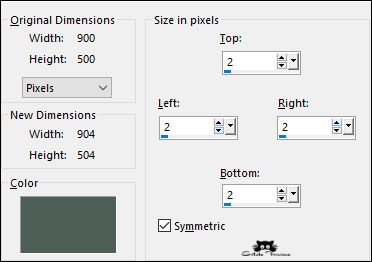
91- Image / Add Borders / Symmetric Marcado / 2 Pixels cor #4d5f56
92- Image / Add Borders / Symmetric Marcado / 20 Pixels cor #FFFFFF93- Image / Add Borders / Symmetric Marcado / 2 Pixels cor #4d5f56
94- Image / Add Borders / Symmetric Marcado / 5 Pixels cor #FFFFFF
95- Image / Add Borders / Symmetric Marcado / 5 Pixels cor #dab2c1

96- Image / Add Borders / Symmetric Marcado / 40 Pixels cor #FFFFFF
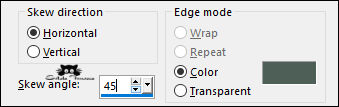
97- Ative a «Varinha Mágica» Feather e Tolerance 0 ... Selecione a Borda rosa de 5 pixels #dab2c1
98- Effects / Geometric Effects / Skew: Cor #4d5f56
99- Selections / Select None100- Selecione a Borda de 40 Pixels cor #FFFFFF
101- Selections / Invert
102- Effects / 3D Effects / Drop Shadow: 0/0/50/50, Cor #000000
103- Image / Add Borders / Symmetric Marcado / 1 Pixel cor #4d5f56
104- Assine seu trabalho
105- Salve como arquivo JPG ... Redimensione se desejar.
FIM
Versão com tube Próprio:
VOLTAR
©Tutorial Traduzido por Estela Fonseca 25/04/2023.
Obrigada Noisette por me permitir traduzir seu trabalho.