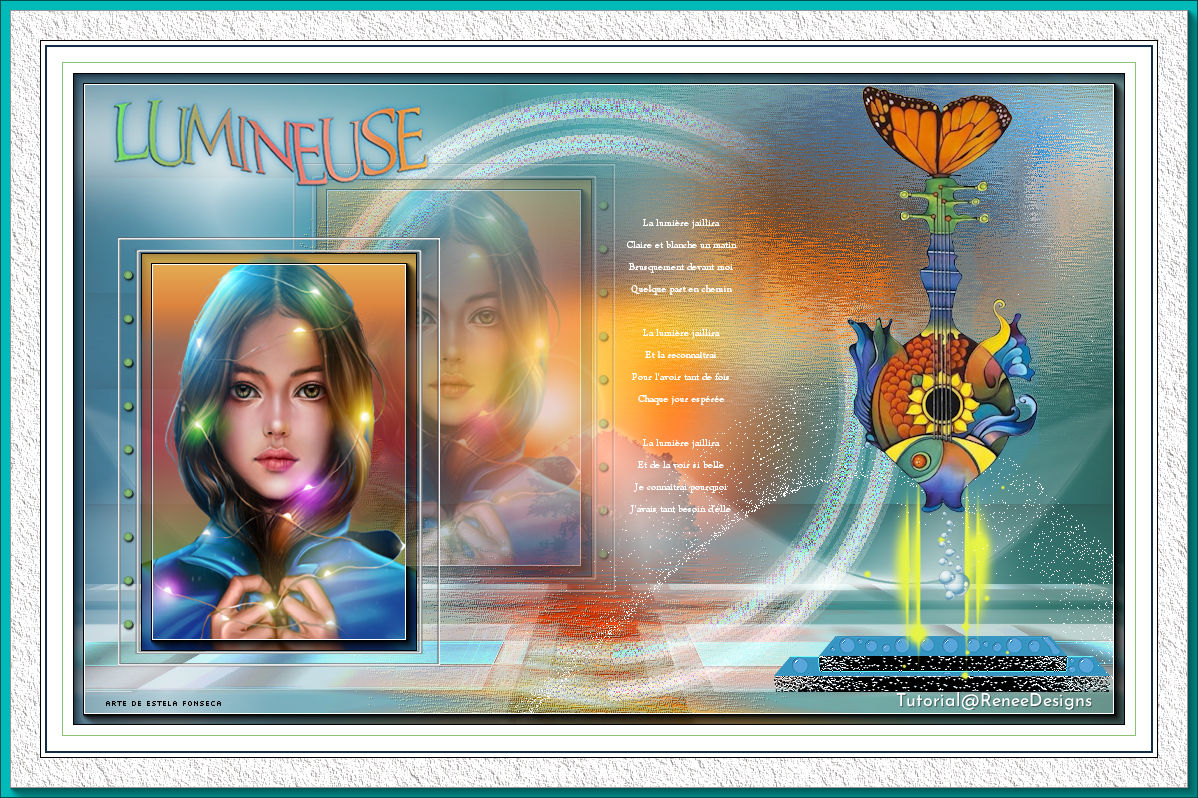
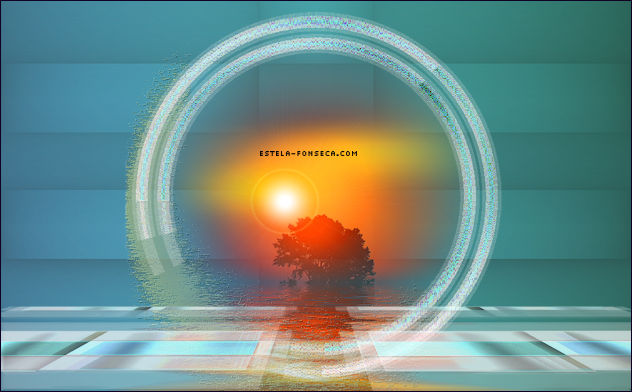
LUMINEUSE (LUMINOSO)
Tutorial de Renée Graphic , original, Aqui.
O tutorial foi traduzido na versão Corel Paint shop Pro X9 Ultimate, mas ele pode ser feito com outras versões.
Materiais Necessários:
Tubes de Renée
ATENÇÃO:
Não compartilhe os tubes de Renée em sites ou blog ...etc
Eles estão a disposição em seu site: AQUI.
Plugins Utilizados: AQUI
PLUGINS
Eye Candy 4000Plugin Galaxy
Vanderlee Unplugged X
MuRa’s Meister
Flaming Pear
Alien Skin EyeCandy 5 / Impact
AAA Frame / Foto Frame
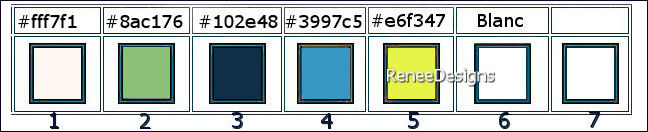
Cores:
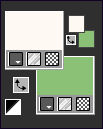
Primeiro Plano cor No 1 e Segundo Plano cor No 2
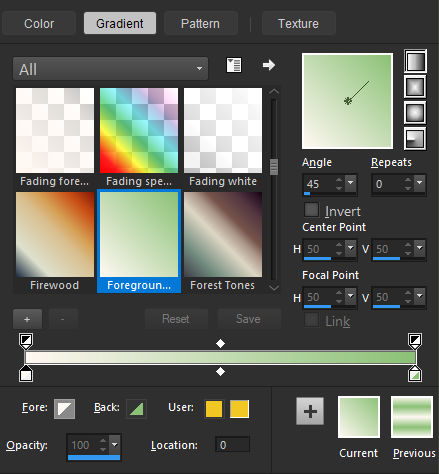
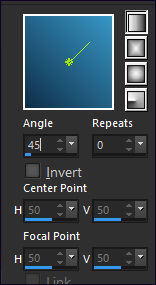
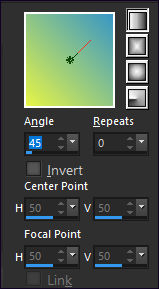
Gradiente <<LINEAR>> Configurado como segue:
1.Abra uma Nova imagem transparente de 1050 x 650 Pixels2. Preencha com o Gradiente
Mude as cores do Primeiro e do Segundo Plano:Primeiro Plano cor No3 e Segundo Plano cor No 4:
As configurações do Gradiente Linear são as mesmas.
3. Layers / New Raster Layer
4. Preencha com o Gradiente
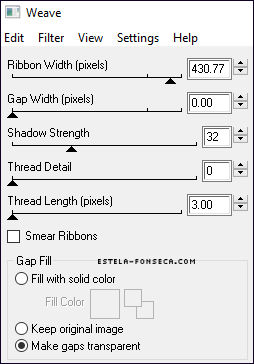
5. Effects / Plugins / Eye Candy 4000 / Weave
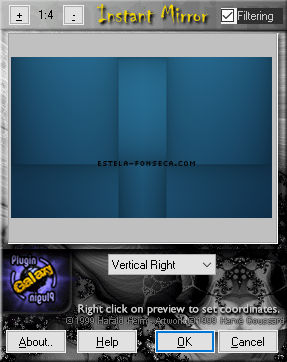
6. Effects / Plugins / Plugin Galaxy / Instant Mirror
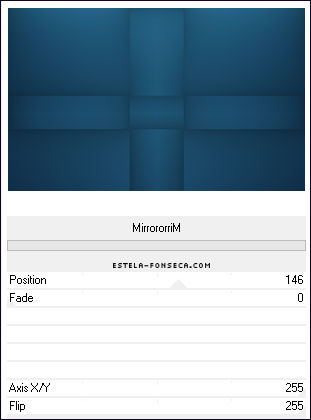
7. Effects / Plugins / Filters Unlimited 2.0 / VM Toolbox / MirrororriM: 146/0/255/255
8. Blend Mode / Hard Light .... Opacidade 83%9. Layers / Merge / Merge Down
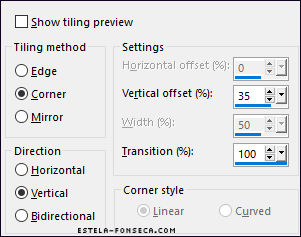
10. Effects / Image Effects / Seamless Tiling
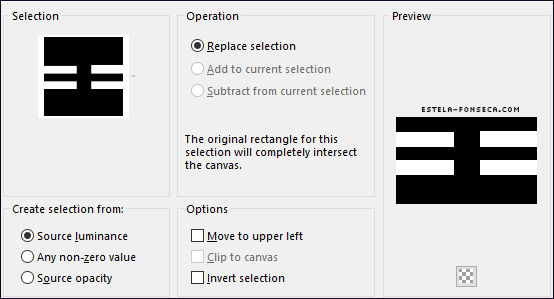
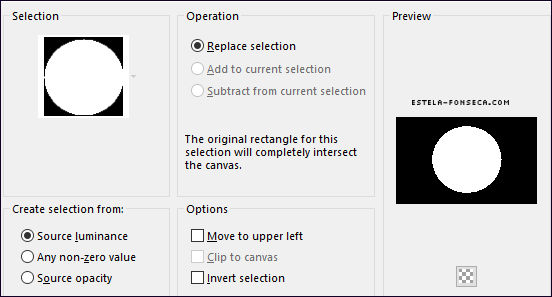
11. Selections / Load/Save Selection / Load selection From Disk: LUMINEUSE-1
12. Selections / Promote Selection to Layer
Selections / Select None
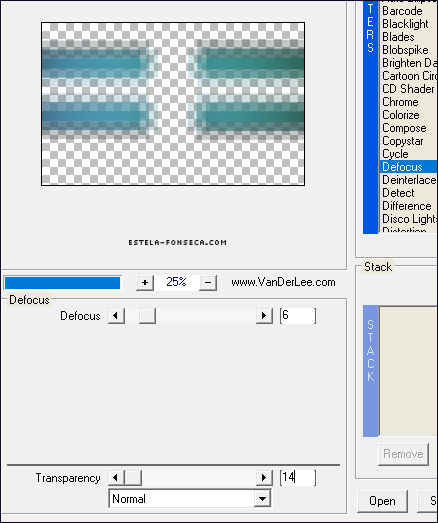
13. Effects / Plugins / Vanderlee Unplugged X / Defocus
14. Effects / Edge Effects / Enhance More
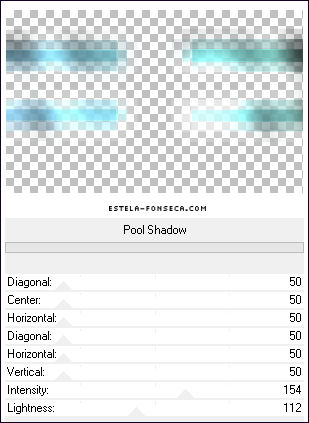
15. Effects / Plugins / Filters Unlimited 2.0 / Greg's Factory Output Vol. II / Pool Shadow
16. Layers / Duplicate
17. Objects / Align / Bottom18. Effects / Plugins / Mura’s Meister / Perspective Tiling
19. Effects /3D Effects / Drop Shadow: 3/3/54/5 Cor #000000
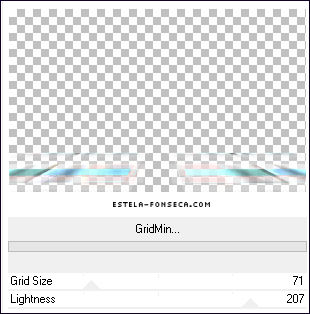
20. Effects / Plugins / Filters Unlimited 2.0 / Factory Gallery H / GridMin... 71/207
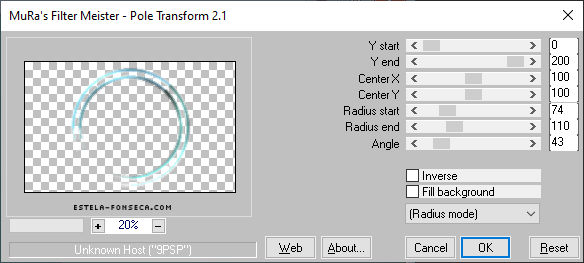
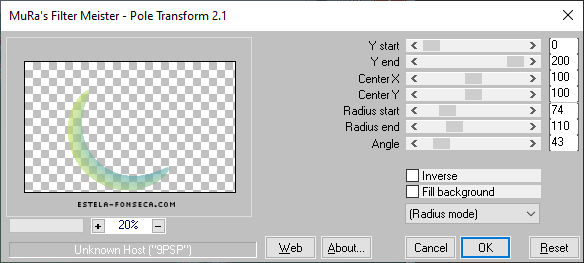
Ative a Layer do Meio << Promoted Selection>>21. Effects / Plugins / Mura’s Meister / Pole Transform
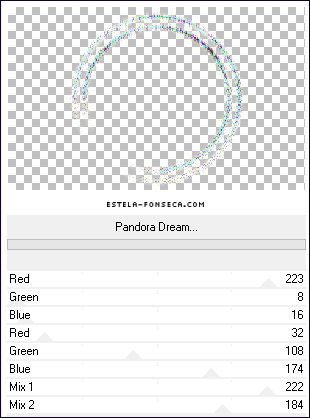
22. Effects / Plugins / Filters Unlimited 2.0 / Andrew's Filters 54 / Pandora Dream...Default
Ative a Layer << Raster 1>>
Primeiro Plano cor No 5
As configurações do Gradiente Linear continuam as mesmas
23. Layers / New Raster Layer
24. Selections / Load/Save Selection / Load selection From Disk: LUMINEUSE-2
25. Opacidade do Baldinho de Pintura à 60
Preencha com o Gradiente
Selections / Select None
26. Effects / Plugins / Mura’s Meister / Pole Transform ( mesmas configurações )
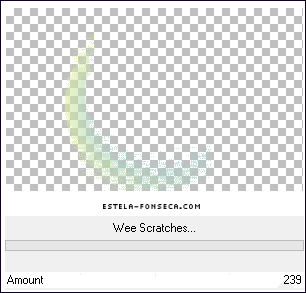
27. Effects / Plugins / Filters Unlimited 2.0 / Tramages / Wee Scratches.../ Amount: 239
28. Effects / 3D Effects / Drop Shadow: 1/1/69/1 Cor #000000
29. Layers / New Raster Layer
30. Selections / Load/Save Selection / Load selection From Disk: LUMINEUSE-2
31. Copie e Cole na seleção o tube <<Renee-TUBES_Lumineuse -Paysage 1>>
Selections / Select None
32. Layers / Arrange / Move Down
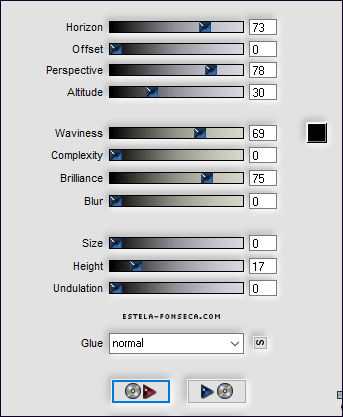
33. Effects / Plugins / Flaming Pear / Flood / Preset: <<Lumineuse – Flood>>
Ou manualmente com essas configurações:
Resultado:
Ative a Layer do Topo34. Layers / New Raster Layer
35. Baldinho de Pintura com Opacidade 100% / Preencha a Layer com a cor branca
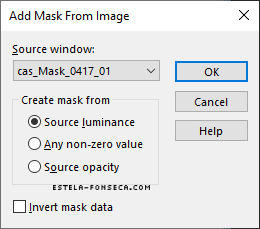
36. Layers / New Mask Layer / From Image: cas_Mask_0417_01
Layers / Merge / Merge Group37. Adjust / Blur / Gaussian Blur / Radius 25
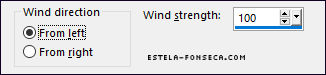
38. Effects / Distortion Effects / Wind
39. Layers / New Raster Layer
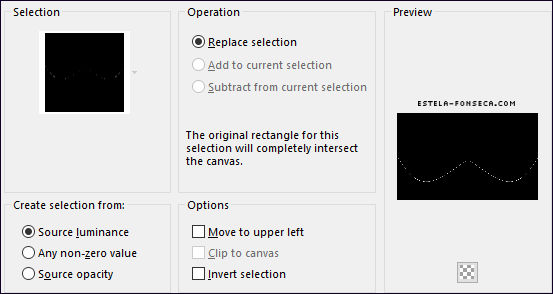
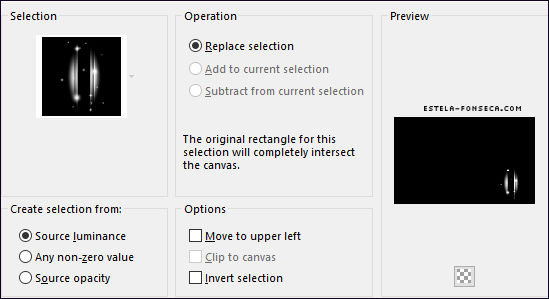
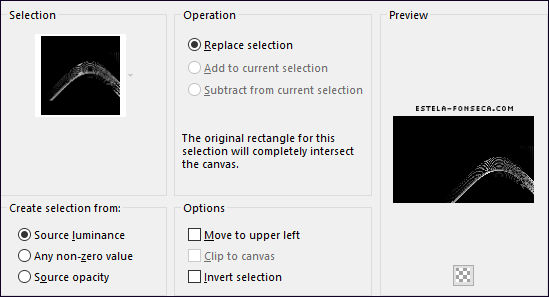
40. Selections / Load/Save Selection / Load selection From Disk: LUMINEUSE-3
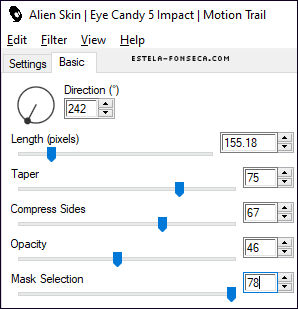
41. Preencha com a cor 3 (Dê um Zoom se necessário)42. Effects / Plugins / Alien Skin EyeCandy 5 / Impact / Motion Trail
Refaça uma segunda vez usando os mesmos parâmetros43. Selections / Load/Save Selection / Load selection From Disk: LUMINEUSE-3
44. Adjust / Blur / Gaussian Blur / Radius 100Selections / Select None
45. Copie e Cole como nova layer << Renee-TUBES_Lumineuse -Paysage 2>>
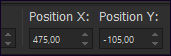
46. Pick (K) / Position X: 475 / Position Y: -105 / Tecla "M" para desativar a Pick
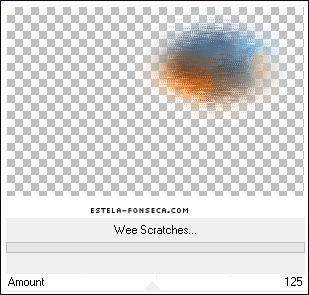
47. Effects / Plugins / Filters Unlimited 2.0 / Tramages / Wee Scratches.../ Amount: 125
48. Adjust / Sharpness / Sharpen More
49. Copie e Cole como nova layer << Renee-TUBES_Lumineuse –Podium>>50. Pick (K) / Position X: 700 / Position Y: 562 / Tecla "M" para desativar a Pick
51. Layers / New Raster Layer
52. Selections / Load/Save Selection / Load selection From Disk: LUMINEUSE-4
53. Preencha a seleção com a cor No 5 ( 1 ou 2 cliques)
Selections / Select None
54. Ative o tube <<Renee-TUBES-Lumineuse - poisson-guitare>>
Ative a Layer <<lumineuse>> deste tube
Copie e Cole como nova layer em seu trabalho
55. Pick (K) / Position X: 773 / Position Y: 11 / Tecla "M" para desativar a Pick
56. Copie e Cole como nova layer <<Renee-TUBES-bulles>>
Posicione sob a boca do peixe57. Layers / New Raster Layer
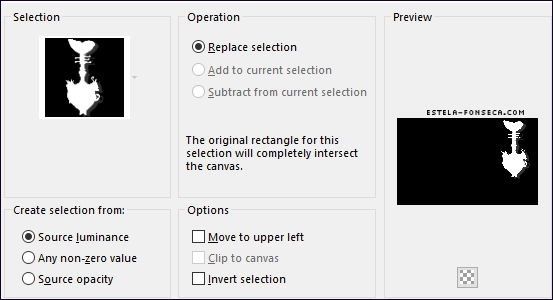
58. Selections / Load/Save Selection / Load selection From Disk: LUMINEUSE-5
59. Preencha com a cor branca
60. Blend Mode / Dissolve ... Opacidade 32
61. Selections / Load/Save Selection / Load selection From Disk: LUMINEUSE-6
Delete no Teclado
Selections / Select None
62. Copie e Cole como nova layer <<Renee-TUBES- Cadre>>
63. Pick (K) / Position X: 44 / Position Y: 163 / Tecla "M" para desativar a Pick
64. Layers / New Raster Layer
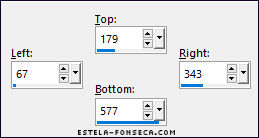
65. Selection Tool (S) Rectangle / Custom Selection
66. Copie e Cole na Seleção <<Renee-TUBES-Lumineuse –fille>>67. Layers / Merge / Merge Down
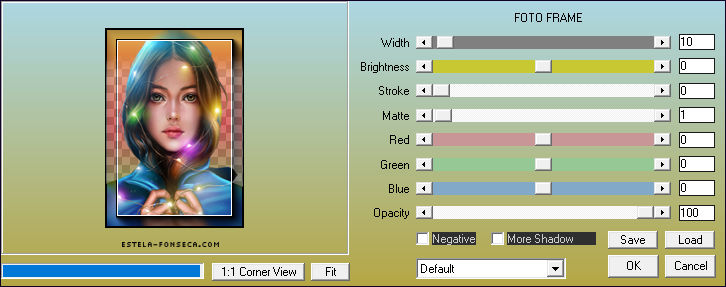
68. Effects / Plugins / AAA Frame / Foto Frame
Selections / Select None
69. Layers / Duplicate
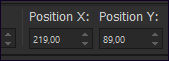
70. Pick (K) / Position X: 219 / Position Y: 89 / Tecla "M" para desativar a Pick
71. Layers / Arrange / Move Down ... Opacidade 36Ative a Layer do Topo
72. Copie e Cole como nova layer << Renee-TUBES-Decos >>
Posicione como na imagem final73. Copie e Cole como nova layer <<Lumineuse-texte>> Posicione à gosto
74. Image / Add Borders / Symmetric Marcado / 1 Pixel cor No 3
Copie75. Ative o <<cadre>>
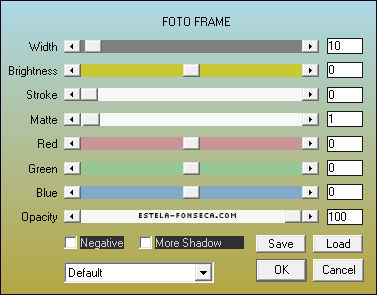
Copie e Cole na seleção!76. Effects / Plugins / AAA Frame / Foto Frame
77. Cole o título ou escreva com a fonte anexada
78. Cole a assinatura de Renée e a sua assinatura.
79. Layers / Merge / Merge All
80. Image / Resize / 999 Pixels de Largura ... Resize All Layers ... MarcadoSalve como arquivo JPG
FIM
©Tutorial traduzido por Estela Fonseca em 03/07/2022.
Não alterar nem repassar sem autorização.