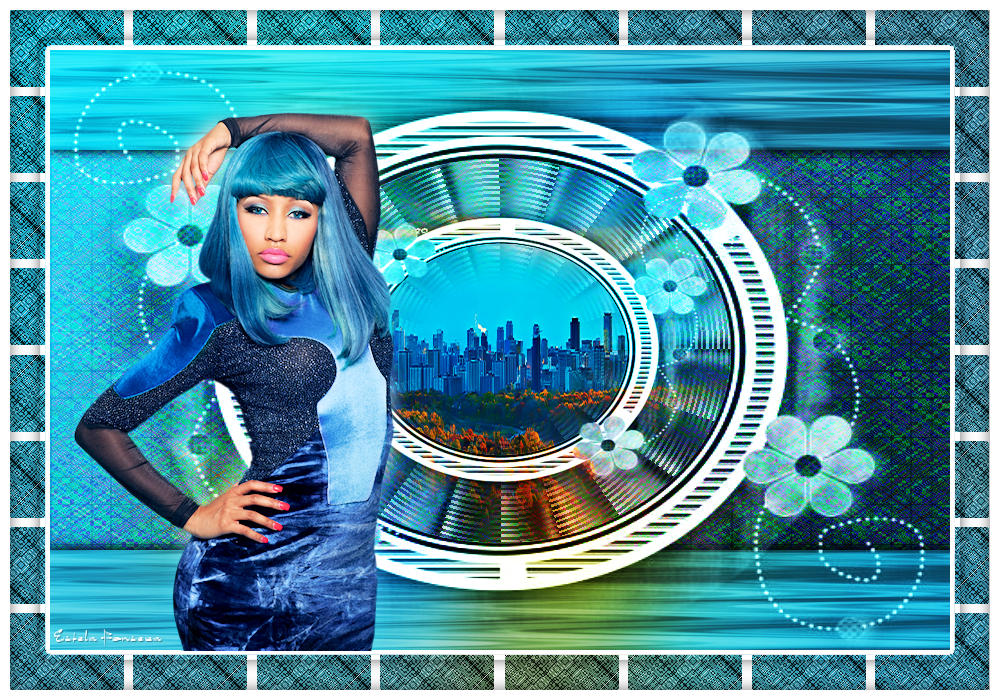
NATALYA
Tutorial original criado por ©Vérone - Original Aqui
Materiais Necessários:
Tube de OBG
Tube paisagem de Luna
Imagem de Deviantart
Mask de SG
Plugin Utilizado:
Factory Gallery S
ETAPA 1 : O Fundo
01- Escolha uma imagem de paisagem, cujas cores você gosteCopie
02- Abra uma nova imagem transparente de 900/600 pixels
Selections / Select All
Cole na seleção
Selections / Select None
Adjust / Blur / Gaussian Blur / Radius 50
03- Layers / Duplicate
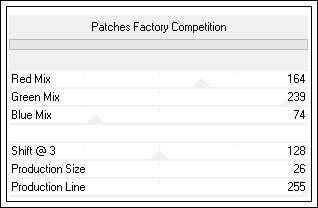
04- Effects / Plugin / Filter Factory Gallery S / Patches Factory Competition
Blend Mode / Luminance (Legacy)
05- Edit / Cut
(a imagem ficará na memória)
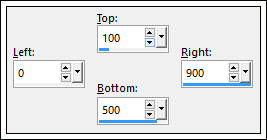
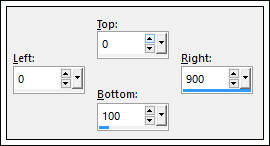
06- Selection Tool(S) / Rectangle / Custom Selection
Cole na seleção
Selections / Select None
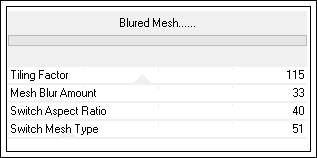
08- Effects / Plugin / Filter Factory Gallery S / Blured Mesh
ETAPA 2 : As Listas Verticais
01- Ative a layer inferiorLayers / Duplicate
Layers / Arrange / Bring to top
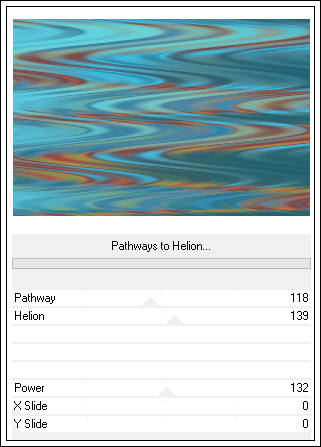
02- Effects / Plugin / Filter Factory Gallery S / Pathways to Helion
Blend Mode / Luminance
03- Edit / Cut
(a imagem ficará na memória)
04- Selection Tool(S) / Rectangle / Custom Selection
Cole na Seleção
Selections / Select None
Effects / 3D Effects / Drop shadow: 0 / 0 / 60 / 20,00 / #000000
05- Layers / Duplicate
Image / Flip
ETAPA 3 : A Mask
01- Layers / New Raster Layer
Preencha com a cor branca
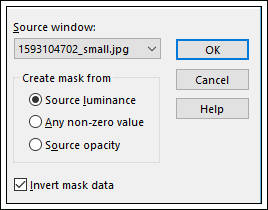
02- Layers / New Mask layer / From Image:
Layers / Merge / Merge Group
Effects / 3D Effects / Drop shadow: 0 / 0 / 100 / 40,00 / #000000
Adjust / Sharpness / Sharpen
Blend Mode / Luminance (Legacy)
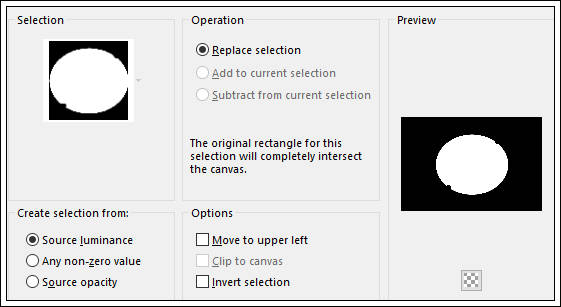
03- Selections / Load save selection / Load selection from disk:
Delete no teclado
Selection / Select None
04- Layers / Duplicate
Image / Resize / 55%
(Resize all layers desmarcado)
05- Image / Flip
Layers / Merge / Merge Down
ETAPA 4 : O Disco
01- Layers / New Raster LayerSelections / Load save selection / Load selection from disk:
Preencha com a cor branca
Selections / Select None
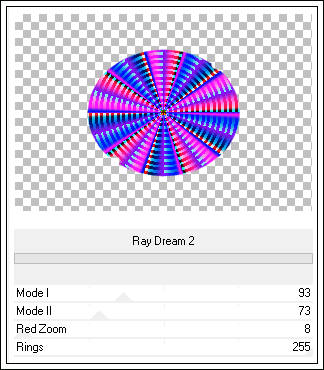
02- Effects / Plugin / Filter Factory Gallery S / Ray Dream 2
03- layers / Arrange Move down
Blend Mode / Luminance (Legacy)
ETAPA 5 : A Paisagem
01- Layers / New Raster LayerSelections / Load save selection / Load selection from disk:
02- Abra a paisagem, copie e cole na seleção
Selections / Select None
ETAPA 6 : A Borda
01- Layers / Merge / Merge AllImage /Add Borders / Symmetric marcado / 50 pixels cor #ffffff
Ative a Varinha Mágica e selecione essa borda
Selections / Modify / Contract / 5 pixels
Cole na seleção (a paisagem ainda está na memória)
Adjust / Blur / Gaussian Blur / Radius 50
02- Selections / Promote selection to layer
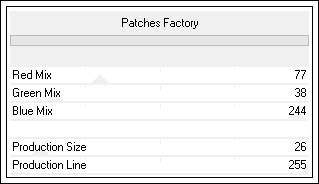
03- Effects / Plugin / Filter Factory Gallery S / Patches Factory
Blend Mode / Luminance
04- Layers / New Raster layer
Preencha com a cor #ffffff
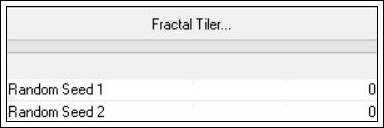
Effects / Plugin / Filter Factory Gallery S / Fractal Tiler
05- Selections / Modify / Contract 5 pixelsSelections / Invert
Effects / 3D Effects / Drop shadow: 0 / 0 / 60 / 20,00 / #000000
Selections / Select None
ETAPA 7 : A Personagem
01- Abra o tube de personagem
Copie e Cole como nova layer
Redimensione se necessário
Posicione
Aplique uma sombra
02- Adicione a sua assinatura ou sua marca d'água
Salve como jpg
©Tutorial Traduzido por Estela Fonseca 05/07/2016.
Obrigada Vérone por me permitir traduzir seu trabalho.