|
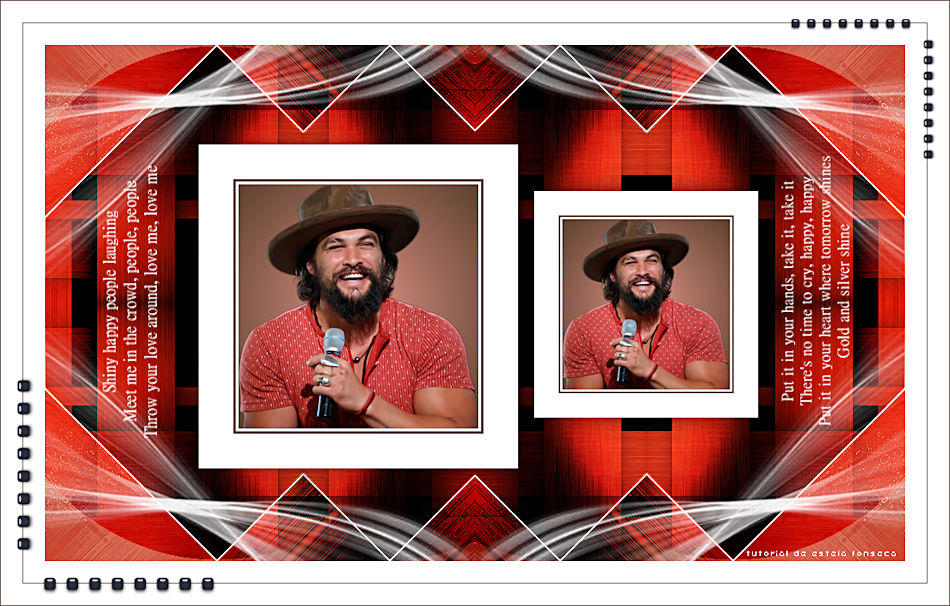
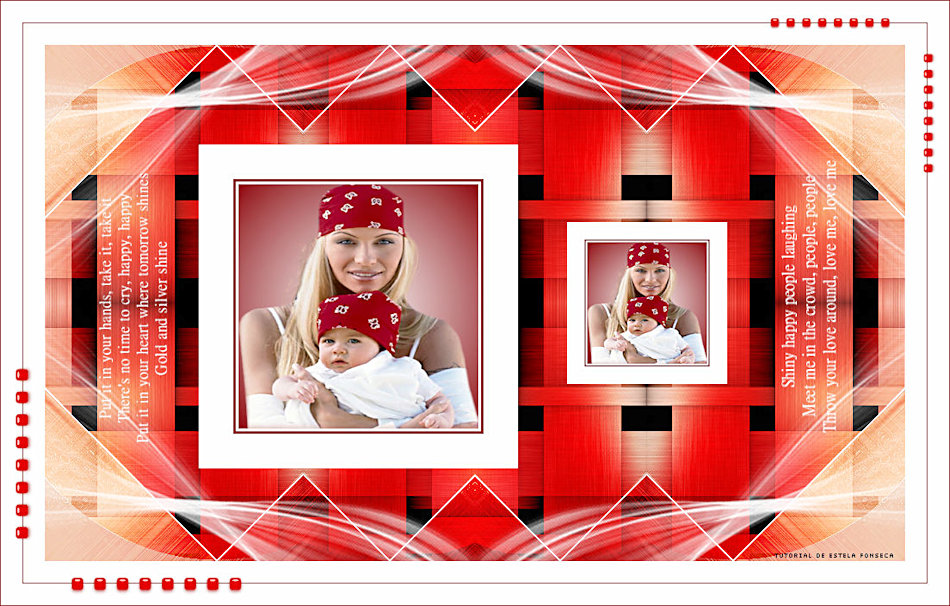
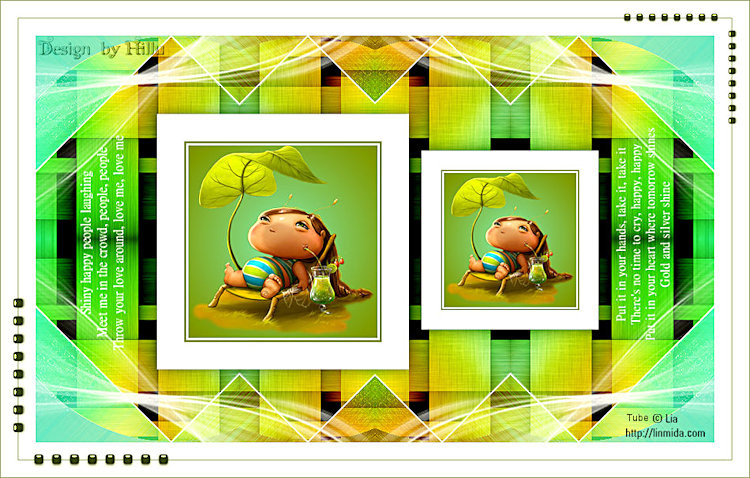
SHINY HAPPY PEOPLE
Agradeço as maravilhosas tradutoras: Pinuccia, Clo. Hillu e Angela.
Material Necessário:
Tube de LB Tubes, AQUI. Demais materiais feitos especialmente para este tutorial. Agradeço!
Plugins Utilizados: Medhi / Vibrations Flaming Pear / Flexify 2 Simple / Diamond e Top Left Mirror Eye Candy 4000 / Weave Graphics Plus / Quick Tile 2 FunHouse /Xaggerate
** Dentro do Unlimited 2
Preparação: Abra os tubes no PSP, duplique e feche os originais. Trabalhes com as cópias!!! As seleções deste tutorial estão em canal alfa.
Cores
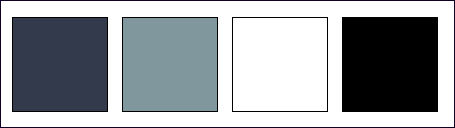
Primeiro Plano cor #333a4c Segundo Plano cor #80979d
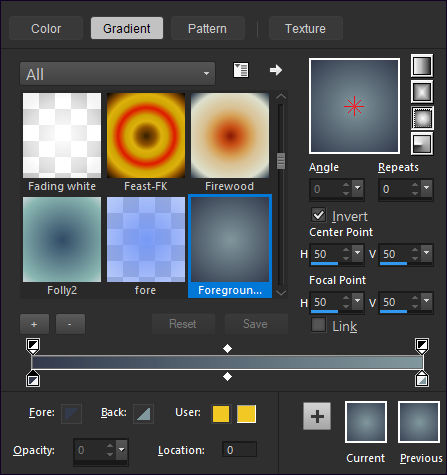
Gradiente <<Sunburst>> Configurado como segue:
01- Abra a Layer <<EF_Shiny_Alpha>> Duplique e Feche a original Preencha com o Gradiente Selections / Select All
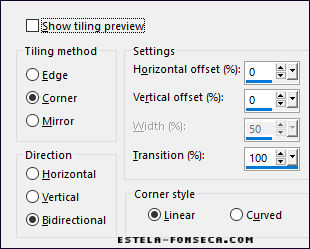
02- Abra o tube <<3489 - Dad - LB TUBES >> Copie e Cole na seleção Selections / Select None Effects /Image Effects / Seamless Tiling:
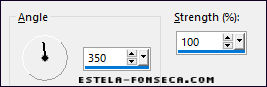
03- Adjust / Blur / Motion Blur : (2 vezes)
Effects / Edge Effects / Enhance More
04- Layers / Duplicate Effects / Plugins / Medhi / Vibrations
Blend Mode / Hard Light Layers / Merge / Merge Down
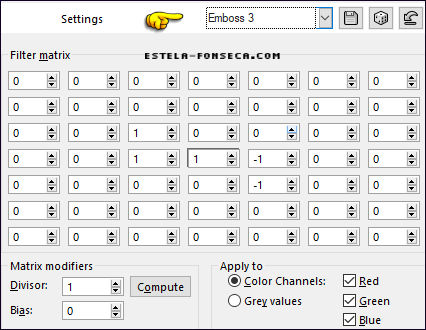
05- Abra o <<EF_Shiny_Deco-1>> Copie e Cole como nova layer Effects / User Defined Filters / Emboss 3
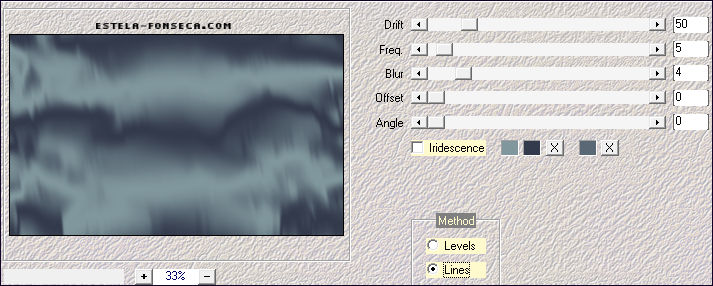
Effects / Texture Effects / Weave
Blend Mode / Soft Light Layers / Duplicate
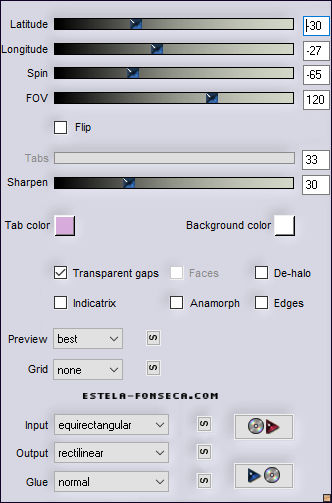
06- Layers / Merge / Merge Visible Effects / Plugins / Flaming Pear / Flexify 2
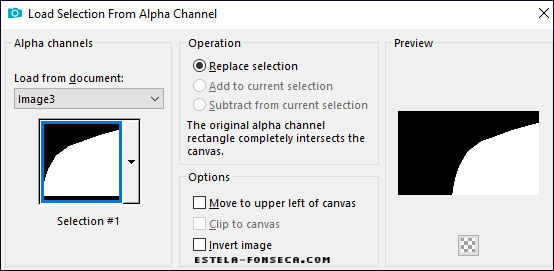
07- Selections / Load save selection / Load selection from Alpha Channel: Selection #1
Adjust / Blur / Gaussian Blur / Radius 30 Selections / Promote Selection to Layer Selections / Select None
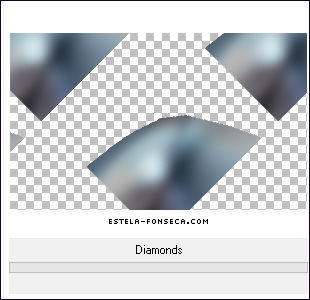
08- Effects / Plugins / Simple / Diamonds
Effects / Edge Effects / Enhance
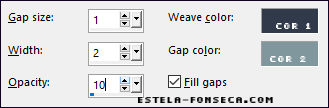
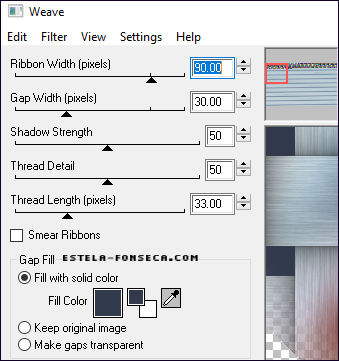
09- Effects / Plugins / Eye Candy 4000 / Weave
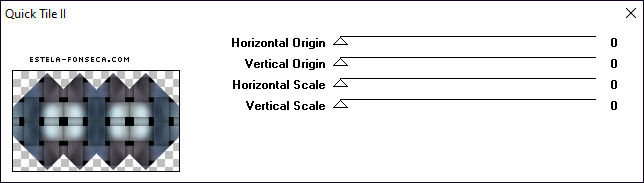
Effects / Plugins / Graphics Plus / Quick Tile 2 / Default
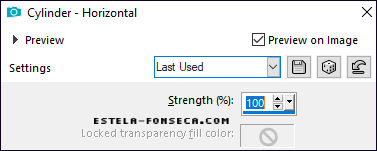
10- Layers / Duplicate Effects / Geometric Effects / Cylinder - Horizontal
Blend Mode / Overlay
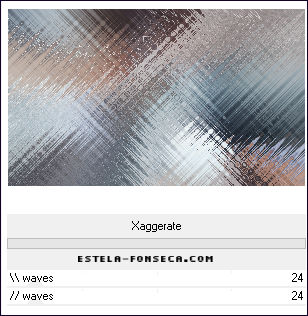
11- Abra o <<EF_Shiny_Deco-2>> Copie e Cole como nova layer Ative a Layer do fundo (Merged) Effects / Plugins / FunHouse /Xaggerate
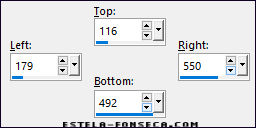
12- Ative a Layer do Topo (Raster 1) Selection Tool (S) / Custom Selection
Layers / New Raster Layer Preencha com a cor Cor branca
13- Selections / Modify / Contract 40 Preencha com a cor do Primeiro Plano Selections / Modify / Contract 3 Pixels Preencha com a cor branca Selections / Modify / Contract 3 Pixels Preencha com o Gradiente do começo
14- Layers / New Raster Layer Ative o tube copie e cole na seleção Selections / Select None Adjust / Sharpness / Sharpen Layers / Merge / Merge Down
15- Oculte esta layer por um momento Ative a layer do fundo Layers / Merge / Merge Visible
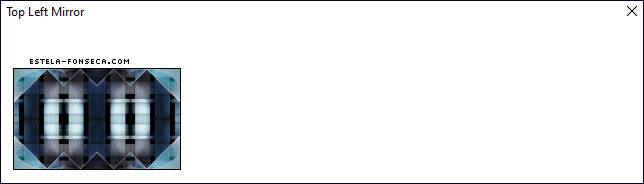
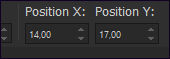
16- Effects / Plugins / Simple / Top Left Mirror
Ative e torne visível a layer do topo
17- Layers / Duplicate Image / Resize / 70%... Resize All Layers ... Desmarcado Adjust / Sharpness / Sharpen
18- Pick Tool(K) Posição X (569,00 ) Posição Y (170,00 ) Tecla "M" para desativar a Pick
Layers / Merge / Merge Down Effects / 3D Effects / Drop Shadow: 0 / 0 / 50 / 30 / Cor #000000
19- Abra o << EF_Shihy_Texto-1>> Copie e Cole como nova layer Abra o << EF_Shiny_Deco-3>> Copie e Cole como nova layer
20- Image / Add Borders / Symmetric Marcado / 25 Pixels cor #ffffff Image / Add Borders / Symmetric Marcado / 1 Pixel cor do Primeiro Plano Image / Add Borders / Symmetric Marcado / 25 Pixels cor #ffffff
21- Ative o tube << EF_Shiny_Deco_4>> Copie e Cole como nova layer Pick Tool(K) Posição X (14,00 ) Posição Y (17,00 ) Tecla "M" para desativar a Pick
22- Assine seu trabalho Image / Add Borders / Symmetric Marcado / 1 Pixel cor do Primeiro Plano Salve como arquivo JPG otimizado.
FIM
Versão 2: Tube de Clo:
Tube de LB Tubes:
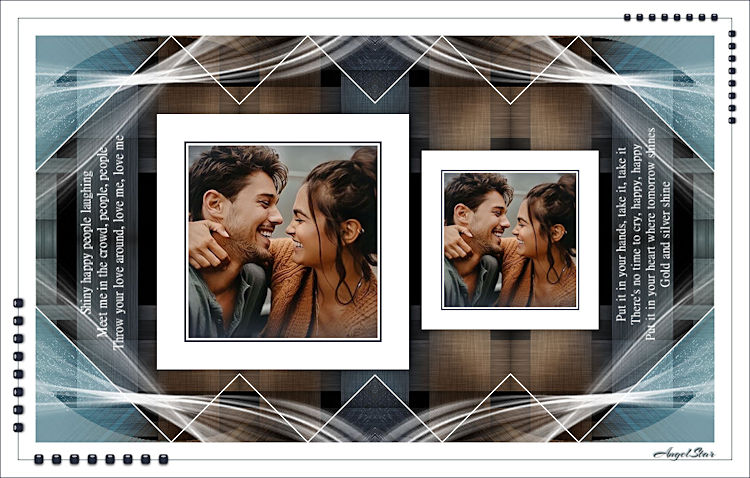
Testado por Angle Star:
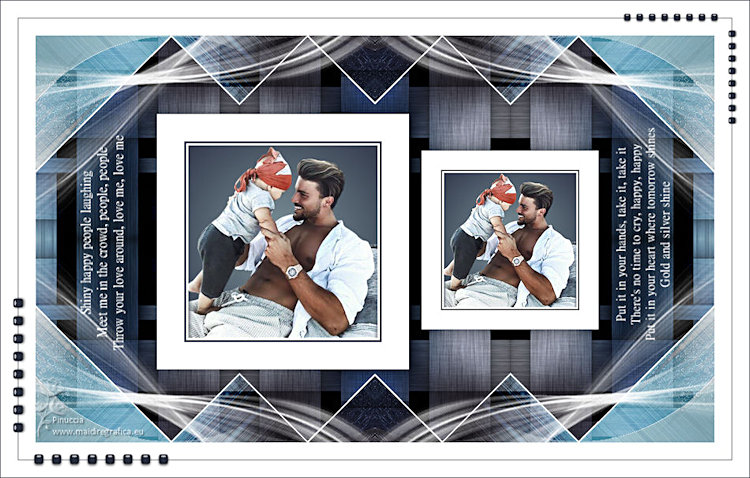
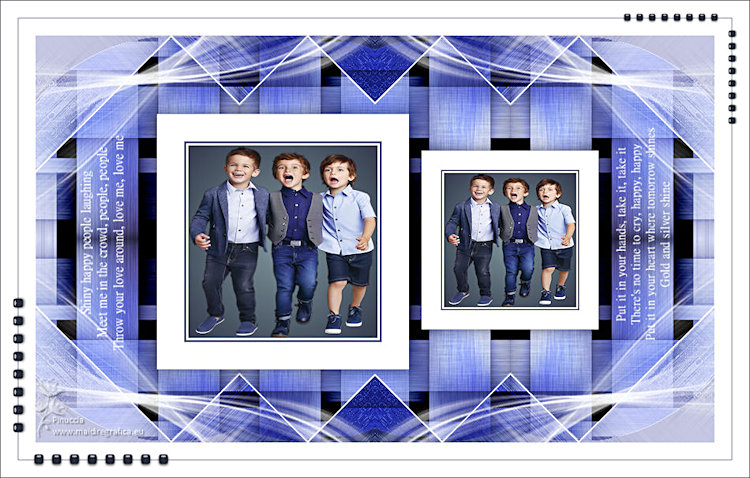
Versões de Pinuccia:
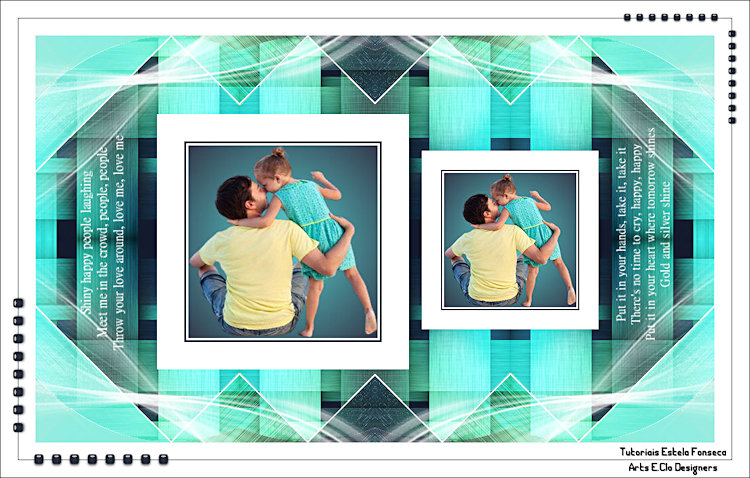
Versão de Clo:
Versão de Hillu:
Versão de Angela:
© Tutorial criado por Estela Fonseca
em 28/08/2021. |