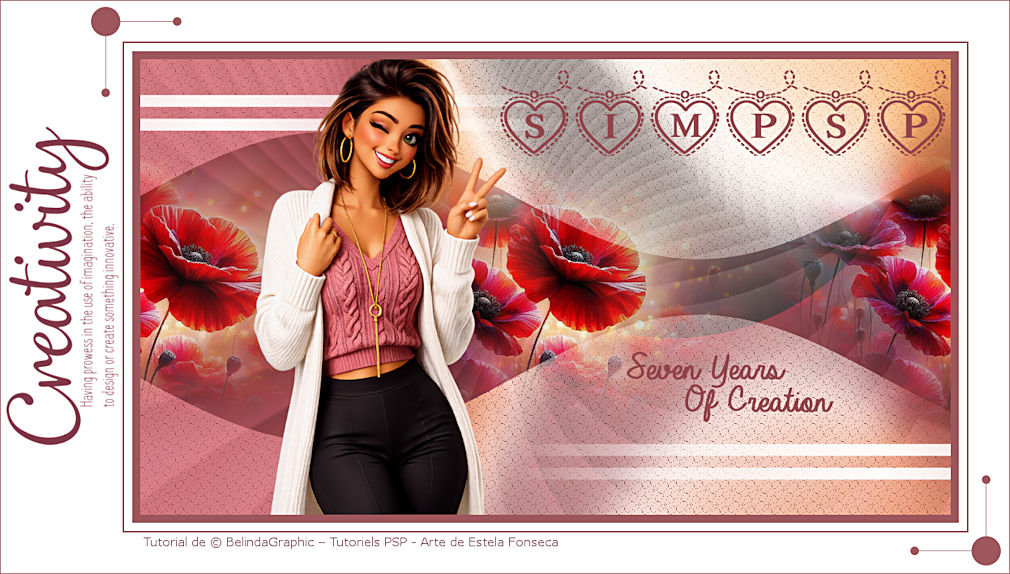
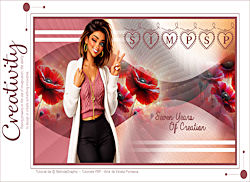
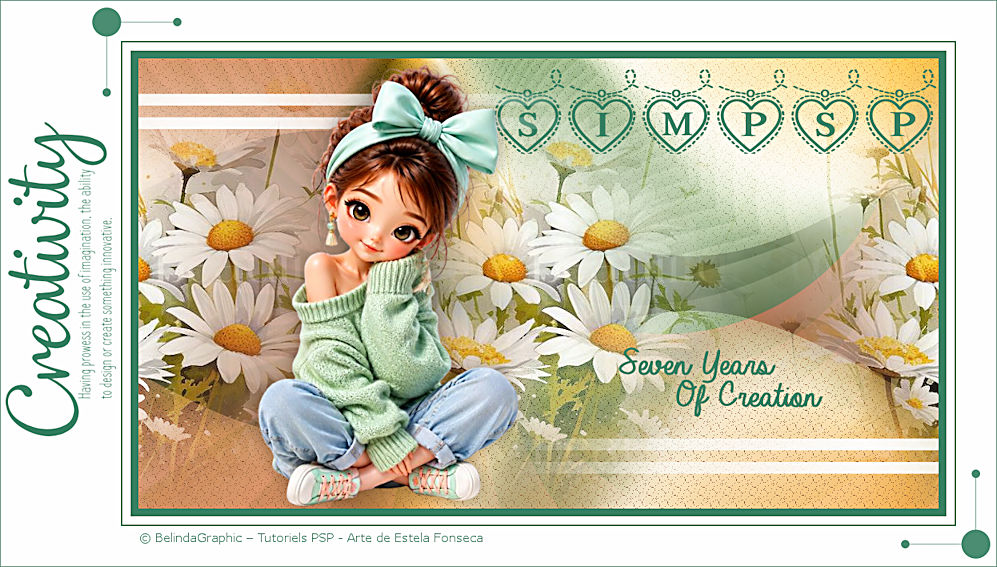
SIM PSP 7 YEARS
Tutorial de ©Belinda_Graphic _Tutoriais PSP - Original Aqui
Traduzido no PSP 2022 ULTIMATE, mas pode ser realizado nas versões anteriores!
Materiais Necessários:
Todos os materiais criados por Belinda.
O material contido no arquivo para download destina-se exclusivamente à realização deste tutorial.
PLugins:Flaming Pear => Flexify 2
Screeworks => Lace Screen
Cores:Cor 1 #93464c
Cor 2 #ffffff
1. Abra a imagem «Background Sim-Psp-7-Years»Duplique e feche a original (trabalhe com a cópia)
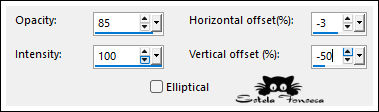
Effects / Reflection Effects / Feedback:
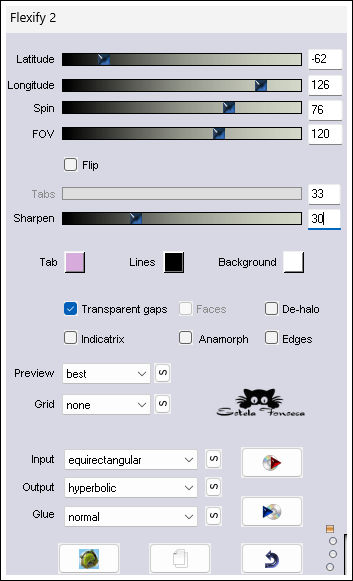
2. Effects / Plugins / Flaming Pear / Flexify 2.
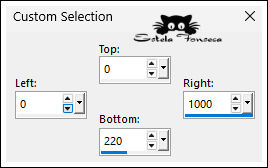
3. Selections Tool (S) / Custom Selection:
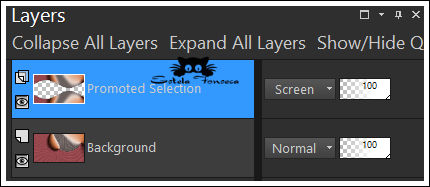
4. Selections / Promote Selection to Layer.
Selections / Select None.
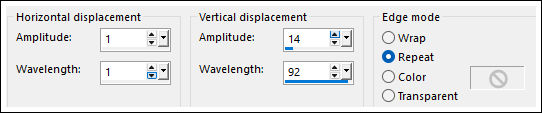
Effects / Distortion Effects / Wave
5. Selections / Select All.
Selections / Float.
Selections / Defloat.
Adjust / Blur / Gaussian Blur/ Radius 20
Selections / Select None.
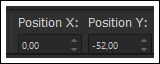
6. Pick Tool (K). Position X: 0 ... Position Y: -52
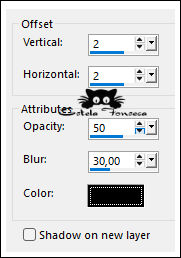
7. Effects / 3D Effects / Drop Shadow: (2, 2, 50, 30) Cor #000000.
Layers / Duplicate.
Image / Mirror / Mirror VerticalLayers / Merge / Merge Down.
Blend Mode / Screen.
8. Effects / Plugins / ScreenWorks / Lace Screen.
Ative «Misted©BG-Sim-Psp-7-Years».
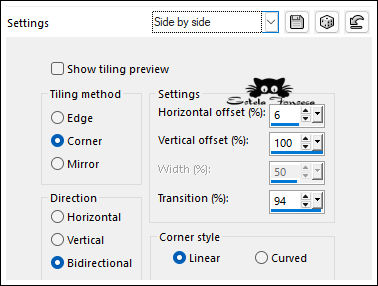
Copie e cole como nova layerEffects / Image Effects / Seamless Tiling / Side by Side.
9. Layers / Arrange / Move Down.
Adjust / Sharpness / Sharpen.
Ative a Layer do TopoAtive o tube « TEXTE-Sim-Psp-7-Years »
Copie e cole como nova layer
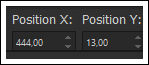
Pick Tool (K) ... Position X: 444 ... Position Y:13
10. Ative o tube «Déco-1-Sim-psp-7-years»Copie e cole como nova layer
Ative o tube «SIMPSP-7-Years-Woman».
Copie e cole como nova layerImage / Resize / 78%... Resize All Layers ... Desmarcado
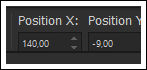
Image / Mirror / Mirror HorizontalPick Tool (K)... Position X: 140 ... Position Y: -9
11. Image / Add borders / Symmetric Marcado / 10 pixels cor (1) #93464c
Image / Add borders / Symmetric Marcado / 10 pixels cor (2) #ffffffImage / Add borders / Symmetric Marcado / 2 pixels cor (1) #93464c
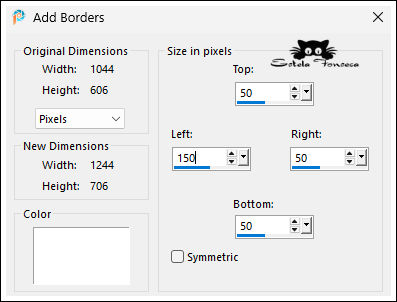
Image / Add borders: Cor 2 #ffffff
12. Ative «WA-CreativityDEF»
FreeHand Tool «Point-to-Point » Feather = 0
Selecione o Texto ... Copie e cole como nova layer
13. Image / Negative Image.
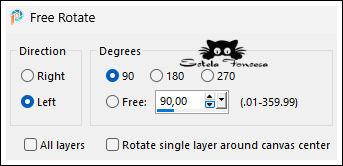
Color Changer Tool ... Pinte o texto com a cor 1Image / Free Rotate:
14. Image / Resize / 80%... Resize All Layers ... DesmarcadoPosicione como no modelo
15. Ative o tube «Déco-2- Sim-Psp -7-Years»Copie e cole como nova layer
Coloque no canto superior esquerdo ... ver imagem final.
Layers / Duplicate.
16. Image / Mirror / Mirror HorizontalImage / Mirror / Mirror Vertical
Adicione a sua assinatura
Image / Add Borders / Symmetric Marcado / 1 pixel cor (1)
Image / Resize / 997 pixels de largura ... Resize All Layers ... Marcado.Salve como JPG.
Versão Extra: Tubes Próprios

©Tutorial Traduzido por Estela Fonseca 07/08/2026.
Obrigada Belinda por me permitir traduzir seu trabalho.