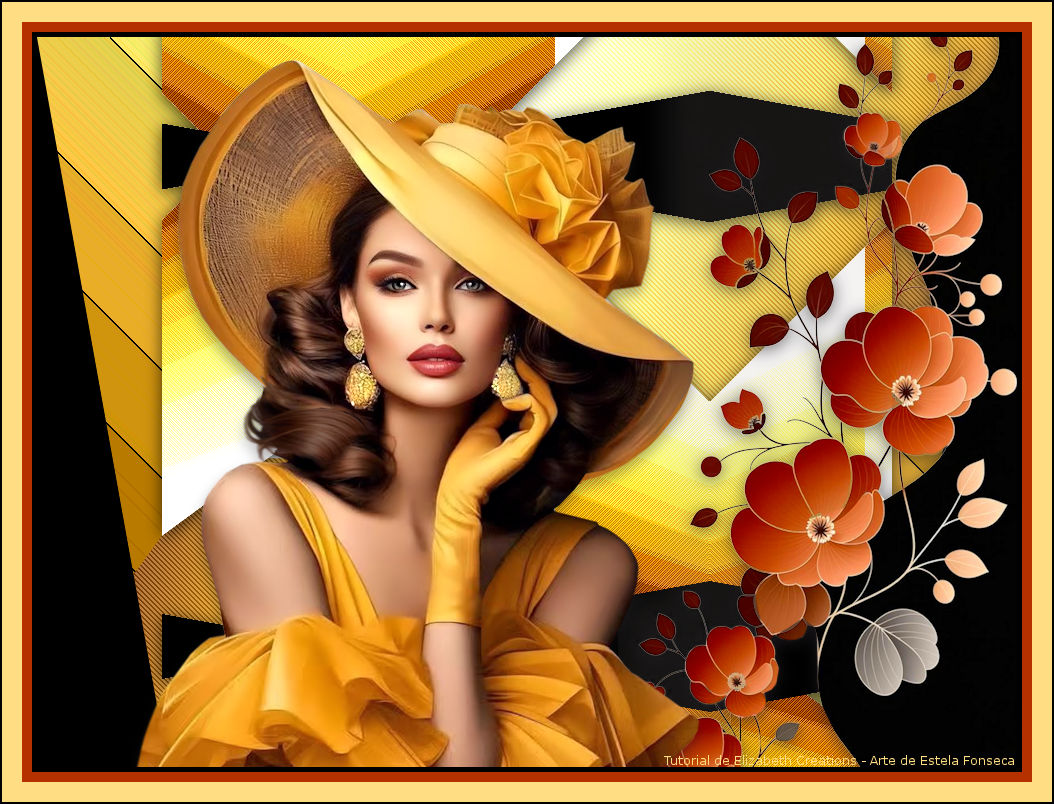
CITRUS YELLOW
Tutorial de ©Elizabeth Creations
Este tutorial foi traduzido usando o Corel'Paint ShopPro' 2022 ULTIMATE.
Material Necessário:
Plugins Usados:
Carolaine and Sensibility / CS-DLines
Filters Unlimited 2.0 / Alf's Power Grads
Simple / Zoom Out and Flip
Filter Factory Gallery V / Posterize
DCspecial / Edger
Criador de IA da dama desconhecido.
Lembre-se de salvar seu trabalho com regularidade.
1. Abra uma nova imagem BRANCA de 980 X 730pix.
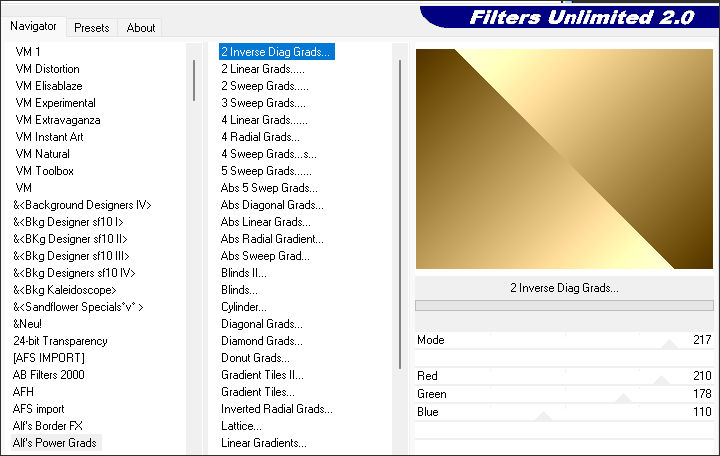
2. Effects / Plugins / Filters Unlimited 2.0 / Alf's Power Grads / 2 Inverse Diag Grads:
3. Adjust / Hue and Saturation / Vibrancy 27.
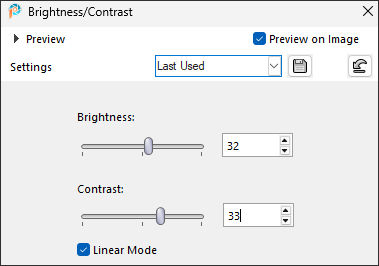
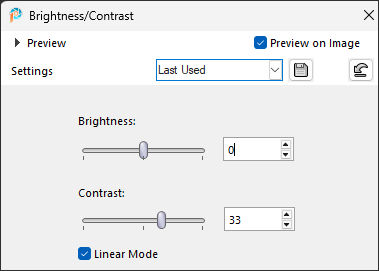
4. Adjust / Brightness and Contrast / Brightness/Contrast:
5. Layers / Duplicate.
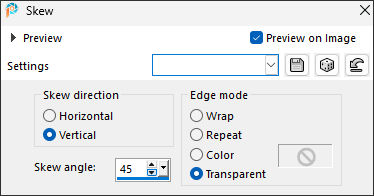
6. Effects / Geometric Effects / Skew:
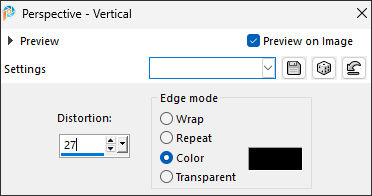
7. Effects / Geometric Effects / Perspective-Vertical:
8. Ative a Magic Wand Tool...Mode ADD ( Feather e Tolerance em 0 )
Selecione as áreas pretas da esquerda e da direita.
9. Selections / Invert.
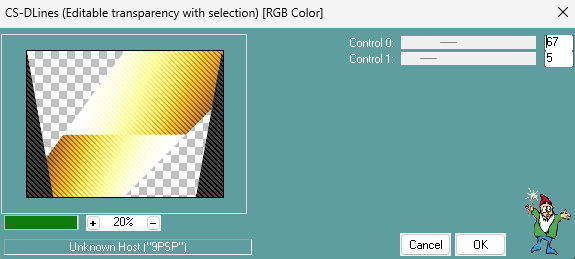
10. Effects / Plugins / Carolaine and Sensibility / CS-DLines:
11. Selections / Select None.
12. Layers / Duplicate.
13. Effects / Plugins / Filters Unlimited 2.0/ Simple / Zoom Out and Flip.
14. Image / Free Rotate:
15. Effects / Plugins / Filters Unlimited 2.0 / Filter Factory V / Posterize....default.
16. Effects / 3D Effects / Drop Shadow: 3 / 0 / 70 / 25,00 / Cor #000000
17. Adjust / Brightness and Contrast / Brightness/Contrast:
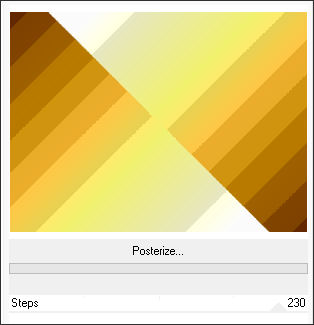
18. Ative a Layer do Fundo...Effects / Plugins / Filters Unlimited 2.0 / Filter Factory Gallery V / Posterize.... Steps => 230.
19. Image / Mirror / Mirror Horizontal.
20. Effects / Plugins / DCspecial / Edger...default (255/22)
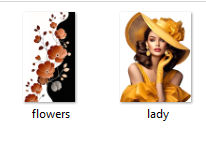
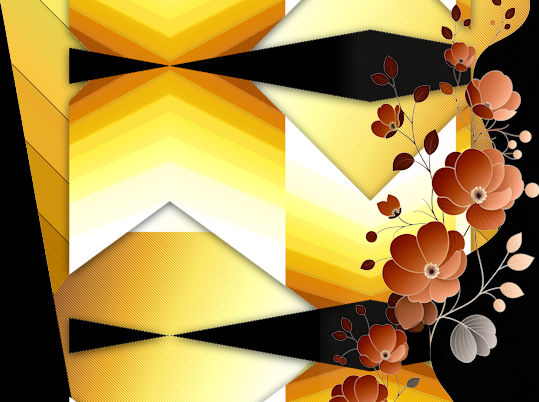
21. Ative a layer do Topo...Abra o tube « flowers.png » Copie e cole como nova layer
Posicione do lado direito
22. Effects / 3D Effects / Drop Shadow...mesmas configurações ponto 16.
23. Adjust / Hue and Saturation / Vibrancy 33.
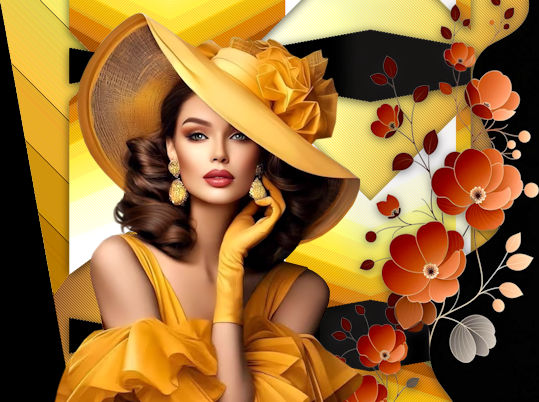
24. Abra o tube « lady.png » Copie e cole como nova layerColoque do lado esquerdo.
25. Effects / 3D Effects / Drop Shadow: 8 / -1 / 35 / 18,00 / Cor #000000
26. Escreva seu nome com uma fonte de sua escolha.
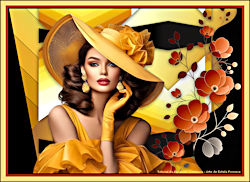
27. Se estás feliz com o posicionamento de seu trabalho...Image / Add Borders / Symmetric Marcado / 5 Pixels cor #000000
10 pixels cor #b53100
20 pixels cor #ffde83
2 pixels cor #000000
Assine seu trabalho e salve como JPG.

©Tutorial Traduzido por Estela Fonseca 03/11/2025.
Obrigada Elizabeth por me permitir traduzir seu trabalho.