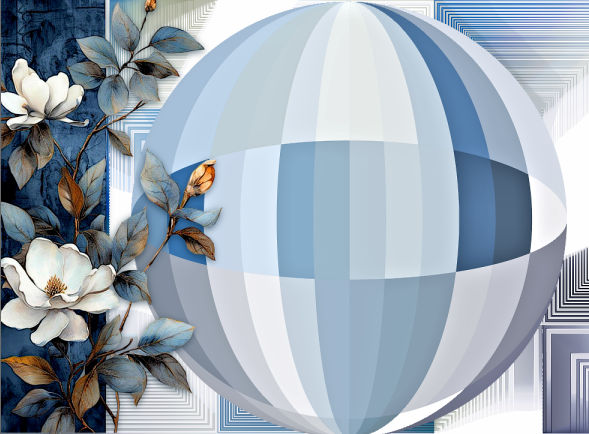
flair with lace
Tutorial de ©Elizabeth Creations
Este tutorial foi traduzido usando o Corel'Paint ShopPro' 2022 ULTIMATE.
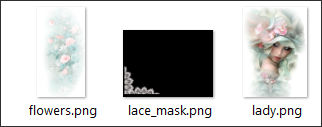
Material Necessário:
Plugins Usados:
Mehdi / Sorting Tiles
Filters Unlimited 2.0 / VM Extravaganza
Adjust / Variations
Graphics Plus / Cross Shadow...
Lembre-se de salvar seu trabalho com regularidade.
Existe um gradiente na pasta Materiais... coloque-o na sua pasta Arquivos PSP / Gradientes.
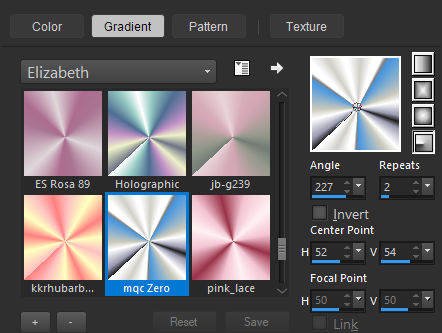
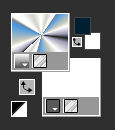
1. Coloque no primeiro plano o gradiente fornecido « mqc Zero » RADIAL configure como segue:
Plano de fundo cor #ffffff
2. Open a New Transparent Image 980 X 730pix.
3. Flood fill with the Foreground gradient.
4. Adjust / Blur / Gaussian Blur / Radius 76.
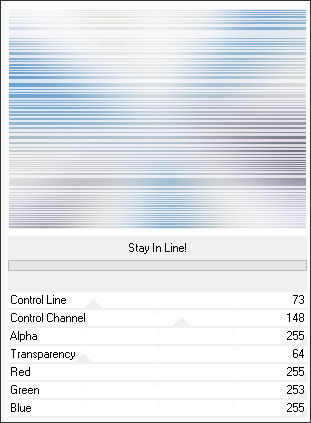
5. Effects / Plugins / Filters Unlimited 2.0 / VM Extravaganza / Stay in Line....Default.
6. Effects / Edge Effects / Enhance.
7. Adjust / Hue and Saturation / Vibrancy 28.
8. Effects / Plugins / Adjust / Variations... Click on ORIGINAL once and DARKER 2 times.
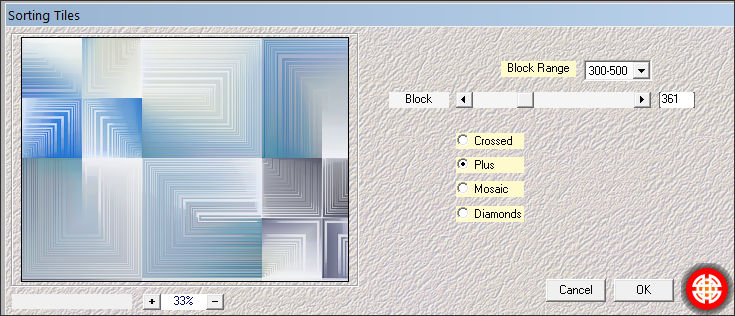
9. Efffects / Plugins / Mehdi / Sorting Tiles:
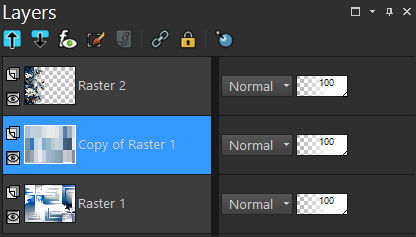
10. Layers / Duplicate.Effects / Distortion Effects / Pixelate:
11. Abra «4 flowers_border.png...» Copie e cole como nova layer12. Objects / Align / Left.
13. Effects / 3D Effects / Drop Shadow: 3 / -1 / 60 / 17,00 / Cor #001f32
14. Ative a próxima layer de baixo.
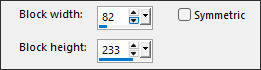
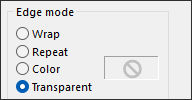
15. Effects / Geometric Effects / Circle.... Transparent ..marcado.
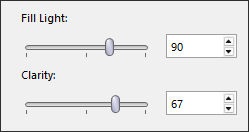
16. Adjust / Brightness and Contrast / Fill Light / Clarity:
17. Mova a esfera para a direita, mantendo a mesma distância da borda esquerda e da borda direita.
18. Effects / 3D Effects / Drop Shadow: 3 / -1 / 60 / 17,00 / Cor #001f32 .
19. Abra « flair.png...»Copie e cole como nova layer
Posicione da seguinte forma:
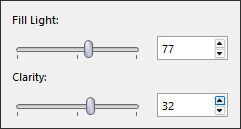
20. Adjust / Brightness and Contrast / Fill Light/Clarity:
21. Adjust / Sharpness / Unsharp Mask:
22. Layers / New Raster LayerPreencha com a cor do Plano de Fundo (#ffffff)
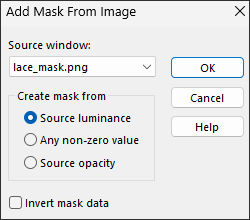
23. Abra « lace_mask.png » minimizeLayers / New Mask Layer / From Image:
24. Layers / Merge / Merge Group.
25. Effects / 3D Effects / Drop Shadow: 1 / -1 / 60 / 3,00 / Cor #00395c
26. Layers / Duplicate.Layers / Merge /Merge Down.
27. Layers / Duplicate.Layers / Merge /Merge Down.
28. Abra «4 text.png...» Copie e cole como nova layerPosicione como segue:
29. Se está satisfeira com o posicionamento do seu trabalho...Image / Add Borders / Symmetric Marcado / 3 pixels cor #193654
15 pixels cor #f3f1f7
3 pixels cor #193654
20 pixels cor #f3f1f7
30. Ative « Magic Wand Tool » com «Feather and Tolerance» em 0.Selecione a borda externa
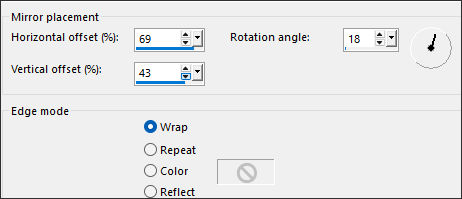
31. Effects / Reflection Effects / Rotating Mirror:
32. Image / Mirror / Mirror Horizontal.Selections / Select None.
33. Ative « Magic Wand Tool » novamente , mesmas configuraçõesSelecione as partes mostradas na imagem abaixo:
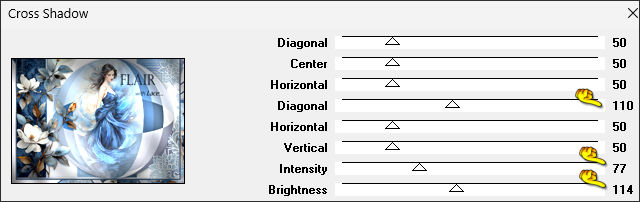
34. Effects / Plugins / Graphics Plus / Cross Shadow:
35. Adjust /Hue and Saturation / Colorize:
36. Effects / Plugins / Adjust / Variations... clique 1 vez em ORIGINAL e 6 vezes em DARKERSelections / Select None.
37. Image / Add Borders / Symmetric Marcado / 2 pixels cor #193654Salve como JPG.

©Tutorial Traduzido por Estela Fonseca 18/06/2026.
Obrigada Elizabeth por me permitir traduzir seu trabalho.