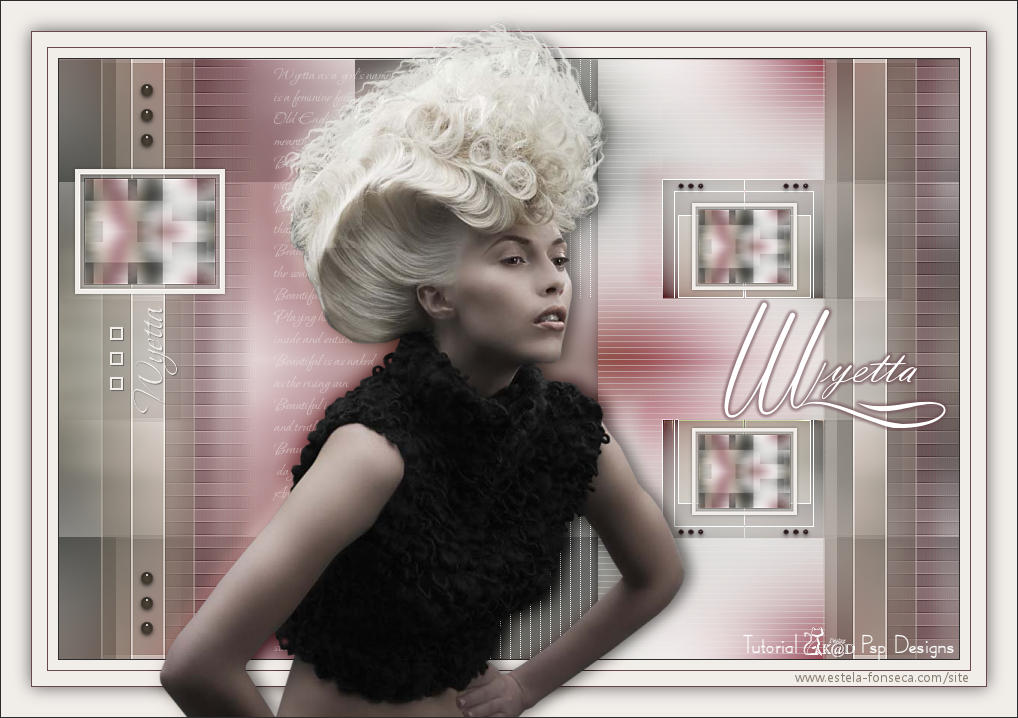
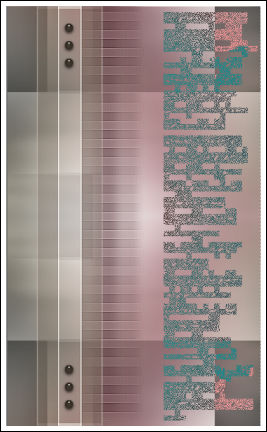
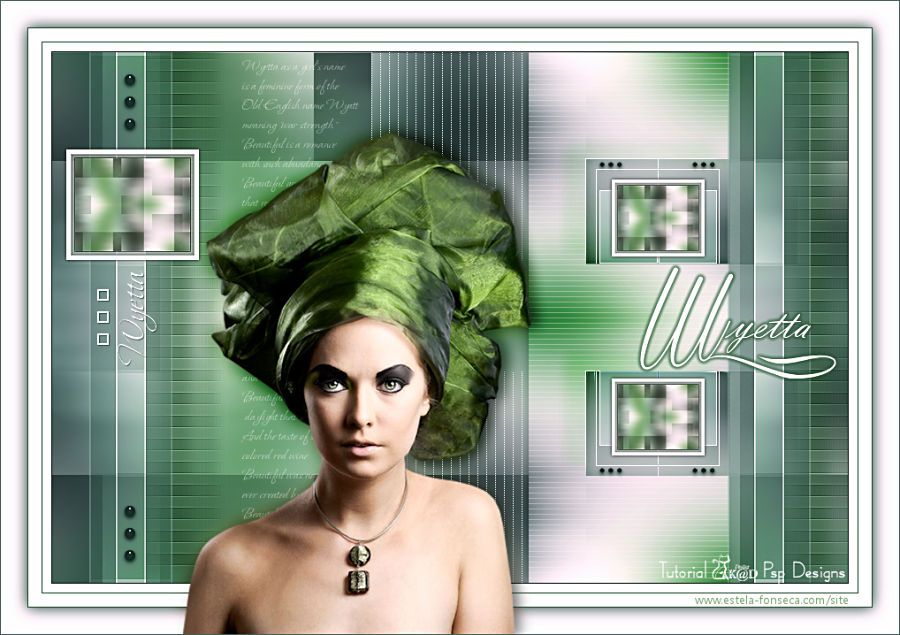
wyetta
Tutorial de KaDs , original, Aqui.
Esta lição foi feita com PSP 2019. Mas pode ser feita com outras versões.
Materiais Necessários:
KaD_WomanFace56
463_KaD_Text1
Frame <<463_KaD_Text1>>
Brush <<463_KaD_TextWyetta>>
Seleções em Canal Alfa <<463_KaD_Alfakanaal>>
Preset <<463_KaD_GradientGlow>>
Plugins Utilizados :Mehdi / Wavy Lab 1.1
Unlimited 2.0 / &<BKG Designers sf10II> / Gregs FO Warp **
Unlimited 2.0 / Filter Factory Gallery A / Weave **
Italian Editors Effect / Effetto Fatasma
Carolaine & Sensibility / CS-HLines
Mock / Windo
AAA Frames / Foto Frame
AP 01 [Innovations] / Lines – Silverlining
Alien Skin Eye Candy 5 / Impact
** Importados oara o Unlimited 2.0 !
Preparação:
Abra os tubes no PSP, duplique e feche os originais.
Dê dois cliques no preset para importá-lo automaticamente para a pasta do Alien Skin.
Abra o Brush no PSP e exporte como <<Custom Brush>>
Tabela de Cores:
Existem diferenças de cor nas diferentes versões do Psp.
Portanto, use os códigos html da paleta de cores para garantir que você tenha as mesmas cores.
Além disso, ao mesclar camadas, pode haver diferenças de cores.
Mirror = Mirror horizontal / Flip = Mirror vertical
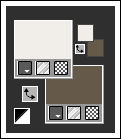
Primeiro Plano cor 1 #f1ede9Segundo Plano cor 2 #655949
01- Abra o arquivo << 463_KaD_Alfakanaal >>
Window / Duplicate
Feche o original
02- Effects / Plugins / Mehdi / Wavy Lab 1.1
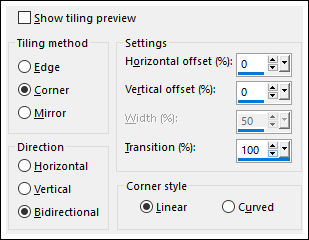
03- Effects / Plugins / Image Effects / Seamless Tiling
Adjust / Blur / Gaussian Blur : Radius 45
04- Layers / Duplicate
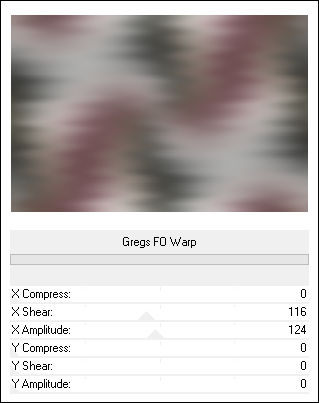
Effects / Plugins / Unlimited 2.0 / &<BKG Designers sf10II> / Gregs FO Warp / Default
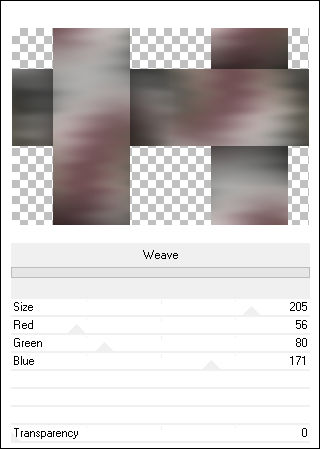
05- Effects / Plugins / Unlimited 2.0 / Filter Factory Gallery A / Weave
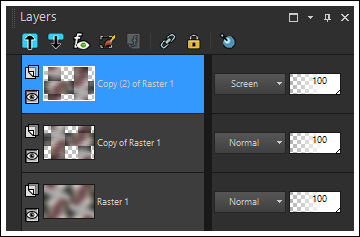
Layers / Duplicate
Image / Mirror / Mirror Horizontal
Image / Mirror / Mirror Vertical
Blend Mode / Screen
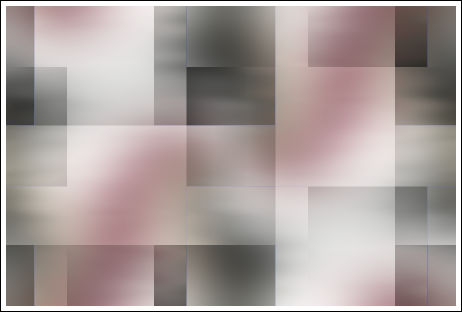
Resultado:
Layers / Merge / Merge visible (Merged)
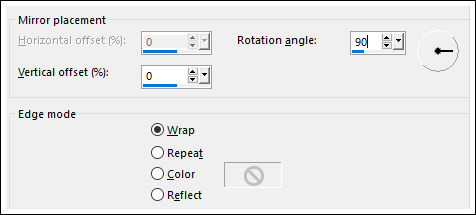
06- Effects / Reflection Effects / Rotating Mirror
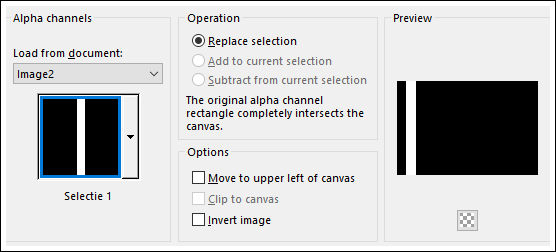
07- Selections / Load/Save Selection / Load Selection From Alpha Channel: Selection #1
Selections / Promote selection to layer (Promoted Selection)
Layers / New Raster layer (Raster 1)Preencha com a cor do Primeiro Plano
Selections / Modify / Contract / 2 Pixels
Delete no Teclado
Selections / Select None
Layers / Merge / Merge Down
08- Effects / Plugins / Italian Editors Effect / Effetto Fatasma : 9 -2
Adjust / Sharpen / Sharpen
Layers / Duplicate (Promoted Selection Shadow 1)Image / Mirror / Mirror Horizontal
Layers / Merge / Merge Down (Promoted Selection)
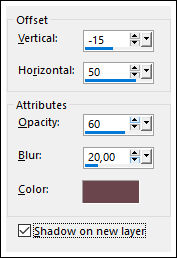
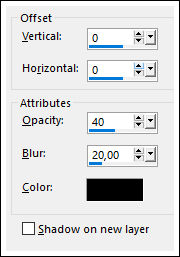
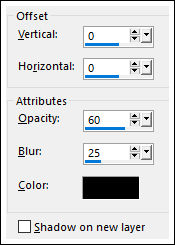
09- Effects / 3D Effects / Drop Shadow : Cor 4 (Shadow on new layer) marcado
10- Mantenha-se na layer da sombra (Promoted Selection Shadow 1)
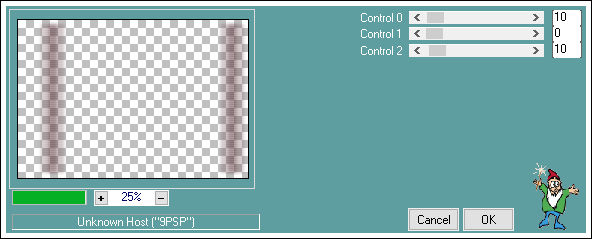
Effects / Plugins / Carolaine & Sensibility / CS-HLines
clique em << Link/Unlink >> para selecionar ( o icone ficará preto)
Effects / Edge Effects / Enhance More
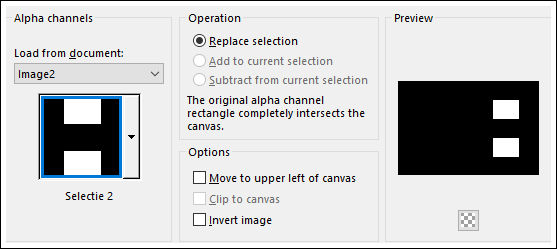
11- Layers / New Raster layer (Raster 1)Selections / Load/Save Selection / Load Selection From Alpha Channel: Selection #2
Preencha a seleção com a cor do segundo plano
Effects / Plugins / Mock / Windo / Default
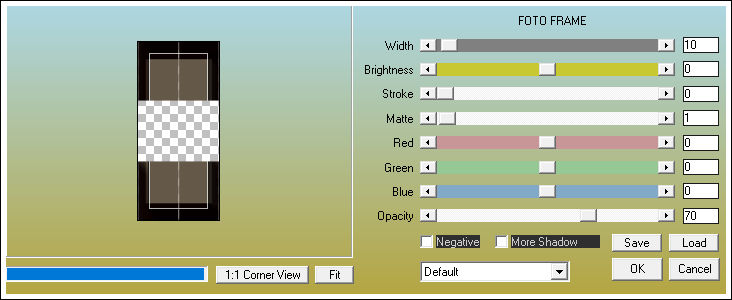
12- Effects / Plugins / AAA Frames / Foto Frame
Selections / Select None
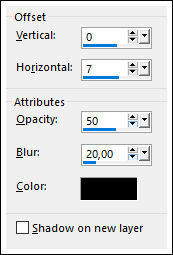
13- Effects / 3D Effects / Drop shadow : Cor 4
Desmarque: Shadow on new layer
Blend Mode / Overlay
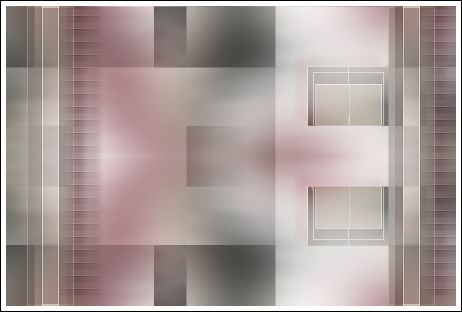
13-1- Effects / Edge Effects / Enhance MoreResultado:
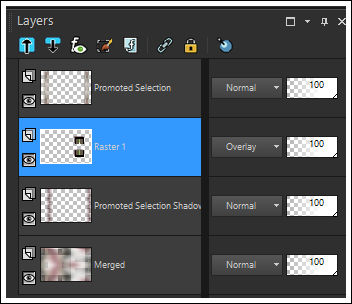
14- Ative a Layer do Fundo (Merged)
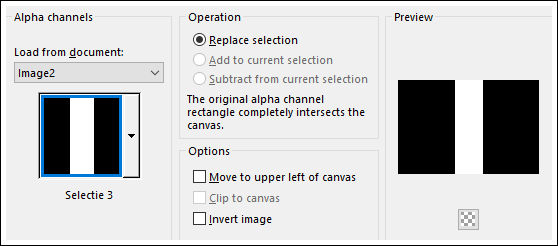
Selections / Load/Save Selection / Load Selection From Alpha Channel: Selection #3
Selections / Promote selection to layer (Promoted Selection 1)
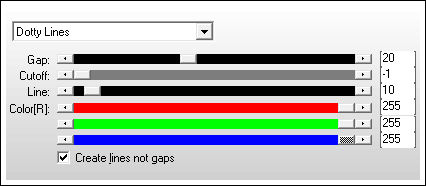
Effects / Plugins / AP 01 [Innovations] / Lines – Silverlining / Dotty Lines
Selections / Select None
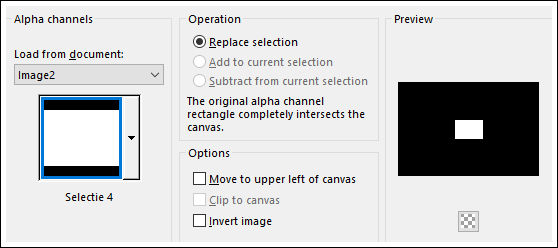
15- Selections / Load/Save Selection / Load Selection From Alpha Channel: Selection #4
Delete no Teclado
Selections / Select None
16- Ative a Layer do Fundo (Merged)
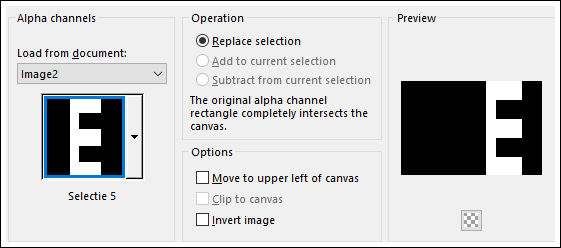
Selections / Load/Save Selection / Load Selection From Alpha Channel: Selection #5
Selections / Promote selection to layer (Promoted Selection 2)
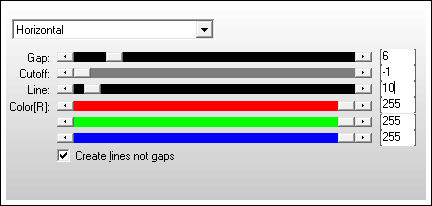
Effects / Plugins / AP 01 [Innovations] / Lines – Silverlining / Horizontal
Selections / Select None
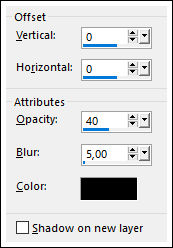
17- Effects / 3D Effects / Drop shadow: Cor #000000
Layers / Arrange / Move Up
Blend Mode / Burn
18- Primeiro Plano cor 4
Ative a Layer do Topo (Promoted Selection)
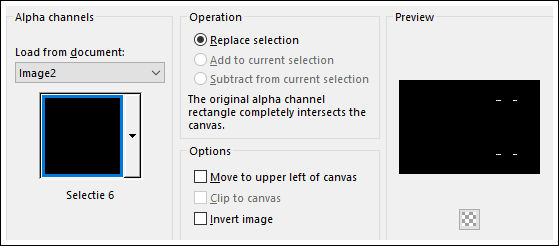
Layers / New Raster layer (Raster 2)Selections / Load/Save Selection / Load Selection From Alpha Channel: Selection #6
Preencha com a cor do Primeiro Plano
Selections / Select None
Plugins / Alien Skin Eye Candy 5 / Impact / Glass / CLEAR
19- Layers / New Raster layer (Raster 3)
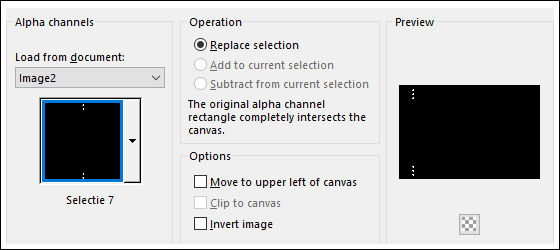
Selections / Load/Save Selection / Load Selection From Alpha Channel: Selection #7
Preencha com a cor do Segundo Plano
Selections / Select None
Plugins / Alien Skin Eye Candy 5 / Impact / Glass / CLEAR20- Ative <<463_KaD_TextWyetta>> File / Export / Custom Brush
Layers / New Raster layer (Raster 4)
Primeiro Plano cor 1
Paint Brush (B) Ative o brush <<463_KaD_TextWyetta>>
Carimbe uma vez só com a cor do Primeiro Plano
21- Ative o <<463_KaD_Text1>>
Copie e Cole como nova layer (Raster 5)
Effects / Plugins / Alien Skin Eye Candy 5 / Impact / Gradient Glow / Preset: 463_KaD_GradientGlow
Pick Tool ( K ) Posição de X e de Y como segue ( Pos X : 660 / Pos Y : 239 )
Pressione "M" para anular a seleção!
22- Layers / New Raster layer (Raster 6)
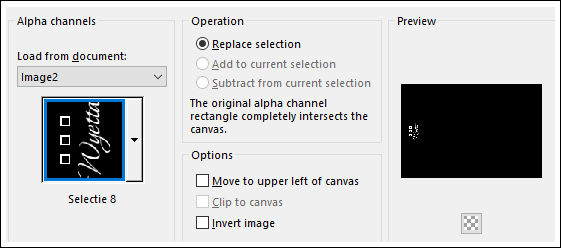
Selections / Load/Save Selection / Load Selection From Alpha Channel: Selection #8
Preencha a seleção com a cor do Primeiro Plano
Selections / Select None
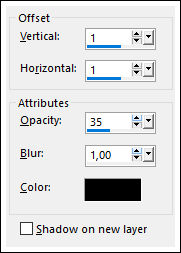
Effects / 3D Effects / Drop Shadow: Cor #000000
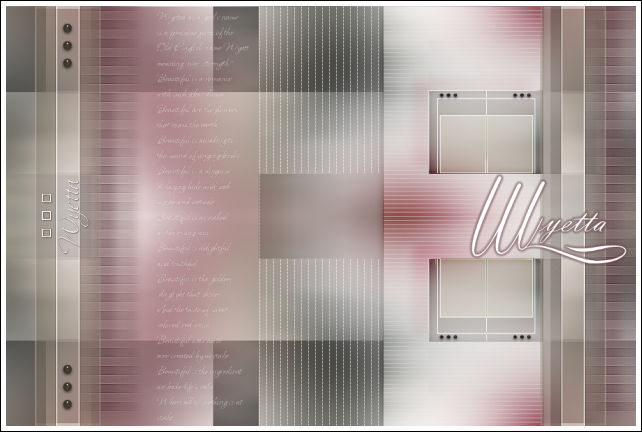
Resultado:
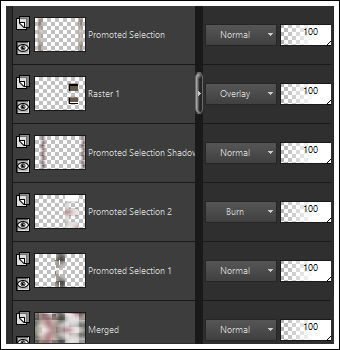
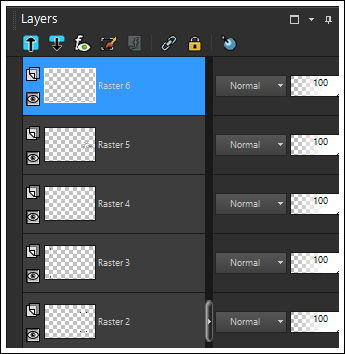
Confira sua palete de layers:
23- Ative a Layer <<Merged>>Copie
Layers / Merge / Merge visible
24- Ative << 463_KaD_Lijst >>
Window / Duplicate (Feche a original)
Clique com a Varinha mágica na parte transparente da Frame
Cole na seleção
Selections / Select None
Adjust / Sharpeness / Sharpen
Reserve esta imagem
25- Volte para seu trabalho
Image / Add Borders / Symmetric Marcado / 1 pixel cor 3
Image / Add Borders / Symmetric Marcado /10 pixels cor 1
Image / Add Borders / Symmetric Marcado /1 pixel cor 4
Image / Add Borders / Symmetric Marcado /15 pixels cor 1
Image / Add Borders / Symmetric Marcado / 1 pixel cor 4
26- Selections / Select All
Image / Add Borders / Symmetric Marcado /10 pixels cor 1
Effects / 3D Effects / Drop Shadow: Cor #000000
Selections / Select None
27- Ative o << KaD_WomanFace56>>
Copie e Cole como nova layer (Raster 2)
Image / Resize / 75% ... Resize All Layers ... Desmarcado
Pick Tool (K) Posição de X e de Y como segue: ( Pos X : 158 / Pos Y : 21)
Pressione a tecla "M" para anular a seleção!
28- Layers / Duplicate (Copy of Raster 2)
Ative a Layer imediatamente abaixo desta (Raster 2)
Adjust / Blur / Gaussian Blur / Radius 10
Blend Mode / Overlay
29- Ative a Layer do Topo (Copy of Raster 2)
Effects / 3D Effects / Drop Shadow: Cor #000000
30- Ative a imagem pequena do passo #24Copie
Volte para seu trabalho
Cole como nova layer (Raster 3)
Pick Tool (K) Posição de X e de Y como segue: (Pos X : 74 / Pos Y : 168)
Pressione a tecla "M" para anular a seleção!
31- Layers / Duplicate (Copy of Raster 3)
Image / Resize / 70% . .. Resize All Layers ... Desmarcado
Pick Tool (K) Posição de X e de Y como segue: (Pos X : 691 / Pos Y : 202 )
Pressione a tecla "M" para anular a seleção!
31- Layers / Duplicate (Copy (2) of Raster 3)
Image / Mirror / Mirror Vertical
Layers / Merge / Merge down ( 2 vezes)
Effects / 3D Effects / Drop Shadow: Cor #000000
Layers / Arrange / Move Down ( 2 vezes)
32- Adicione seu nome ou a sua marca d'águae a Marca d'água de Karen.
33- Image / Add Borders / Symmetric Marcado / 1 pixel cor 3
Image / Resize / Width 900 Pixels / Resize all Layers Marcado
Adjust / Sharpen / Unsharp Mask : 2 – 30 – 2 – nada marcado
Salve como JPG
Versão com tube de Grace's Tubes:
©Tutorial traduzido por Estela Fonseca em 05/06/2019.
Não alterar nem repassar sem autorização.
