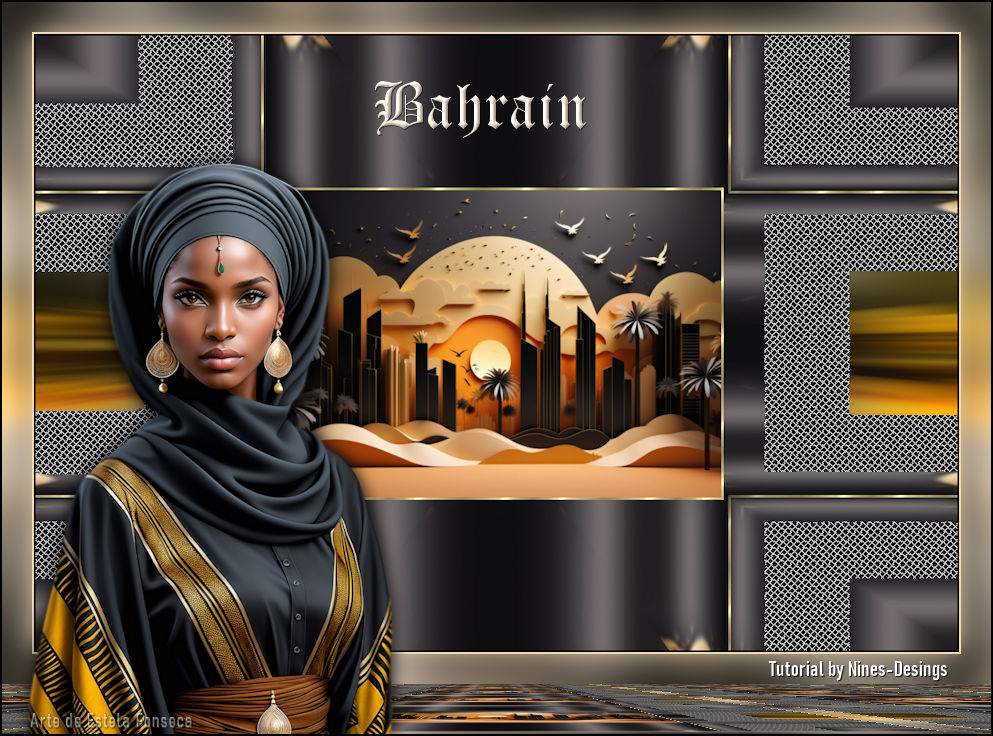
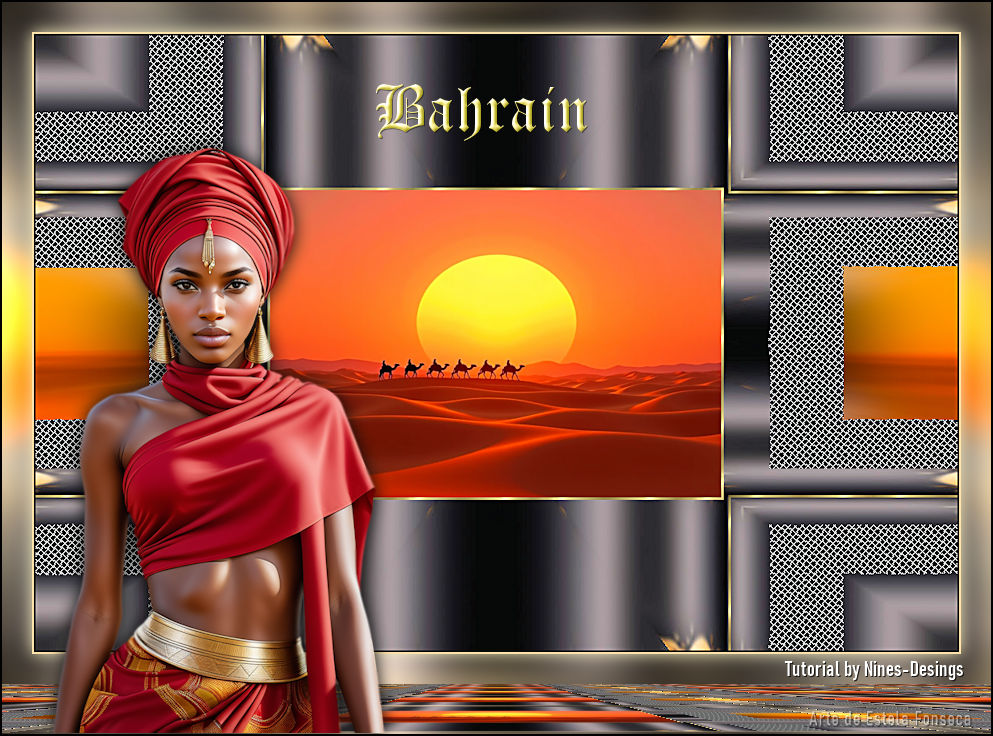
BAHRAIN
Tutorial de ©Nines-Designs (Angeles Cenarriaga) - Criado em 09/08 /2024.
Materiais Necessários:
KamilTube-2748KamilTube-2641-BG
Patron oro goldfill1
Texto_Bahrain_ac
Efectos del Psp
Plugins:AP Lines SilverLining
Nik Software/Color Efex Pro 3.0
Tramages/Pool Shadow
Mura's Meister/Perspective Tiling
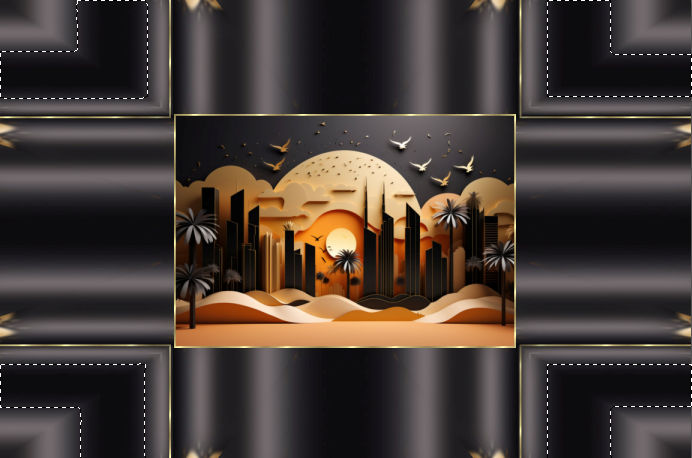
1- Abra a "Imagen-fondo-bahrain" ... Promote background Layer ... Raster 1
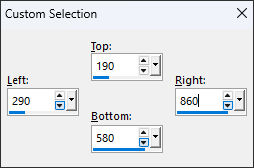
2- Selection Tool (S) Rectangle / Custom Selections:
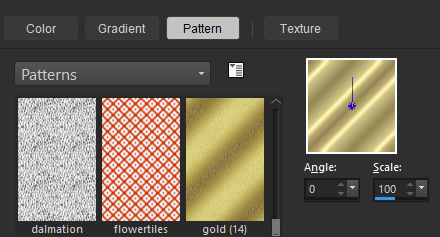
3- Layers / New Raster Layer4- Preencha com a Pattern "goldfill"
5- Selections / Modify / Contract 3 Pixels.
Delete no Teclado
Selections / Select None
6- Layers / Duplicate
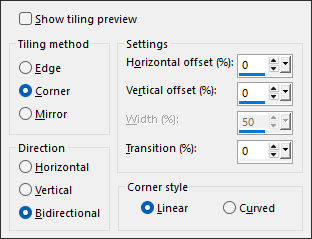
7- Effects / Image Effects / Seamless Tiling:
8- Ative a Layer Raster 2 (layer do quadro original)
9- Ative a Varinha Mágica e selecione o centro do quadro
10- Layers / New Raster Layer
11- Abra o tube "KamilTube-2641-BG" Copie e cole na seleção.
Selections / Select None.
12- Ative a Layer "Raster 1" (fundo) ... Ative a Varinha Mágica ... configure como segue:
Selecione os cantos da imagem como segue...
13- Selections / Promote selection to layer
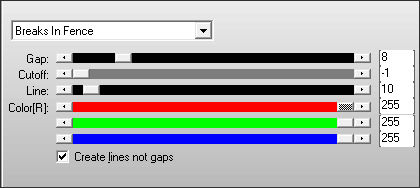
14- Effects / Plugins / AP Lines / Lines SilverLining: Breaks in Fence
Selections / Select None
15- Layers / Duplicate
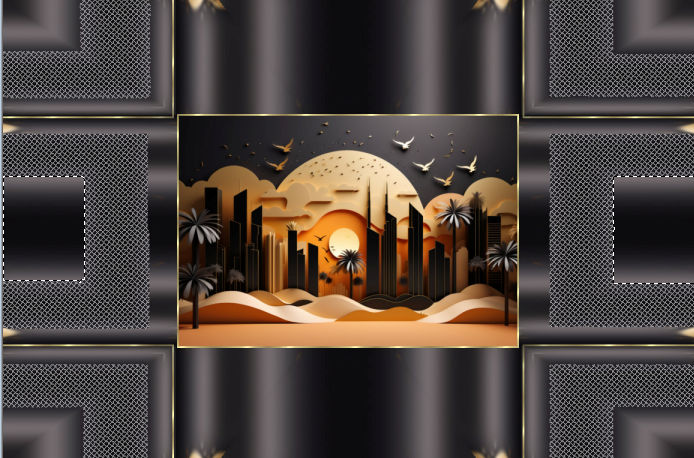
16- Effects / Plugins / Simple /Top Bottom Wrap
17- Ative a Varinha Mágica e selecione como segue...
18- Layers / New Raster Layer19- Abra o tube "KamilTube-2641-BG" ... Copie e cole na seleção.
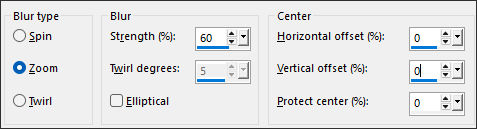
20- Adjust / Blur/Radial Blur...
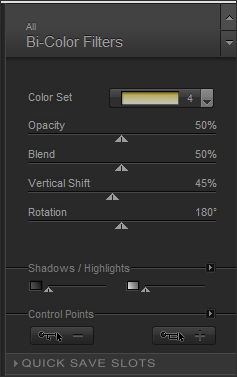
21- Effects / Plugins / Nik Software/Color Efex Pro 3.0 / Bi Color Filters /Green/Brown ... N°4
Selections / Select None22- Layers / Merge / Merge All
23- Image / Add Borders / Symmetric Marcado / 2 Pixels cor #000000
24- Image / Resize / 80% ... Resize All Layers ... Marcado
25- Image / Add Borders / Symmetric Marcado / 2 Pixels cor #f2d9b0
26- Copie (vai ficar na memória)
27- Image / Add Borders / Symmetric Marcado / 30 Pixels cor #FFFFFF
28- Ative a varinha mágica e selecione esta borda
29- Cole na seleção (a imagem está na memória)
30- Adjust / Blur/Gaussiam Blur/Radius 20
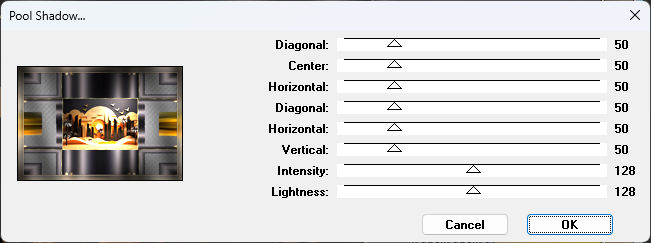
31- Effects / Plugins / Tramages/Pool Shadow:
32- Selections / Invert
33- Effects / 3D Effects / Drop Shadow: 0/0/100/45 cor #f2d9b0
Selections / Select None
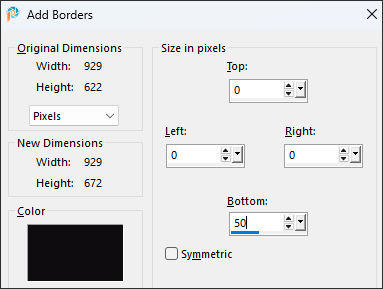
34- Image / Add Borders ... Symmetric Desmarcado ... Bottom 50 ... cor #000000
35- Selecione esta borda com a varinha mágica
36- Selections / Invert
37- Copie!
38- Selections / Invert
39- Cole na seleção
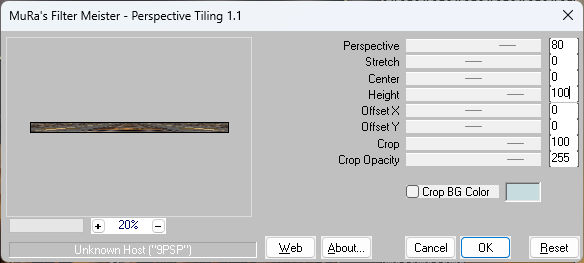
40- Effects / Plugins / Mura's Meister/Perspective Tiling:
Selections / Select None41- Abra "KamilTube-2748" ... Copie e cole como nova layer
Image / Resize / 80% ... Resize All Layers ... Desmarcado
Não esqueça de remover a assinatura
42- Effects / 3D Effects / Drop Shadow: 0/0/100/25 cor #000000
43- Abra o "Texto_Bahrain_ac" Copie e cole como nova layer
Posicione...
44- Coloque a marca d'água de Nines
45- Coloque a sua assinatura
46- Image / Add Borders / Symmetric Marcado / 2 Pixels cor #000000
47- Salve como JPG.
Tubes de Kamil...
©Tutorial criado por Nines e Traduzido por Estela Fonseca em 06/05/2025.
Não alterar nem repassar sem autorização.