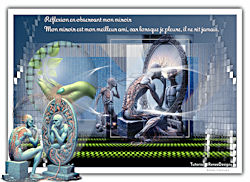
MIROIR REFLEXION
Tutorial de Renée Graphic , original, Aqui.
O tutorial foi traduzido na versão Corel Paint shop Pro 2022 ULTIMATE, mas ele pode ser feito com outras versões.
Materiais Necessários:
Tubes de Renée...
ATENÇÃO:
Aviso de Renée*
Se for sua intenção compartilhar esses tubes ou essas lições em grupo, peça permissão ao proprietário.
O tube não pode ser enviado sem a aula. Por favor, não faça alterações no tube, pois este tube foi feito apenas paraesta lição.
É proibido compartilhar este tutorial sem link para a lição original.
Muito obrigado.Renée.
Eles estão a disposição em seu site: AQUI.
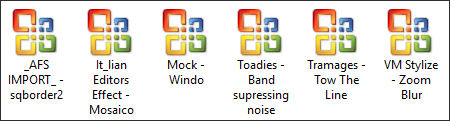
PLUGINS
Atenção
Lembrete Se você usar o Filter Unlimited 2.3, de Renée, ele consiste em 3 pastas
Dê uma olhada nas pastas antes de adicionar uma predefinição.
Medhi
AAA Frame
Andromeda perspective
L & K's
Muras Meister
Alien Skin EyeCandy 5 Impact
**
Site de todos os plugins de Renée...AQUI.
**
As cores podem variar significativamente dependendo do PSP usado.
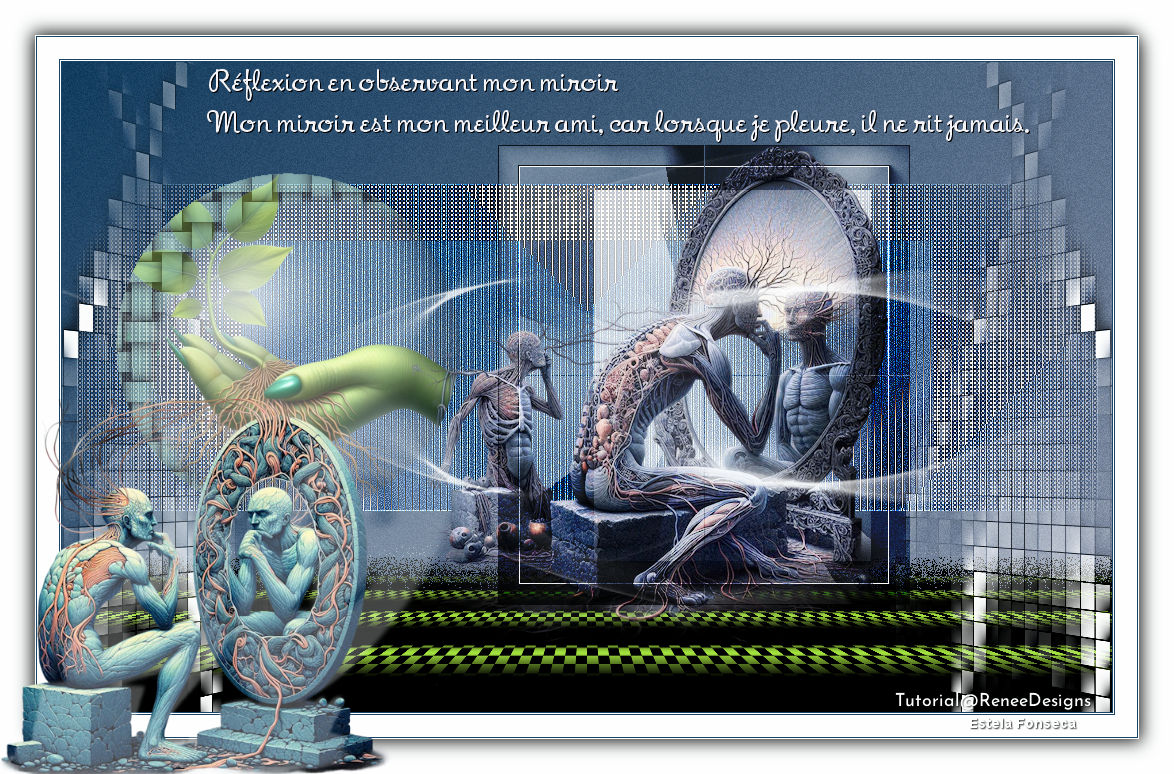
Reflexão ao observar meu espelho - Reflexão ao observar meu espelho
Miroir Reflexion - Reflexão do Espelho
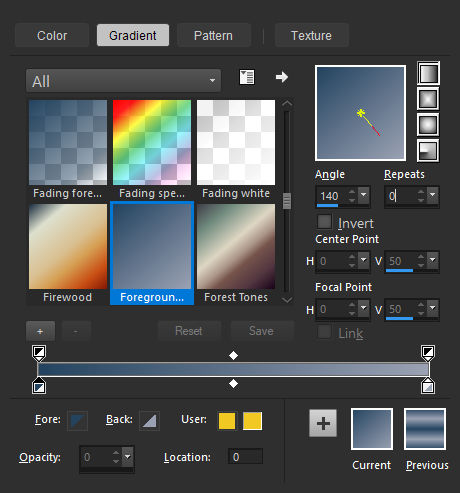
Primeiro Plano cor 1Plano de Fundo cor 2
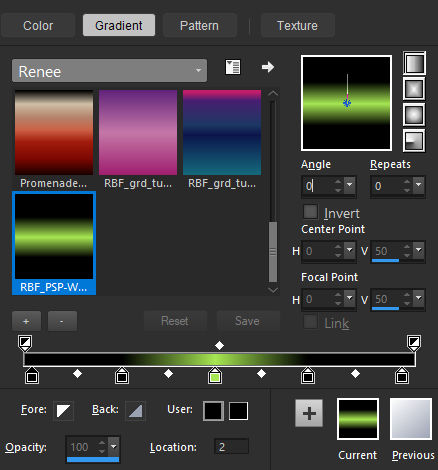
Forme no primeiro plano um gradiente LINEAR e configure como segue:
1. Abra uma nova imagem transparente de 1050 x 650 Pixels
2. Ative Flood Fill ToolPreencha a layer com o gradiente.
3. Effects / Plugins / <I.C.NET Software> Filters Unlimited 2.0 / Toadies / Banding Suppress Noise... 81
4. Selections / Load/Save selection / Load selection from disk: Miroir-15. Selections / Promote selection to layer
Selections / Select None
6. Effects / Plugins /<I.C.NET Software> Filters Unlimited 2.0 / [AFS IMPORT] / sqborder2 ... Default7. Effects / Plugins /<I.C.NET Software> Filters Unlimited 2.0 / Tramages / Tow The Line... Default
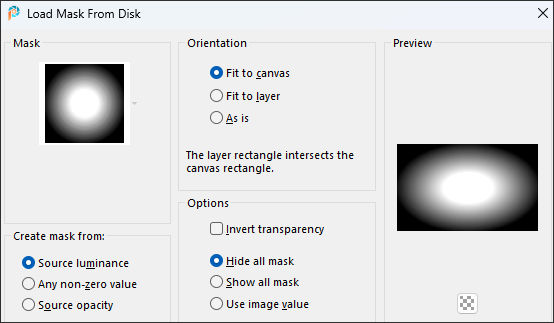
8. Effects / Reflection Effects / Rotating Mirror ... Default9. Layers / Load/save mask / Load mask from disk: 20/20
Layers / Merge / Merge Group
10. Effects / Edge Effects / Enhance
11. Blend Mode / Hard Light
12. Layers / New raster layer
13. Selections / Load/Save selection / Load selection from disk: Miroir-2
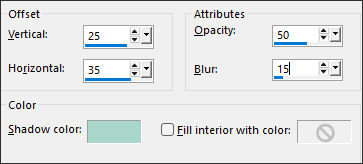
14. Effects / 3D Effects / Cutout... cor 3
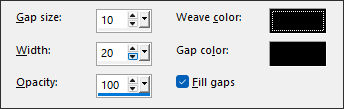
15. Effects / Texture Effects / Weave ... cor preta
16. Layers / New raster layer raster
17. Ative o tube «Miroir-Bulle» Copie e cole na seleção.18. Layers / Arrange / Move down
19. Layers / New raster layer
20. Ative o tube «Miroir-Image-1» copie e cole na seleção.21. Layers / Arrange / Move down
Selections / Select None
Ative a layer do topo22. Layers / New raster layer
23. Selections / Load/Save selection / Load selection from disk: Miroir-3
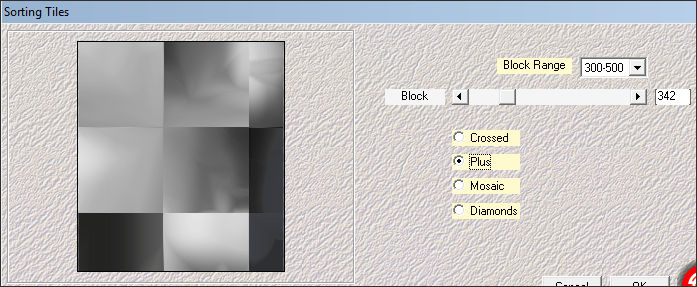
24. Ative o tube «Miroir-Fond» ... Copie e cole na seleção.25. Effects / Plugins / Medhi / Sorting Tiles...
26. Effects / Plugins /<I.C.NET Software> Filters Unlimited 2.0 / VM Stylize / Zoom Blur... 53 / 127
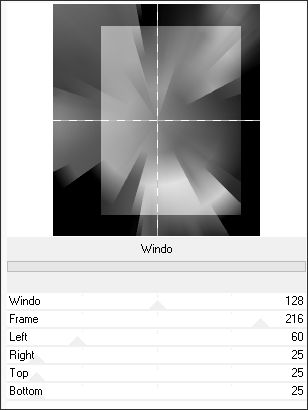
27. Effects / Plugins /<I.C.NET Software> Filters Unlimited 2.0 / Mock / Windo...
28. Blend Mode / Screen29. Layers / Duplicate
30. Blend Mode / Overlay ... Opacidade 77%
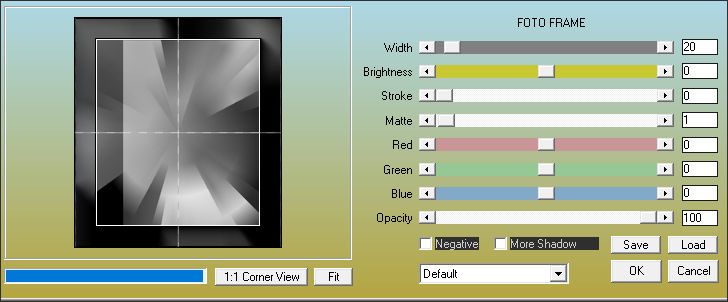
31. Effects / Plugins / AAA Frame / Foto Frame...
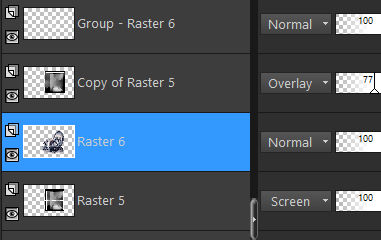
Repita este efeito na layer imediatamente abaixo... (Raster 5)
Selections / Select None
32. Layers / New raster layer
Primeiro Plano cor branca (#ffffff)
33. Ative Flood Fill Tool
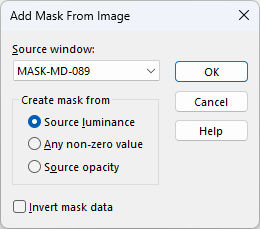
34. Layers / New mask layer / From image:Mask-MD-089
Layers / Duplicate
Layers / Merge / Merge Group
35. Layers / Duplicate
36. Image / Mirror / Mirror Vertical ( Image - Flip nas versões antigas do PSP)
Layers / Merge / Merge Down
37. Layers / Duplicate
38. Layers / Duplicate
Layers / Merge / Merge Down
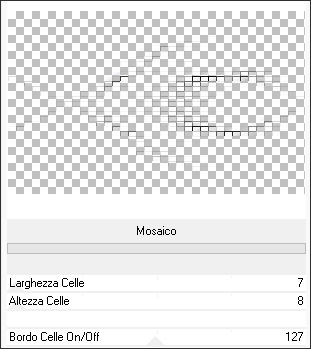
39. Effects / Plugins /<I.C.NET Software> Filters Unlimited 2.0 / It@lian Editors Effect / Mosaico... 7/8/127
40. Layers / Duplicate
41. Layers / Merge / Merge Down
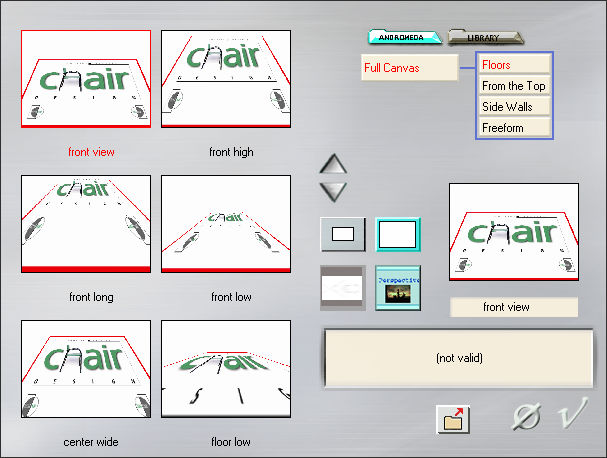
42. Effects / Plugins / Andromeda / Perspective : Floors - Front View
43. Effects / 3D Effects / Drop Shadow : 2 / -2 / 55 /19 Preto
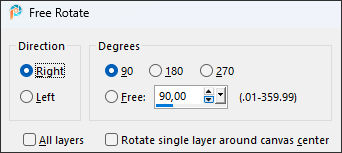
44. Image / Free Rotate / 90° / right
45. Pick Tool: (K) Position X (-129,00) / Position Y (-133,00)
- 129 / - 133
Tecla "M" desativa a PickBlend Mode / Hard Light
Ative a layer «Raster 1 »
46. Selections / Select All
47. Image / Crop to selection
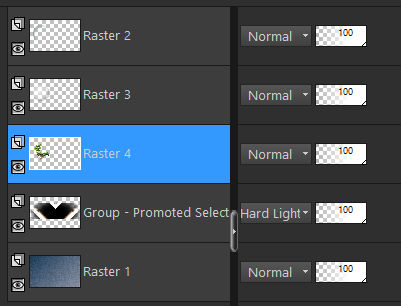
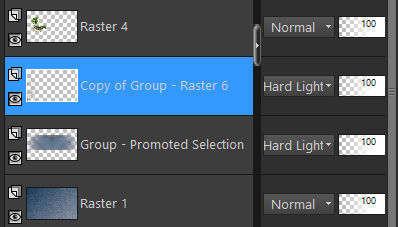
48. Ative «Copy of Group- Promoted Selection» (Raster 6 )Layers / Arrange / Move Down ( acima da layer - group-promoted selection) conforme mostrado no exemplo abaixo:
49. Layers / Duplicate
50. Image / Mirror / Mirror Horizontal (Image - Mirror em versões antigas do PSP)
Layers / Merge / Merge Down
51. Blend mode/ Hard Light
Ative a layer do topo52. Ative o tube «Miroir-Profond-Image2»
Image / Resize / 50 % ... Resize All Layers Marcado
Copie e cole como nova layer em seu trabalho53. Pick Tool: (K) Position X (346,00) / Position Y (83,00)
346 / 83
Tecla "M" desativa a Pick
54. Layers / Arrange / Move down ... 2 vezes
Coloque no primeiro plano o gradiente «RBF_PSP-Works_grd_3_028»Configure um gradiente linear como na imagem abaixo:
Ative a layer «Raster 1»
55. Layers / New raster layer
56. Selections / Load/Save selection / Load selection from disk: Miroir-4
57. Ative Flood Fill Tool58. Effects / Plugins / L & K's / Pia ... 15
59. Effects / Plugins / MuRas Meister / Perspective Tiling ...Default
Selections / Select None
60.Blend Mode / Dissolve
Ative a layer do topo61. Abra o tube «Texte-Miroir» Copie e cole como nova layer
Coloque na área superior de seu trabalho (Ou escreva o texto com a fonte anexada.)
62. Image / Add Borders / Symmetric Marcado / 1 Pixel ...Cor 1
Image / Add Borders / Symmetric Marcado / 1 Pixel Cor brancaImage / Add Borders / Symmetric Marcado / 1 Pixel ...Cor 1
Image / Add Borders / Symmetric Marcado / 22 Pixels ... Cor brancaImage / Add Borders / Symmetric Marcado / 1 Pixel ...Cor 1
Image / Add Borders / Symmetric Marcado / 1 Pixel Cor branca63. Selections / Select All
64. Image / Add Borders / Symmetric Marcado / 35 Pixels ... Cor Branca65. Effects / 3D Effects / Drop Shadow: 4/4/65/25 Preto
Repita com H: - 4 / V: - 4
Selections / Select None
66. Abra o tube «Miroir-Profond-Image1»
Ative a layer «tuto-miroir» copie e cole como nova layerposicione embaixo à esquerda como na imagem final.
67. Effects / Plugins / Alien Skin Eye Candy 5 / Impact / Perspective Shadow / Preset :Miroir-Perspective shadow
68. Adicione a marca d'água de Renée e a sua.
69. Layers / Merge / Merge All (flatten)
70. Image /Resize / 1005 pixels de largura ... Resize all layers Marcado !
Salve como JPG.
©Tutorial traduzido por Estela Fonseca em 18/08/2025.
Não alterar nem repassar sem autorização.