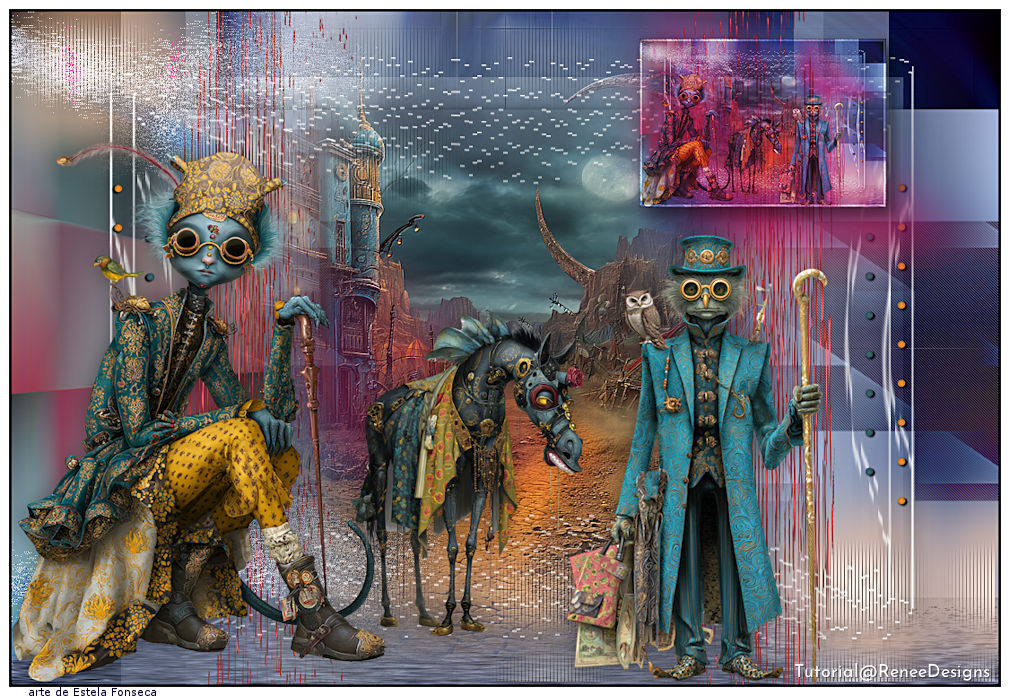
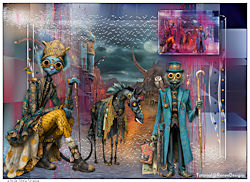
PANDEMONIUM
Tutorial de Renée Graphic , original, Aqui.
O tutorial foi traduzido na versão:
Mas pode ser feito com outras versões.
Materiais Necessários:
Tubes de Renée...
ATENÇÃO:
Não compartilhe os tubes de Renée em sites ou blog ...etc
Eles estão a disposição em seu site: AQUI.
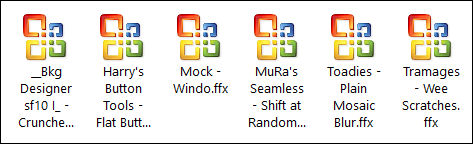
PLUGINS
Atenção
Lembrete Se você usar o Filter Unlimited 2.3, de Renée, ele consiste em 3 pastas
Dê uma olhada nas pastas antes de adicionar uma predefinição.
Os demais plugins você encontra AQUI.
Pandemonium - PANDEMÔNIO
1. Abra uma nova imagem transparente de 1100 x 750 Pixels
2. Selections / Select All
3. Abra a imagem "Pandemonium-Image1" ... Copie/Cole na seleção.
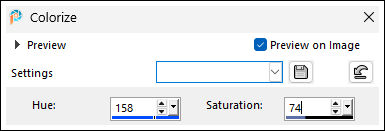
4. Adjust / hue and Saturation / Colorize ( Se você alterar as cores, ajuste as medidas aqui)
Selections / Select None
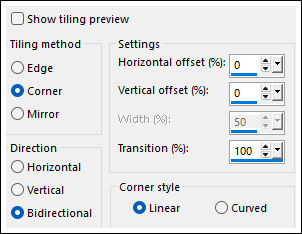
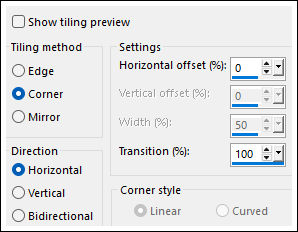
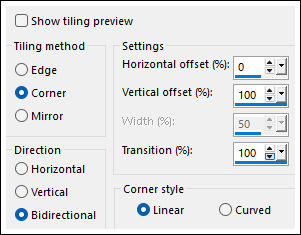
5. Effects / Image Effects / Seamless Tiling
6. Adjust / Sharpness / Sharpen More
7. Effects / Plugins / Filters Unlimited 2.0 / Mock / Windo ... Default
8. Layers / Duplicate
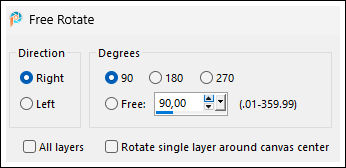
9. Image / Fre Rotate
10. Effects / Plugins / Filters Unlimited 2.0 / &<Bkg Designer sf10 I>/ Cruncher: 25/25
11. Blend Mode / Screen
12. Layers / Merge / Merge Down
13. Selections / Load/Save Selection / Load selection from disk: "Pandemonium-1"
14. Selections / Promote selection to layer15. Adjust / Blur / Gaussian Blur / Radius 30
16. Layers / New raster Layer
17. Ative a imagem "Pandemonium-Image2" ... Copie / Cole na seleção
18. Reduza a opacidade da layer à 53
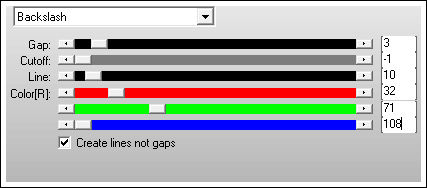
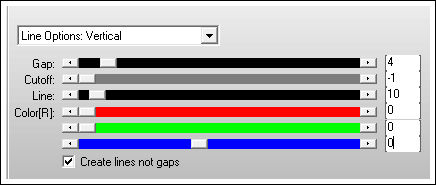
19. Effects / Plugins / AP[Lines] / Lines – Silverlining
Selections / Select None
20. Effects / 3D Effects / Drop Shadow: - 18 /- 32 / 50 / 14,00 / Cor #000000
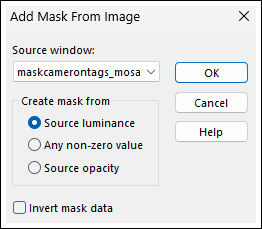
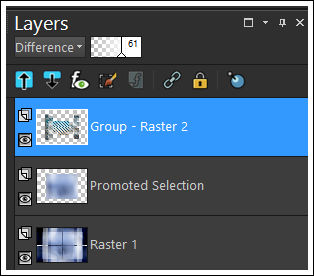
21. Layers / New Mask Layer / From Image: "maskcamerontags_mosaic3"
Layers / Merge / Merge Group
22. Effects / 3D Effects / Drop Shadow: 0/0/50/14,00 / Cor #000000
23. Blend Mode / Difference ... Opacidade 61
24. Layers / Merge / Merge down
25. Effects / Image Effects / Seamless Tiling
26. Effects / 3D Effects / Drop Shadow: 0/0/50/14,00 / Cor #000000
27. Ative a imagem "Pandemonium-Image3" ... Copie / Cole como nova layer
28. Effects / Plugins / AP[Lines] / Lines – Silverlining
29. Selections / Load/Save Selection / Load selection from disk: "Pandemonium-2"
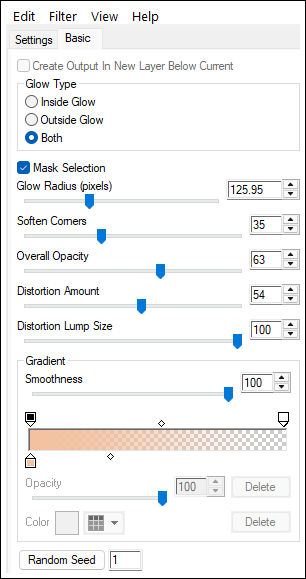
30. Effects / Plugins / Alien Skin Eye Candy 5 - Impact / Gradient Glow / Preset : "Pandemonium-GGlow"
31. Layers / New Raster layer
32. Selections / Load/Save Selection / Load selection from disk: "Pandemonium-3"(essa etapa anulará a seleção anterior)
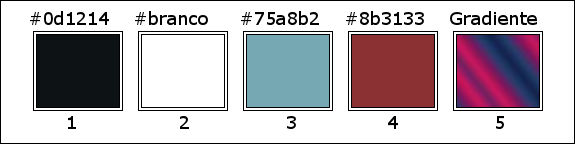
33. Balde de PinturaPreencha com a cor 4 (2 cliques)
Selections / Select Nome
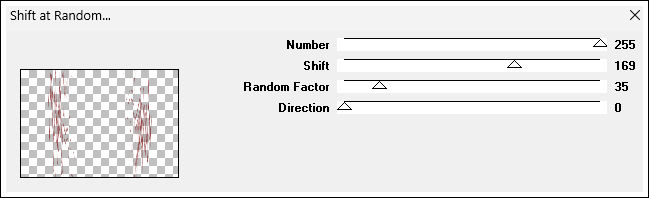
34. Effects / Plugins / Filters Unlimited 2.0 / MuRa's Seamless / Shift at Random... 255/169/35/0
35. User Defined Filters / Emboss 3
36. Ative "pandemonium-bg-11" ... Copie e cole como nova layerNão Mova!
37. Effects / Plugins / FM Tiles Tools / Saturation Emboss ... Default
38. Layers / New Raster Layer
39. Selections / Load/Save Selection / Load selection from disk: "Pandemonium-4"
40. Balde de PinturaSelections / Select None
41. Effects /3D Effects / Drop Shadow: 2 / 2 / 60 / 25,00 / Cor #000000
42. Layers / Duplicate
43. Image / Free Rotate / 90° / Right
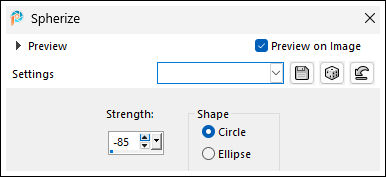
44. Effects / Geometric Effects / Spherize
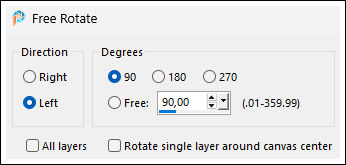
45. Image / Free Rotate:
46. Layers / Merge / Merge Down
47. Effects / Plugins / Filters Unlimited 2 / MuRa's Seamless / Shift at Random: 229/16/0/0
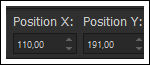
48. Ative a imagem "Pandemonium-Image4" ... Copie e cole como nova layer49. Pick(K)
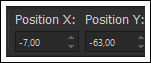
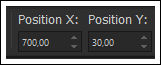
Position X (110,00) / Position Y (191,00)
Tecla ''M'' para desmarcar a seleção.Ative a Layer "Promoted Selection"
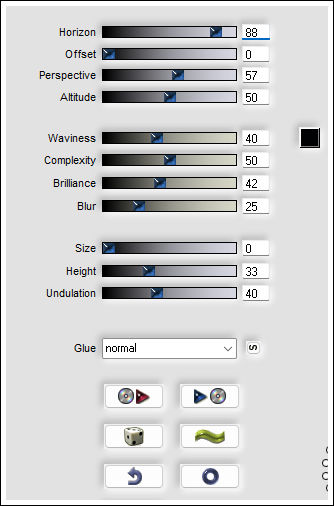
50. Effects / Plugins / Flaming Pear / Flood ... cor Preta
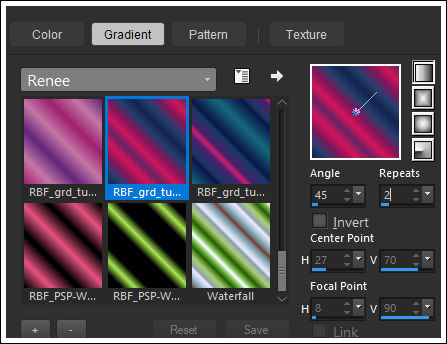
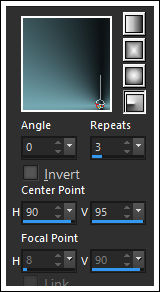
Coloque no primeiro plano o gradiente "RBF_grd_tut_1.13_008" e configure como segue:
Ative a Layer do Topo
51. Layers / New Raster layer
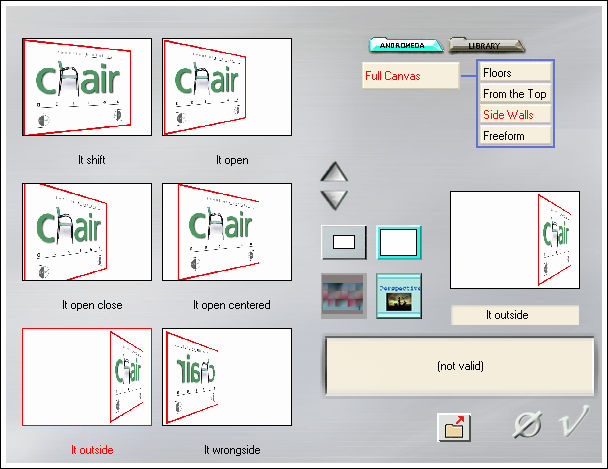
52. Selections / Load/Save Selection / Load selection from disk: "Pandemonium-5"
53. Balde de Pintura
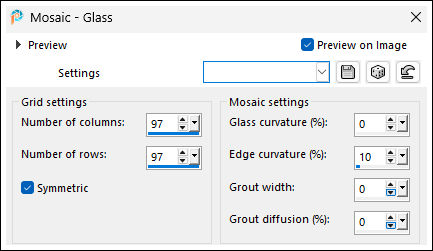
54. Effects / Texture Effects / Mosaic-Glass
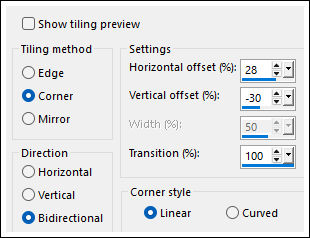
55. Effects / 3D Effects / Drop Shadow: 0 / 0/ 50 / 32,00 / Cor #00000056. Effects / Image Effects / Seamless Tiling:
57. Adjust / Blur / Gaussian Blur / Radius 23
58. Ative a imagem "Pandemonium-Image5" ... Copie e cole como nova layer
59. Pick (K)
Tecla ''M'' para desmarcar a seleção.
60. Effects / Plugins / Filters Unlimited 2.0 / Tramages / Wee Scratches... 102
61. Adjust / Sharpness / Sharpen MoreBlend Mode / Hard Light
Primeiro Plano cor 1 / Plano ce fundo cor 3
62. Forme no Primeiro Plano um Gradiente Radial e configure como segue...
Ative a Layer "Promoted Selection"
63. Layers / New Raster Layer
64. Balde de Pintura
65. Ative o tube "Renee - Tubes -pandemonium-31" ...Copie e cole como nova layer
Não Mova!
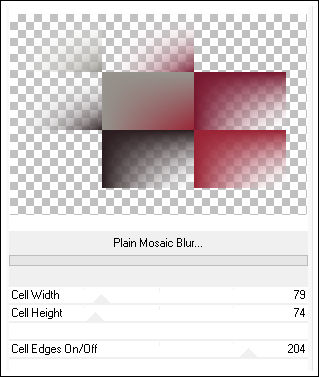
66. Effects / Plugins / Filters Unlimited 2.0 / Toadies / Plain Mosaic Blur: 79 / 74 /217
67. Effects / Edge Effects / Enhance
68. Layers / Merge / Merge Down
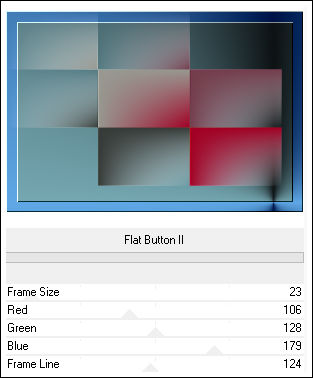
69. Effects / Plugins / Filters Unlimited 2.0 / Harry’s Button Tools / Flat Button II
70. Effects / Image Effects / Seamless Tiling:
71. Effects / Plugins / Andromeda / Perspective
72. Objets / Align / Left
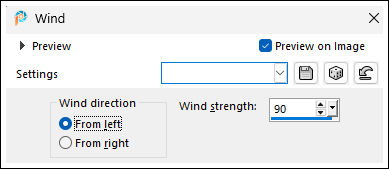
73. Effects / Distortion Effects / Wind
Ative a layer do topo
73. Ative o tube "Renee-TUBES-Pandemonium-tuto"Copie e cole como nova layer os tubes ou outros de sua escolha.
Copie e o cole como nova layer o "titre" ou escreva o seu próprio.
74. Aplique a sombra que preferir
75. Edit / Copy Special / Copy Merged
76. Cole como nova imagem
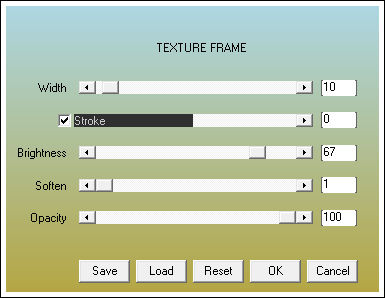
77. Effects / Plugins / AAA Frame / Texture Frame
78. Image / Resize / 25 % ... Resize All Layers ... MarcadoCopie e Retorne ao seu trabalho ... Cole como nova layer.
79. Pick(K)
Tecla ''M'' para desmarcar a seleção.
80. Blend Mode / Hard ... Opacidade 83
81. Effects / 3D Effects / Drop Shadow: 9 / 9/ 45 / 28,00 / Cor #000000
82. Image / Add Borders / Symmetric Marcado / 3 Pixels cor #000000
83. Image / Add Borders / Symmetric Marcado / 10 Pixels cor #ffffff
84. Image / Resize / 1005 Pixels de largura ... Resize All Layers ... Marcado
85. Coloque a assinatura da autora (Renée) e a sua.
86. Layers / Merge / Merge AllSalve como JPG.

©Tutorial traduzido por Estela Fonseca em 27/05/2026.
Não alterar nem repassar sem autorização.