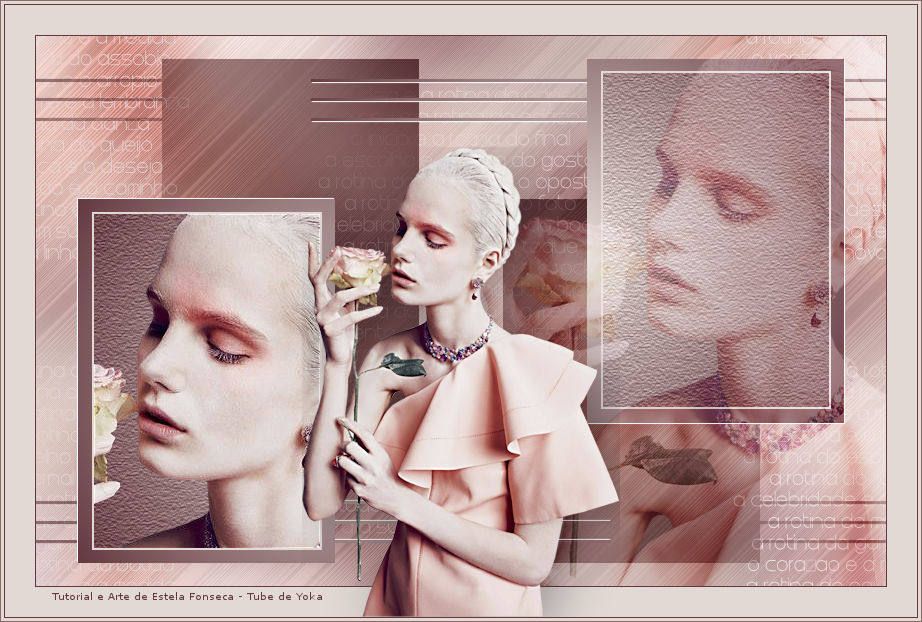
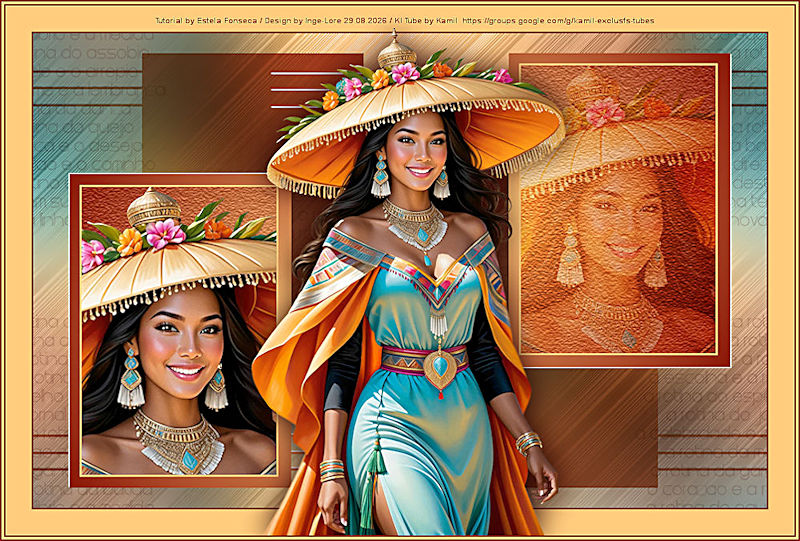
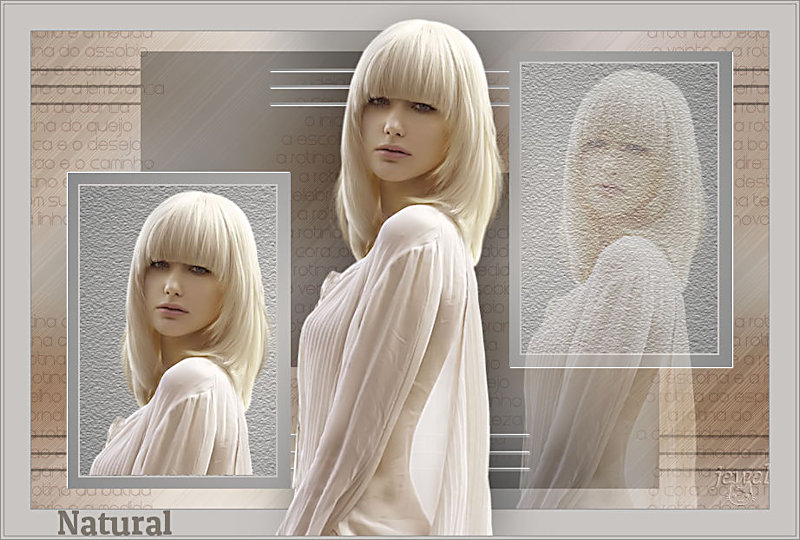
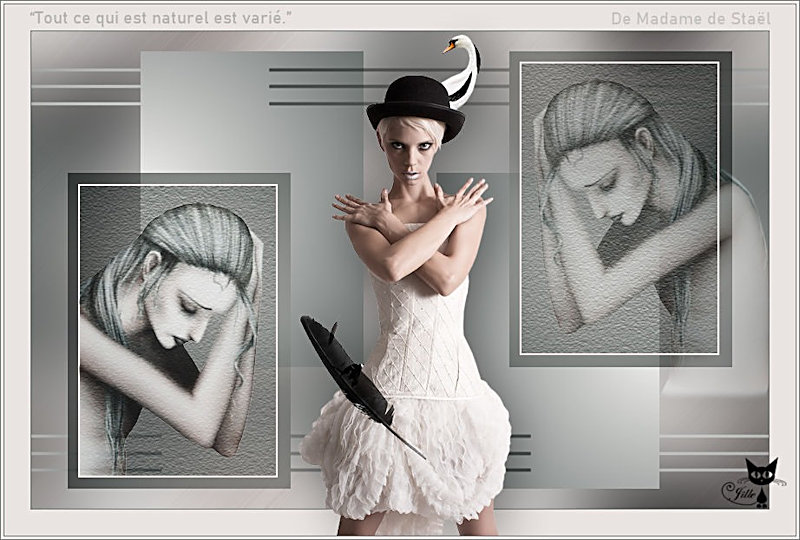
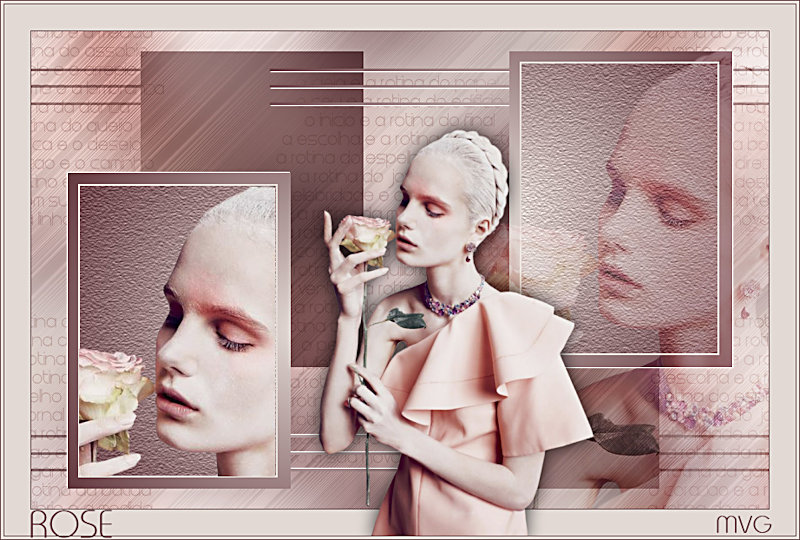
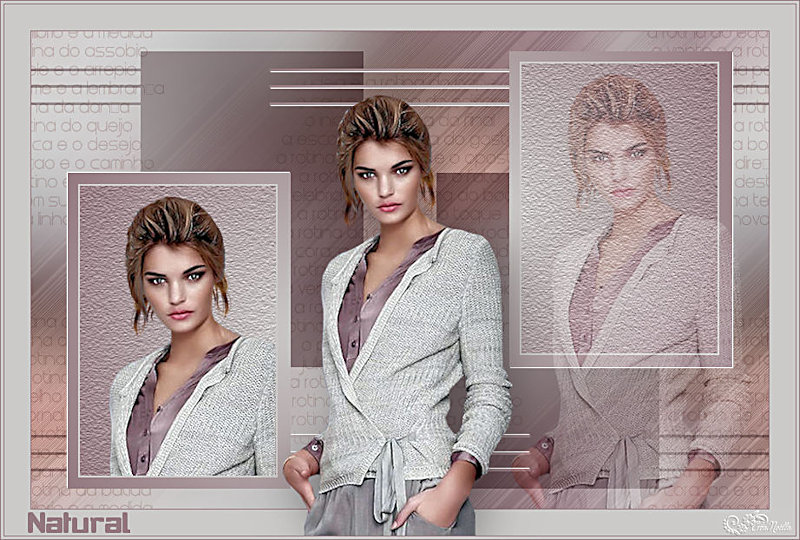
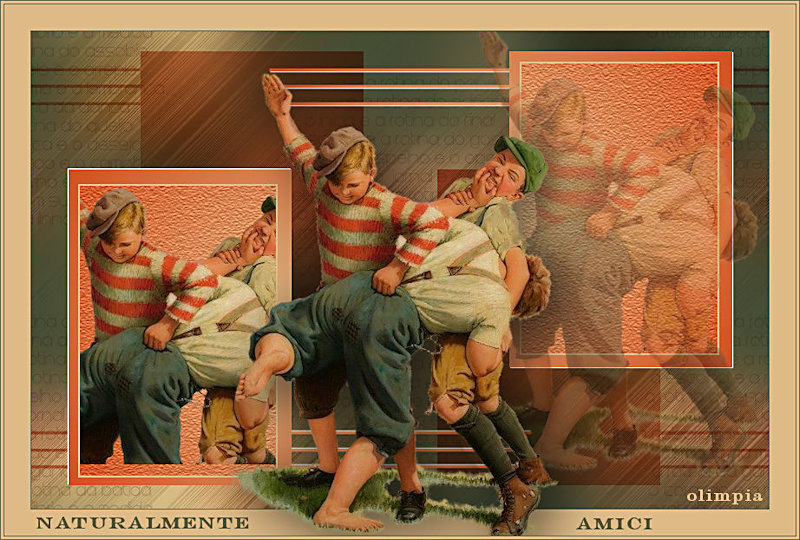
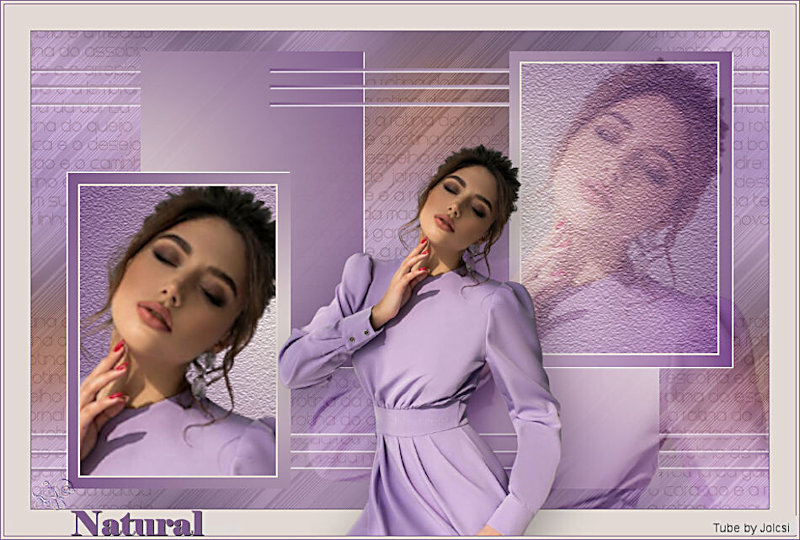
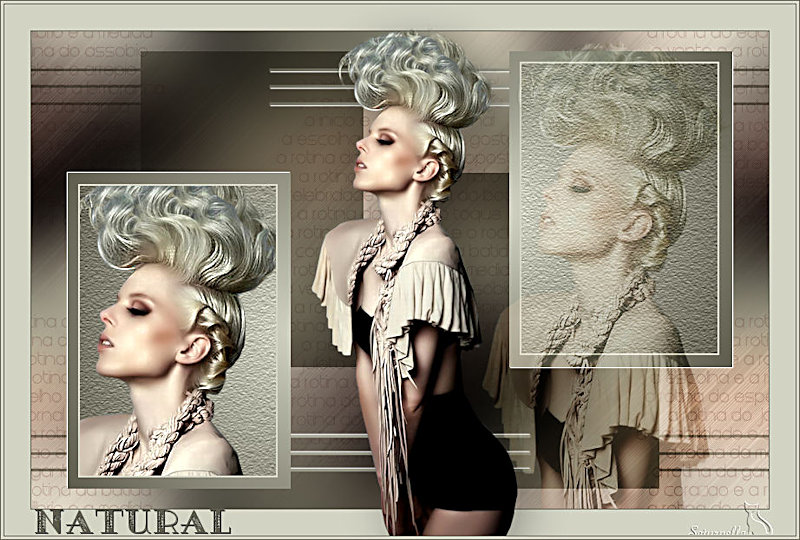
NATURAL


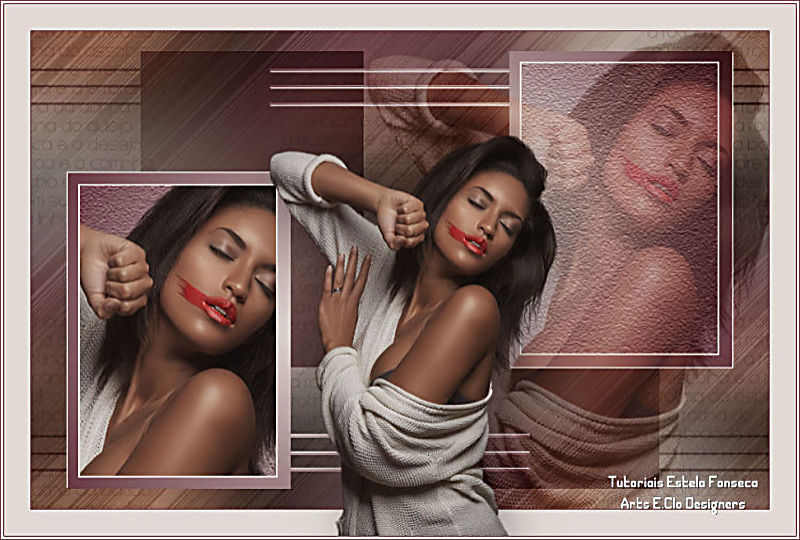
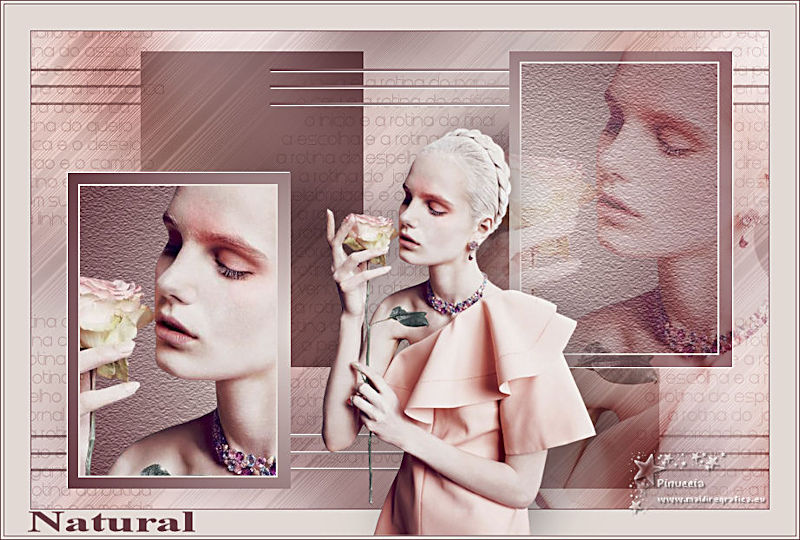
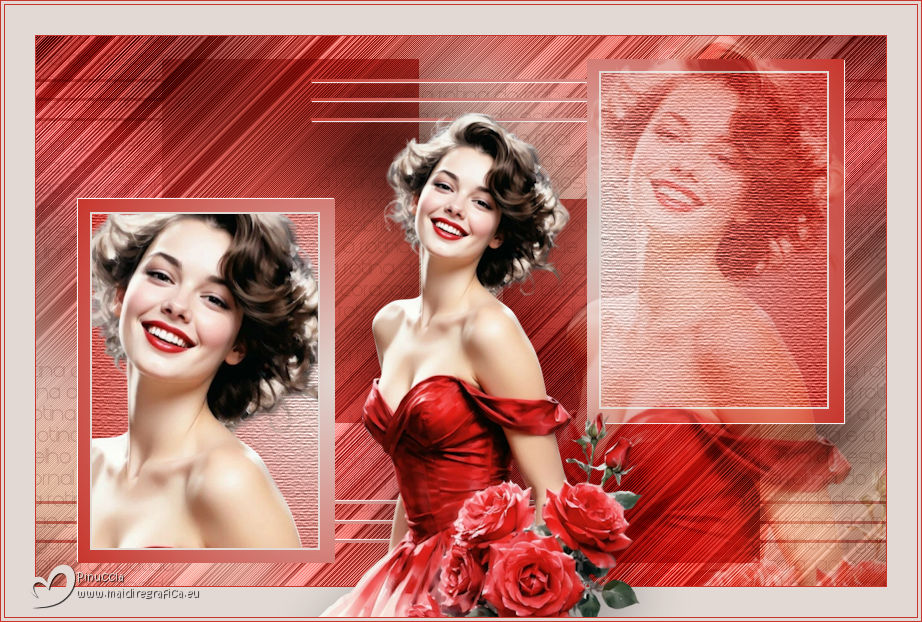
Agradeço as tradutoras: Clo, Pinuccia e Inge-Lore.
Material Necessário:
O tube utilizado é de Yoka. Seu Grupo, AQUI.
Plugins Utilizados:
Andrews Filters 34 / BottomLeft To Top
Simple / Left Right Wrap
Texture / Texturizer
Alien Skin Eye Candy 5 / Impact / Perspective Shadow
Preparação:
Abra o tube no PSP, duplique e feche o original.
Dê dois cliques no preset do Alien Skin,
para importá-lo automaticamente para a pasta correta do plugin.
Copie as seleções para a pasta de seleções do PSP!
01- Abra uma nova imagem transparente de 850 / 550 pixels
Preencha com uma cor do tube (minha cor #663c40)
Selections / Select All
02- Abra o tube "Yoka-PinkLady-with-Rose-24092013"
Copie e Cole na seleção
Selections / Select None
Effects / Image Effects / Seamless Tiling / Default
Adjust / Blur / Gaussian Blur / Radius 40
03- Layers / Duplicate
Effects / Plugins / Filters Unlimited 2.0 / Andrews Filters 34 / BottomLeft To Top
Blend Mode / Luminance (Legacy)
Layers / Merge / Merge Down
Adjust / Hue and Saturation / Vibrancy: 39
04- Layers / New Raster Layer
Selections / Load/Save Selections / Load/Selections from disk: Natural_1_EF
Primeiro Plano cor #63383f / Segundo Plano cor #e2d9d4
Forme Um Gradiente "Sumburst" Configurado como segue:
Preencha com o Gradiente
Selections / Select None
05- Effects / 3D Effects / Drop Shadow: 1 / 1 / 100 / 1,00 / #ffffff
Layers / Duplicate
Image / Mirror / Mirror Horizontal
Image / Mirror / Mirror Vertical
Layers / Merge / Merge Down.
06- Layers / Duplicate
Ative a layer do meio ...Raster 2.
Effects / Plugins / Simple / Left Right Wrap
Blend Mode / Multiply
Opacidade / 87
07- Ative a layer do Topo:
Selections / Load save selection / Load selection from disk: Natural_2_EF
Effects / Plugins / Texture / Texturizer:
Layers / New Raster Layer
Preencha com a cor do Segundo Plano
Selections / Modify / Contract 2 Pixels
Delete no teclado
Mantenha a seleção!
08- Abra o tube "Yoka-PinkLady-with-Rose-24092013"
Copie e cole como nova layer
Arraste para a Direita, como achar melhor
Blend Mode / Soft Light
09- Copie
Selections / Select None
Cole como nova layer
Pick Tool (K) / Posicione Como segue: (56/178)
Tecla "M" para sair da Pick Tool.
Layers / Merge / Merge Down
Adjust / Sharpness / Sharpen
10- Ative a Layer ...Raster 1.
Ative o tube "Texto" Copie e Cole como nova layer
Effects / Image Effects / Seamless Tiling / Default
11- Image / Add Borders / Symmetric Marcado / 1 pixel cor do Primeiro Plano
Image / Add Borders / Symmetric Marcado / 30 pixels cor do Segundo Plano
12- Abra o tube "Yoka-PinkLady-with-Rose-24092013"
Copie e cole como nova layer
Image / Resize / 70% (resize all layers desmarcado)
Image / Resize / 70% (resize all layers desmarcado)
Posicione
13- Effects / Plugins / Alien Skin Eye Candy 5 / Impact / Perspective Shadow / Drop Shadow Blurry /
Preset "EF-Shadow-Natural"
14- Image / Add Borders / Symmetric Marcado / 1 pixel cor do Primeiro Plano
Image / Add Borders / Symmetric Marcado / 3 pixels cor do Segundo Plano
Image / Add Borders / Symmetric Marcado / 1 pixel cor do Primeiro Plano
Assine seu trabalho
Layers / Merge / Merge All.
Salve como jpg.
Versão com tube de Cibi Bijoux:
Clo:
Pinuccia:
Inge-Lore:
Jewel:
Julie:
Marjan:
Noella:
Olimpia:
Pia:
Saturnella:


©Tutorial criado por Estela Fonseca em 05/03/2012.
Não alterar nem repassar sem autorização.