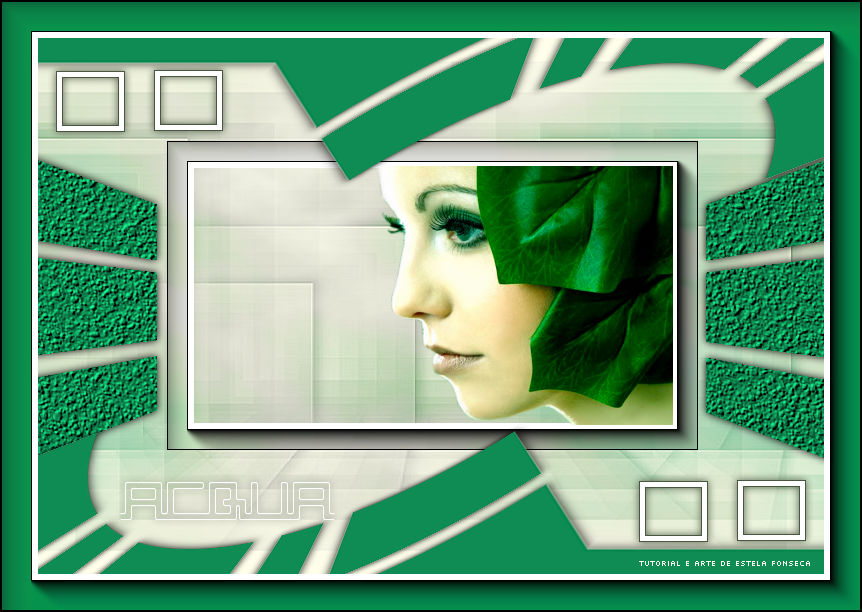
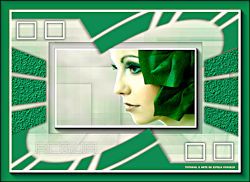
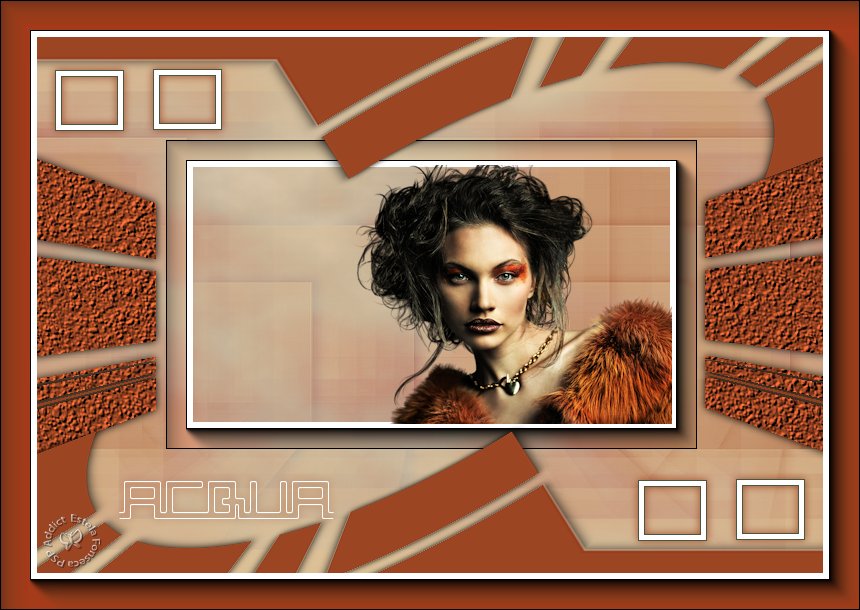
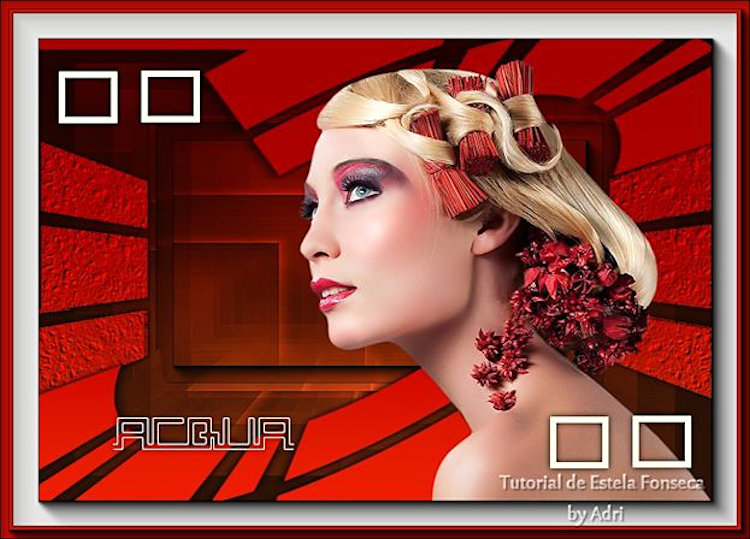
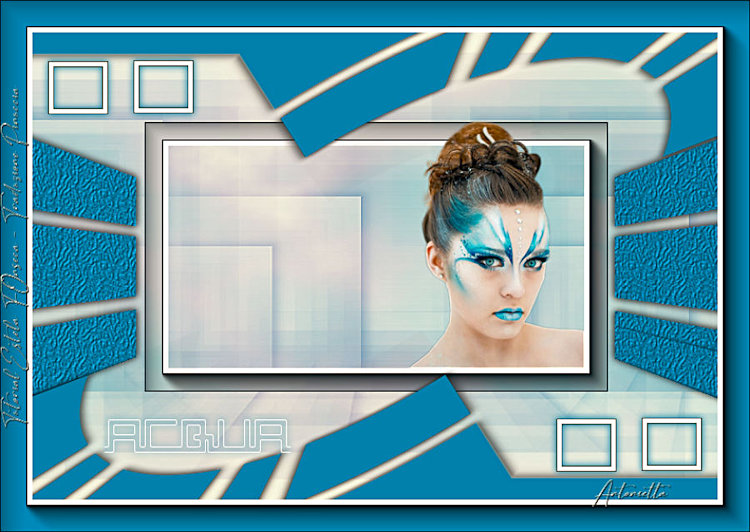
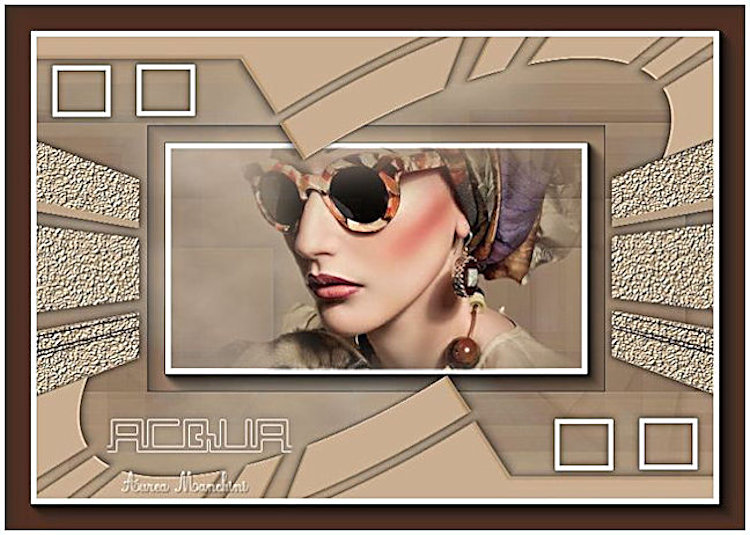
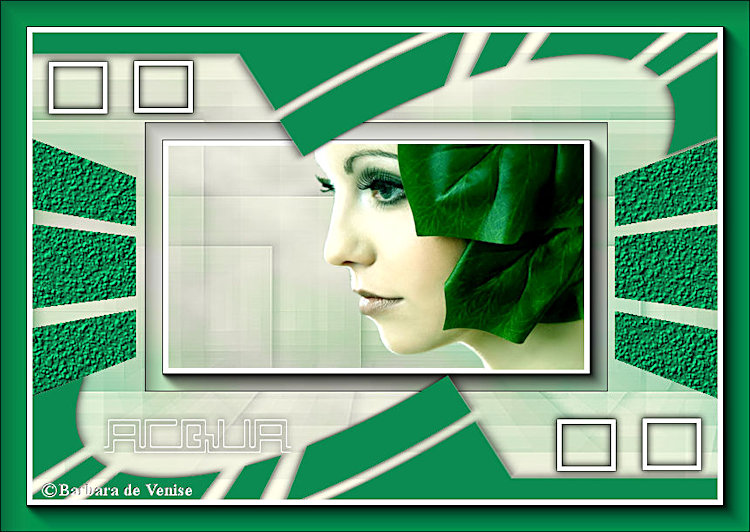
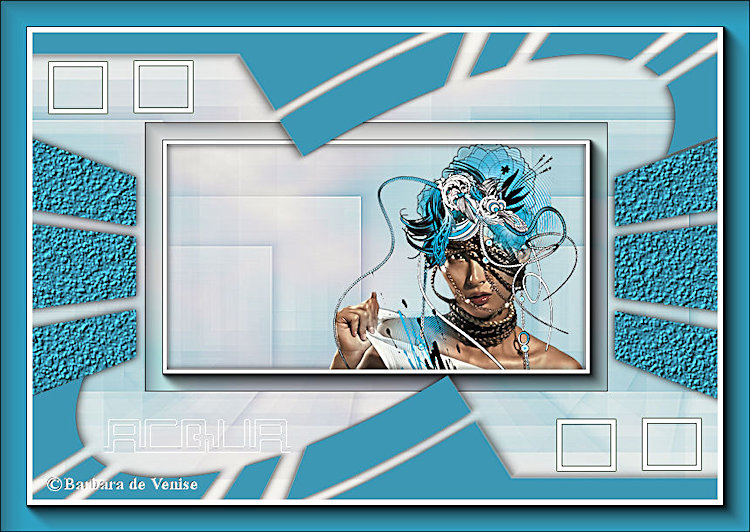
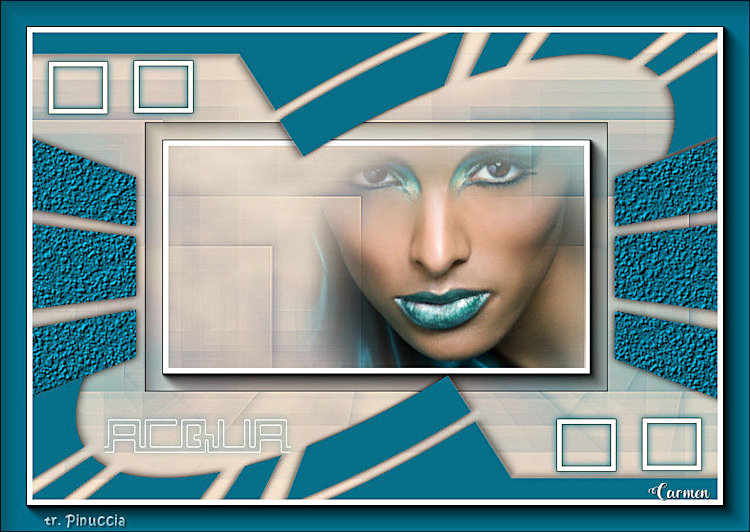
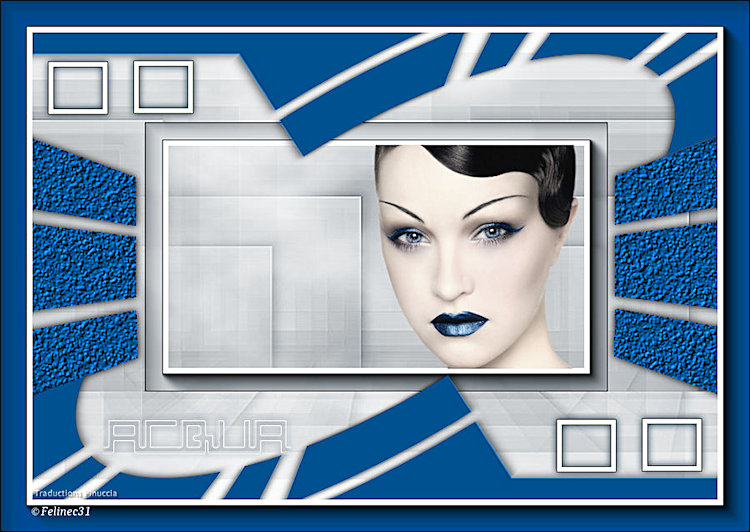
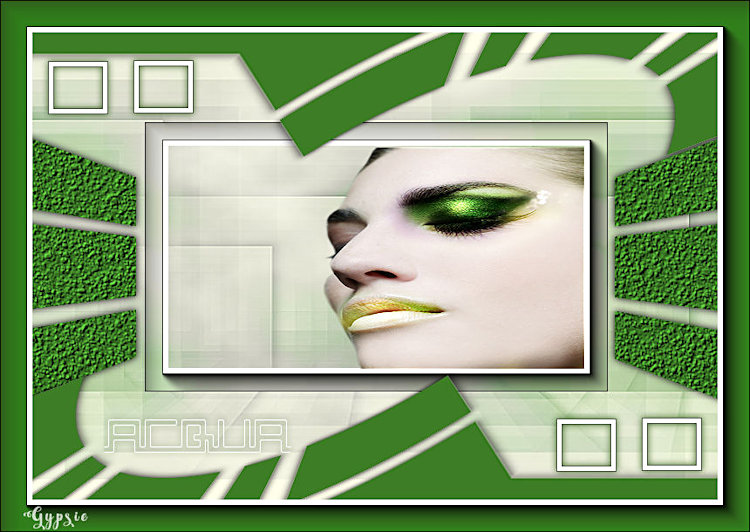
Tube de Nimui La Fée
Deco-Acqua
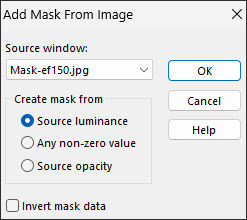
Mask-ef150
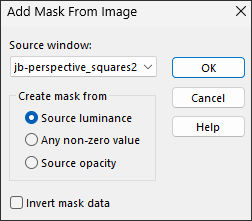
Maschera jb-perspective_squares2
Plugins Utilizados:
Unlimited 2.0/ Render / Smoke
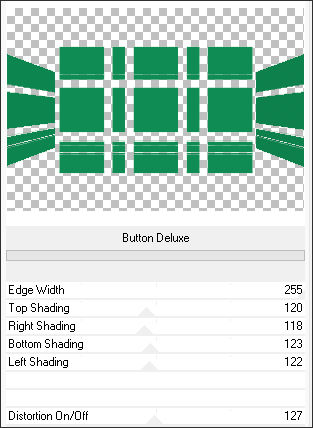
Filters Factory Gallery B / Button Deluxe
Unlimited 2.0 / &<kaleidoscope>
Flaming Pear / Flaxify 2
AAA Frame / Foto Frame
Primeiro Plano cor #0e8c53
Plano de Fundo cor #ffffeb
1- Abra uma imagem transparente de 800 / 550 pixels.
Preencha com a cor do Primeiro Plano ... cor#0e8c53
2-Effects / Plugins / I.C.NET Software /Fiters Unlimited 2.0/ Render / Smoke / Default
Layers / New Raster layer... Preencha com a cor do Plano de Fundo ... Cor#ffffeb
3- Layers / New Mask layer / From Image: mask- jb_perspective_squares02
Adjust / Sharpness / Sharpen More
Layers / Merge / Group
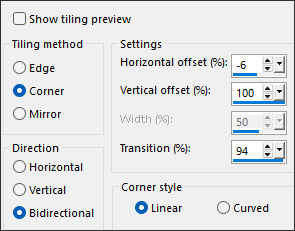
4- Effects / Image Effects / Seamless Tiling:
Layers / Merge/ Merge Visible.
5- Layers / New raster layer ... Preencha com a cor #0e8c53 (cor do Primeiro Plano)
Layers / New Mask layer from image: Mask-ef150
Layers / Merge / Merge group
6- Effects / Plugins / I.C.NET Software / Fiters Unlimited 2.0 / Filters Factory Gallery B /
Button Deluxe
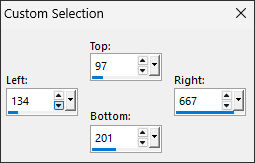
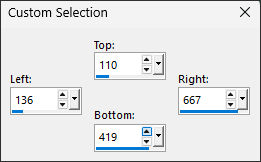
7- Selection Tool (S) /Custom Selection:
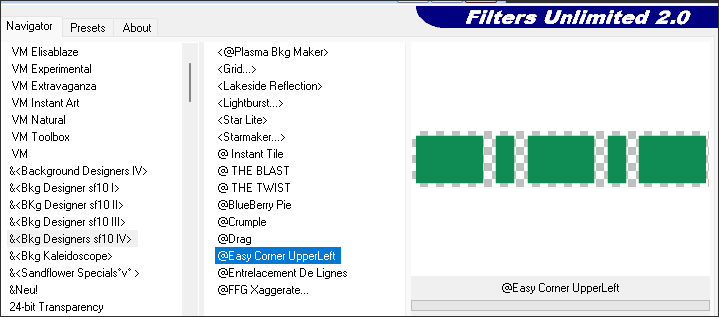
8- EfFects / Plugins / I.C.NET-Software / Filters Unlimited 2.0 / &<Bkg Designer sf 10 IV>
EasyCorner UpperLeft:
Selections / Select None
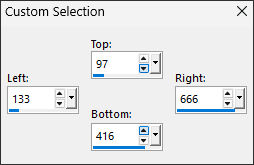
9- Selection Tool (S) / Custom Selection:
Delete no teclado
Selections / Select None
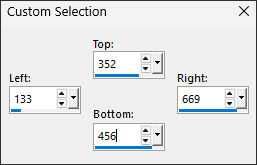
10- Selection Tool (S) / Custom Selection:
Copie!
(a imagem ficará gravada na memória)
Delete no Teclado
Selections / Select None
Cole como nova layer ( a imagem está na memória)
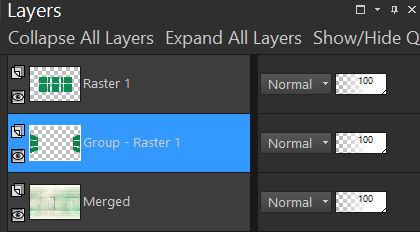
11- Ative a layer do meio «Group - Raster 1»
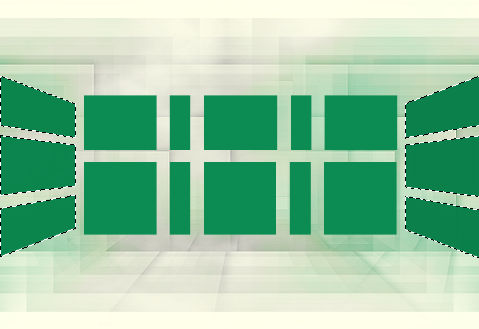
Ative a Varinha Mágica (Add Shift / RGB Value / Tolerance 0 / Feather 0)
Selecione os retângulos da esquerda e da direita
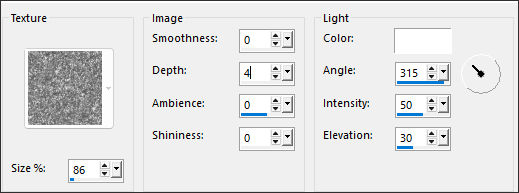
12- Effects / Texture Effects / Texture: Corel_15_044 (sidewalk)
Selections / Select None
Effects / 3D Effects / Drop Shadow: 0 / 0 / 100 / 12,35 / Cor #000000
13- Ative a layer do Topo ... (Raster 1)
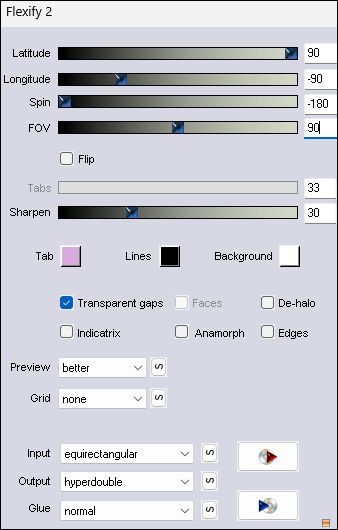
Effects / Plugins / Flaming Pear / Flaxify 2:
Effects / 3D Effects / Drop Shadow: 0 / 0 / 100 / 12,35 / Cor #000000
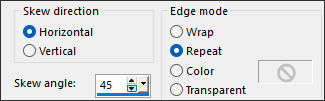
14- Effects / geometric Effects / Skew:
Ative a layer do fundo
Selection Tool (S) / Custom Selection:
Selections / Promote selection to layer
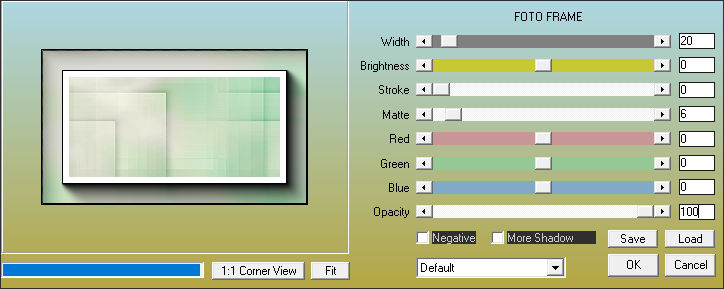
15- Effects / Plugins / AAA Frames / Foto frame:
Selections / Modify / Contract 25 pixels
16- Abra o tube da mulher «03visage061007»
Copie e cole como nova layer
Image / Resize / 55% (resize all layers , desmarcado)
Posicione
Selections / Invert
Delete no teclado
Selections / Select None
Adjust / Hue and Saturation / Vibrancy 35
Layers / Merge / Merge Down
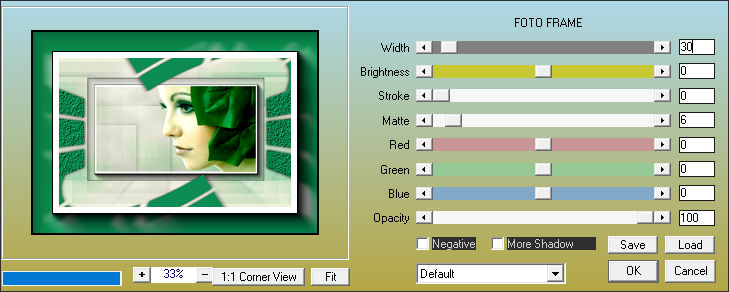
17- Image / Add borders / Symmetric / 30 pixels cor #0e8c53
Effects / Plugins / AAA Frame / Foto frame:
18- Abra o tube «Deco-Acqua» copie e cole como nova layer
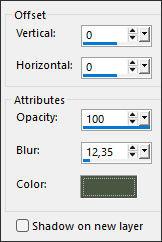
Effects / 3D Effects / Drop Shadow:cor #495642
Coloque a sua marca d'água
19- Image / Add Borders / Symmetric Marcado / 1 Pixel cor #000000
Layers / Merge /Merge All (Flatten)
Salve no formato JPG.
Outras Versões:
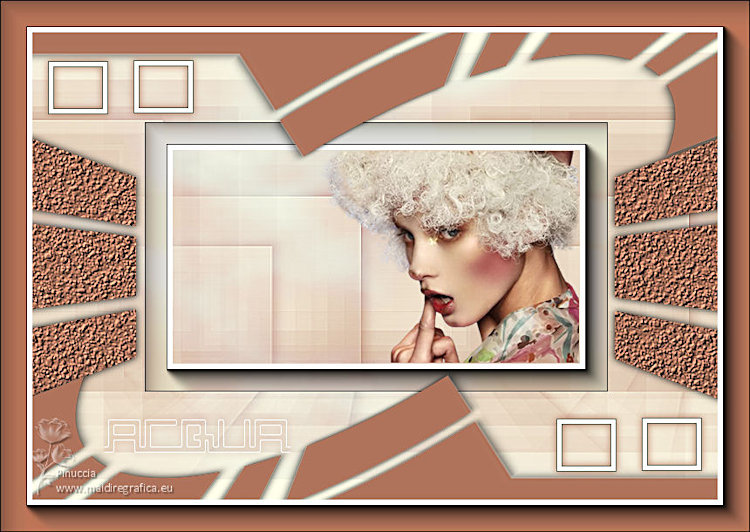
Pinuccia:
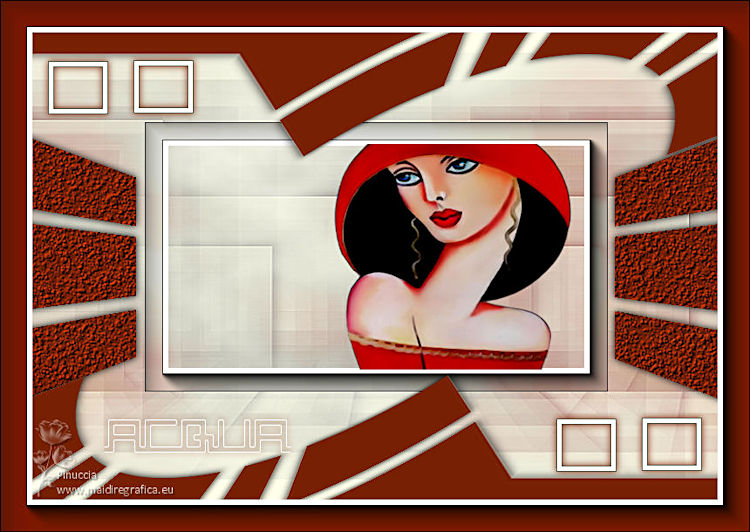
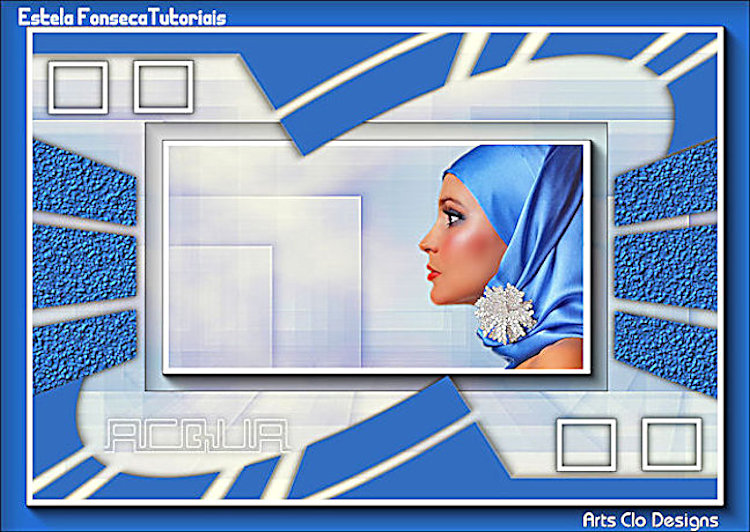
Clo:
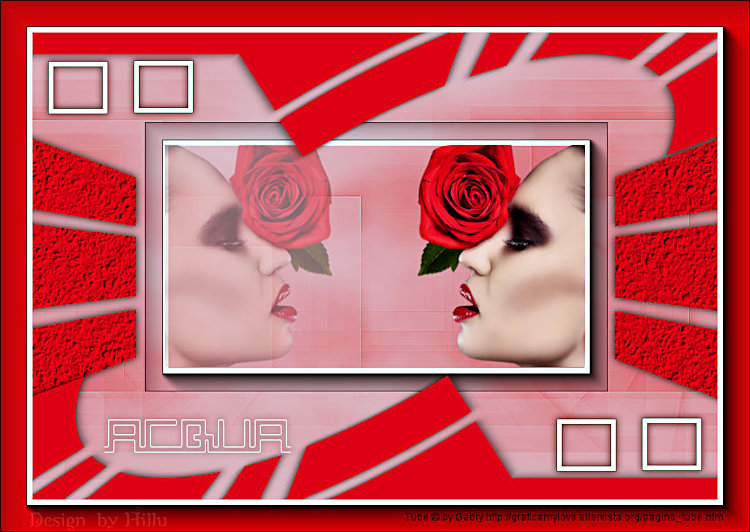
Hillu:
Adri:
Antonietta:
Aurea Manchini:
Bárbara de Venice:
Carmen:
Felinec31:
Gypsie:
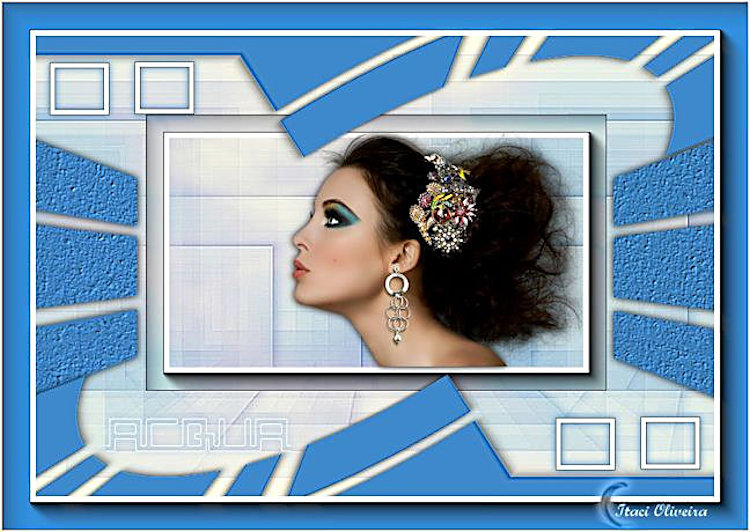
Itaci Oliveira:
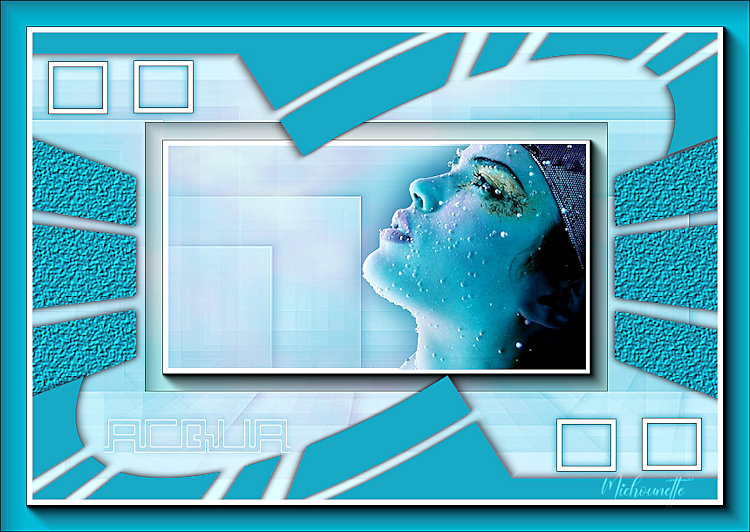
Michounette:
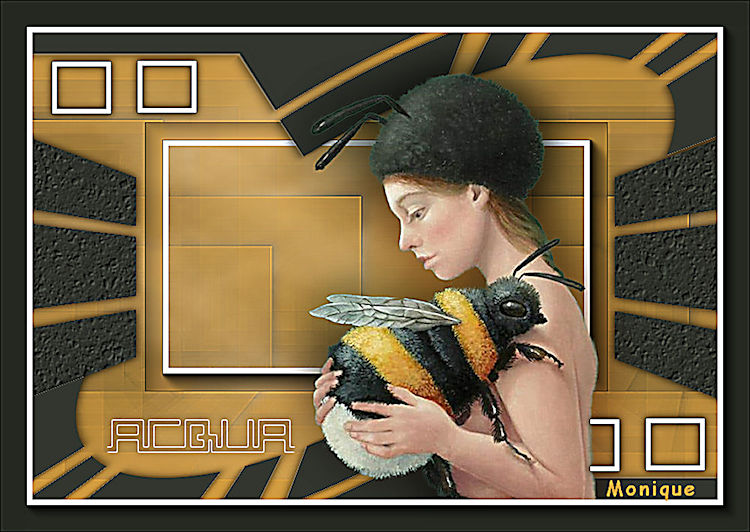
Monique:
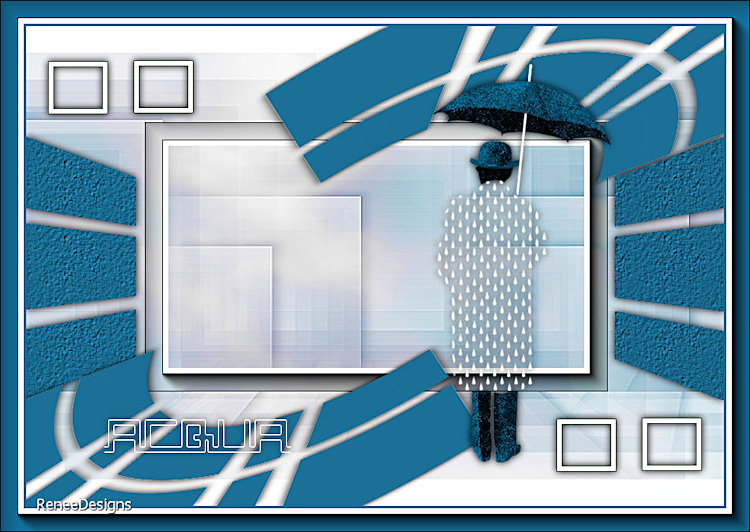
Renée:
©2011-Tutorial criado por Estela Fonseca.
Não alterar nem repassar sem autorização.