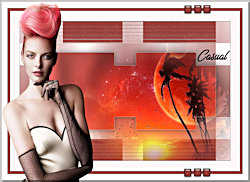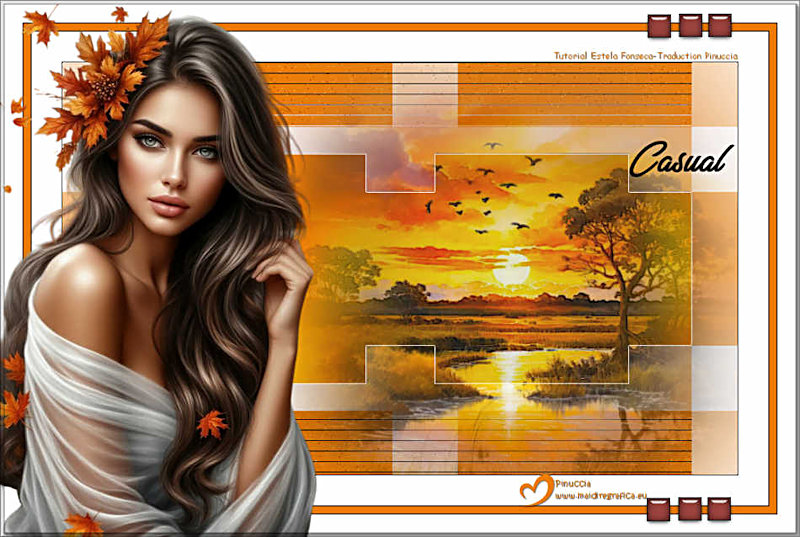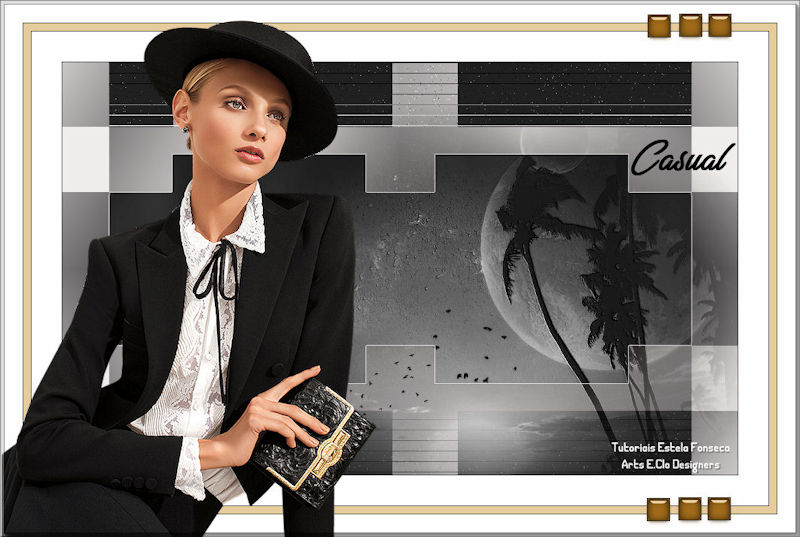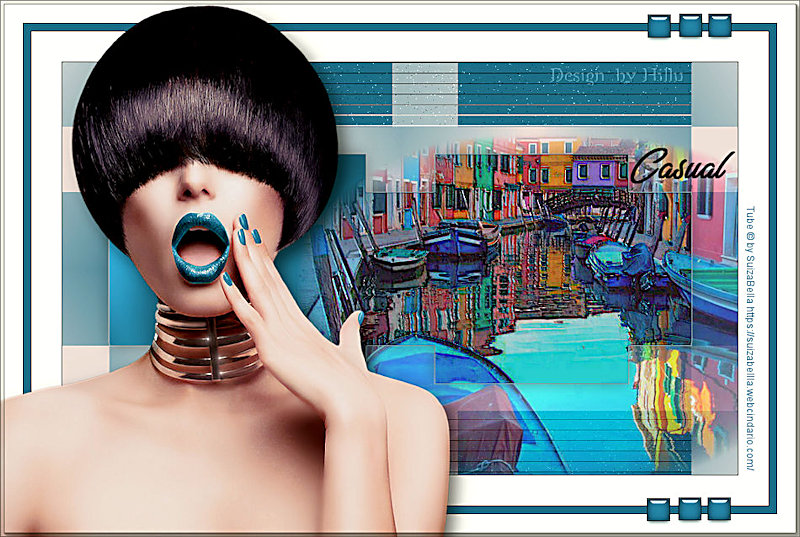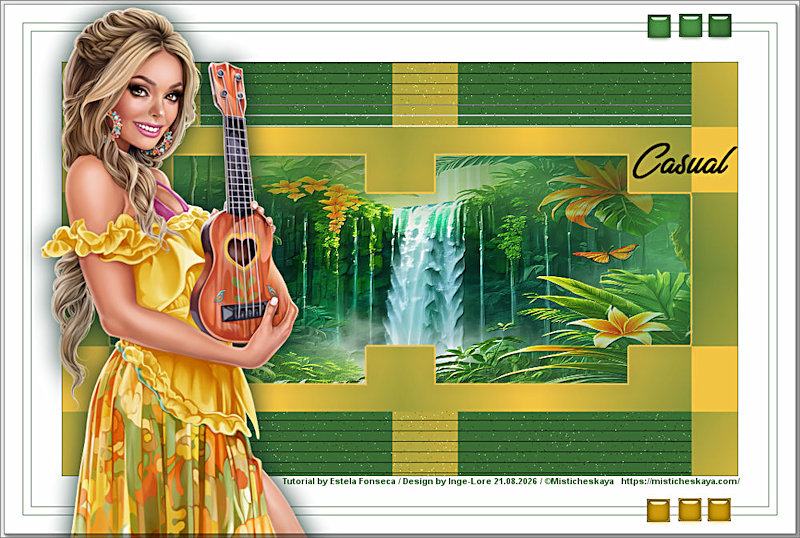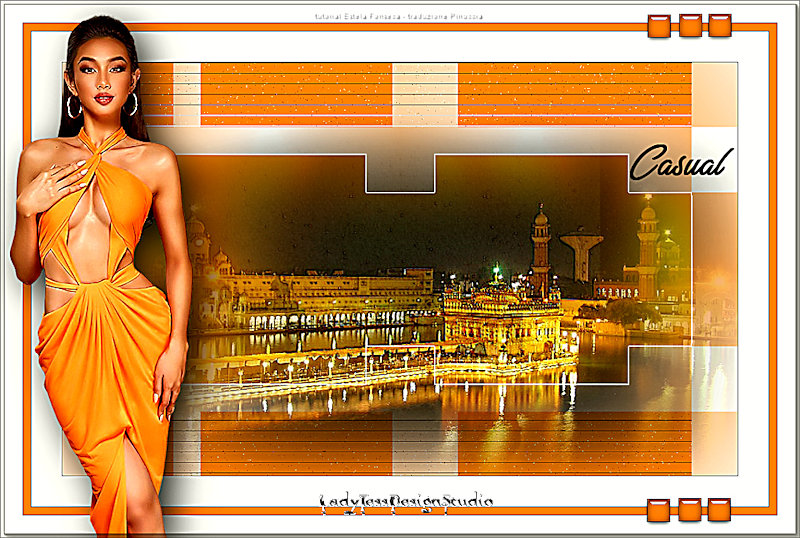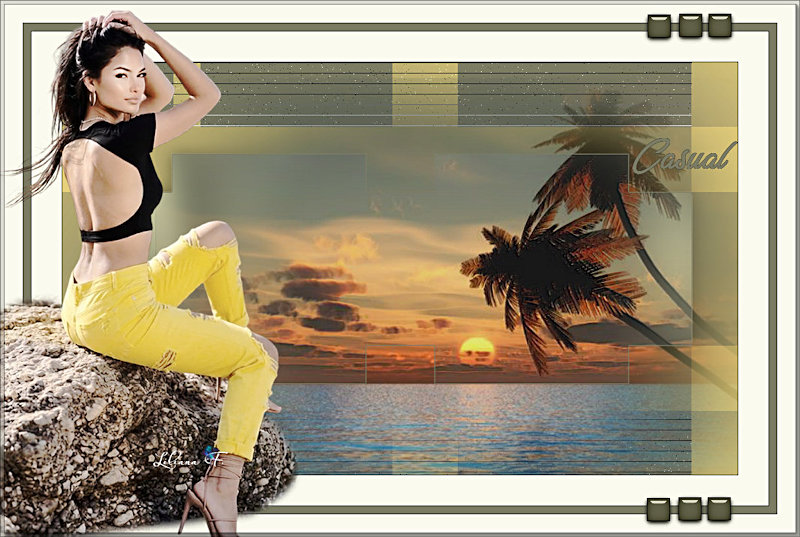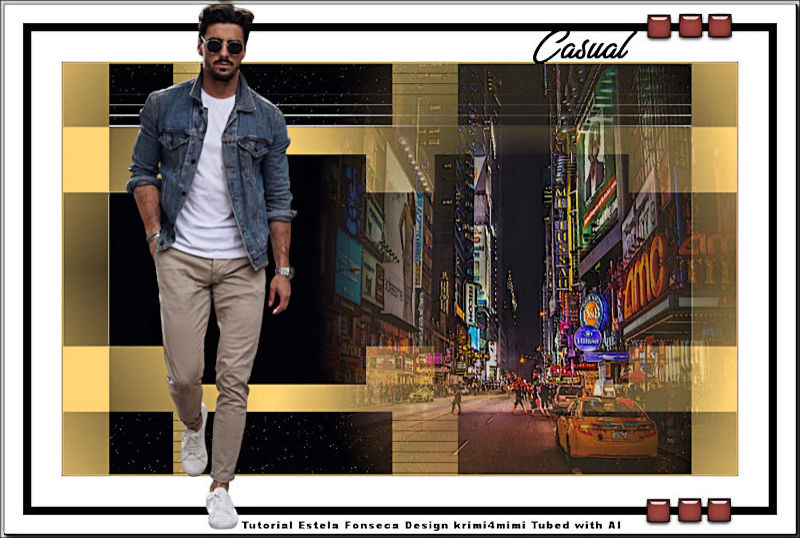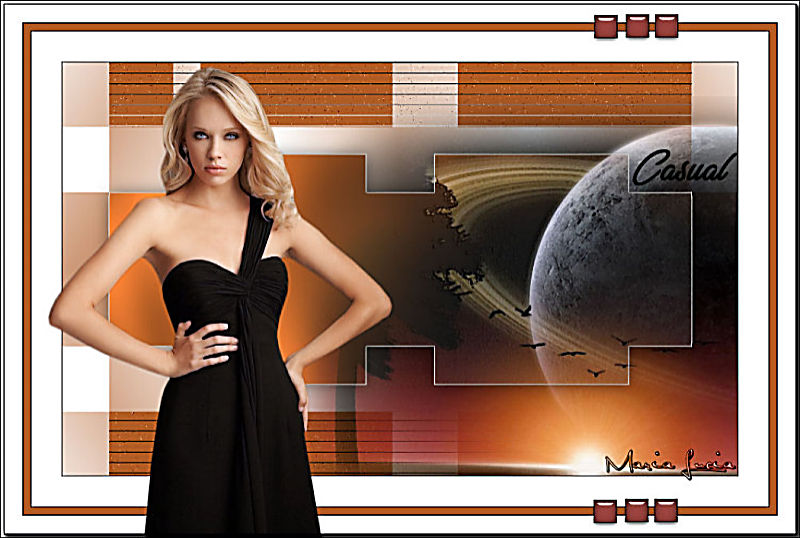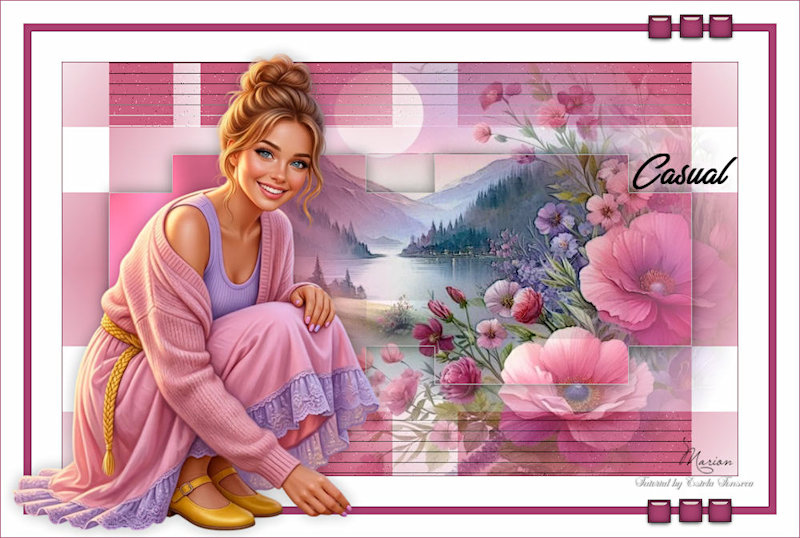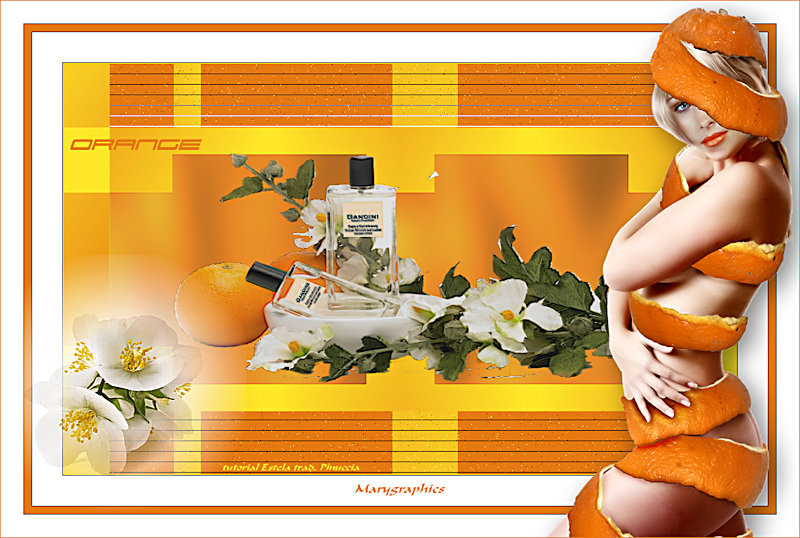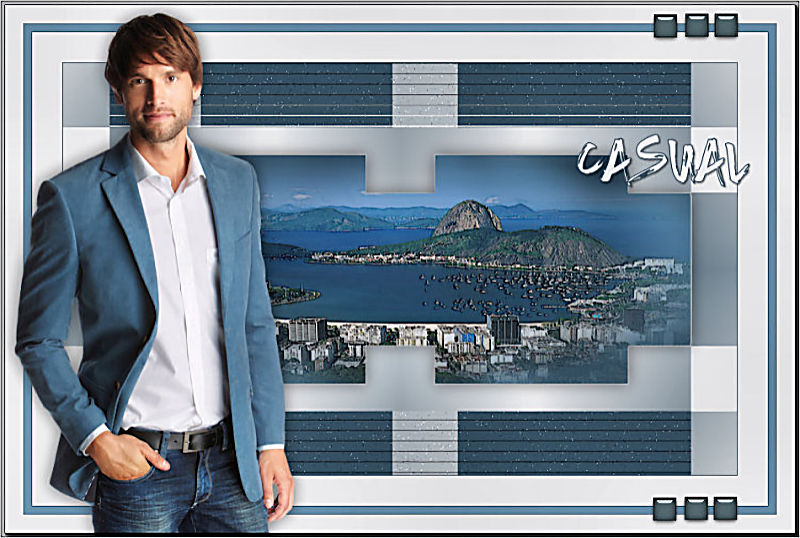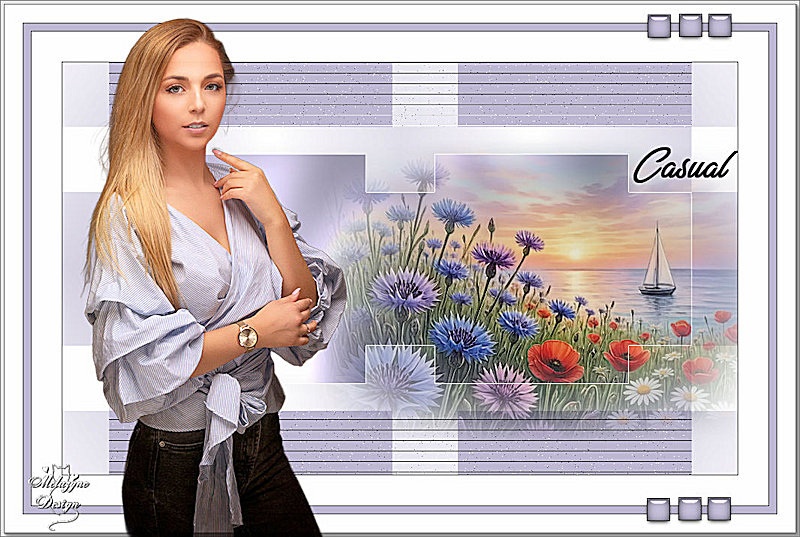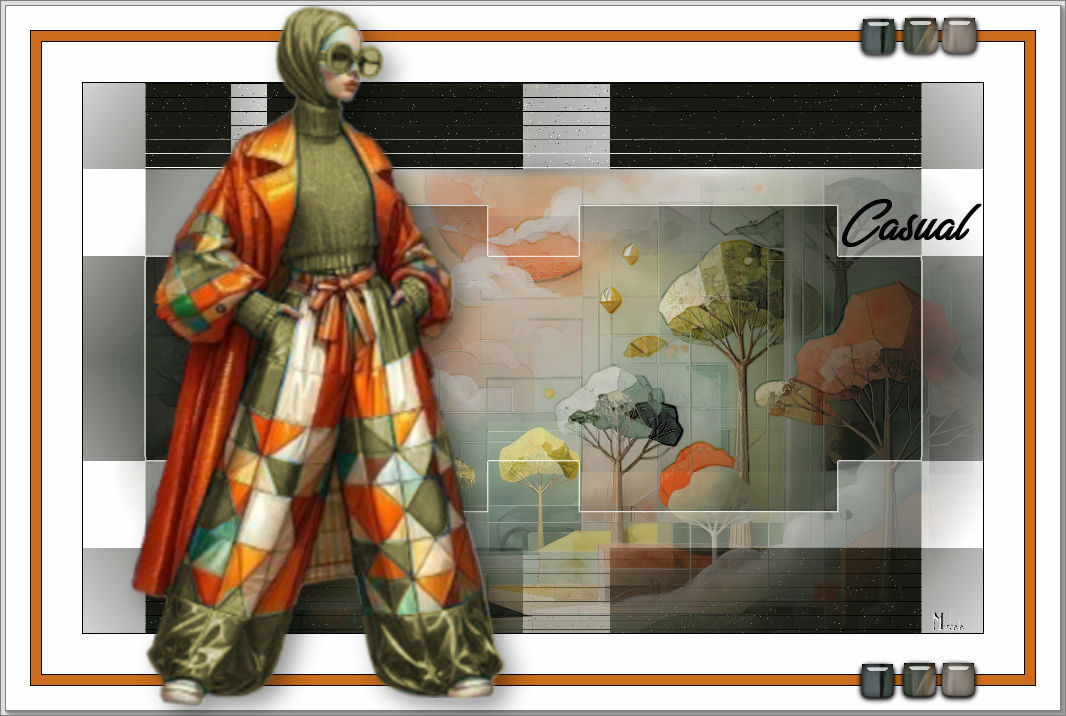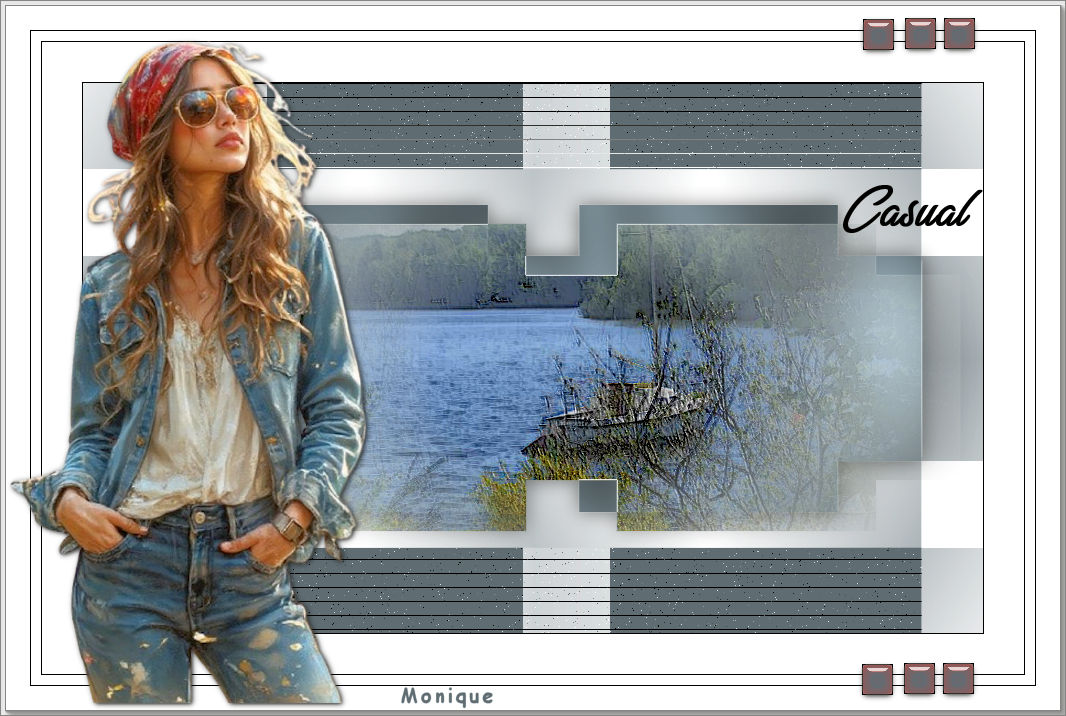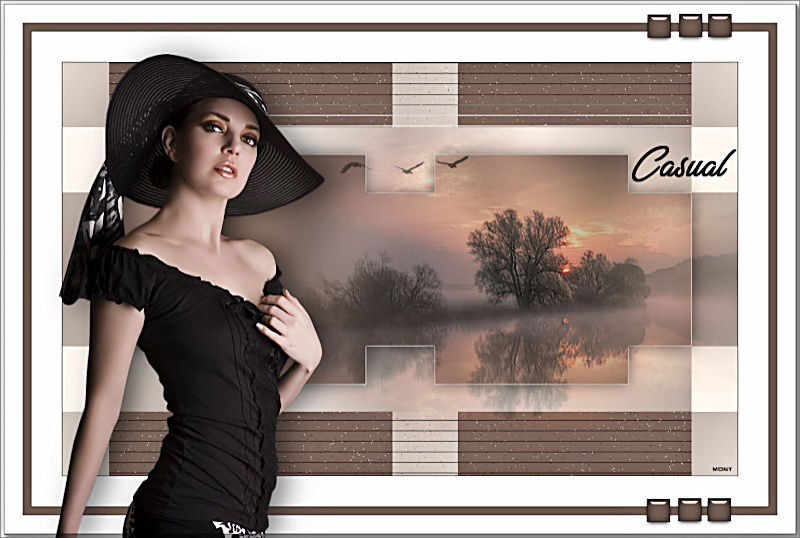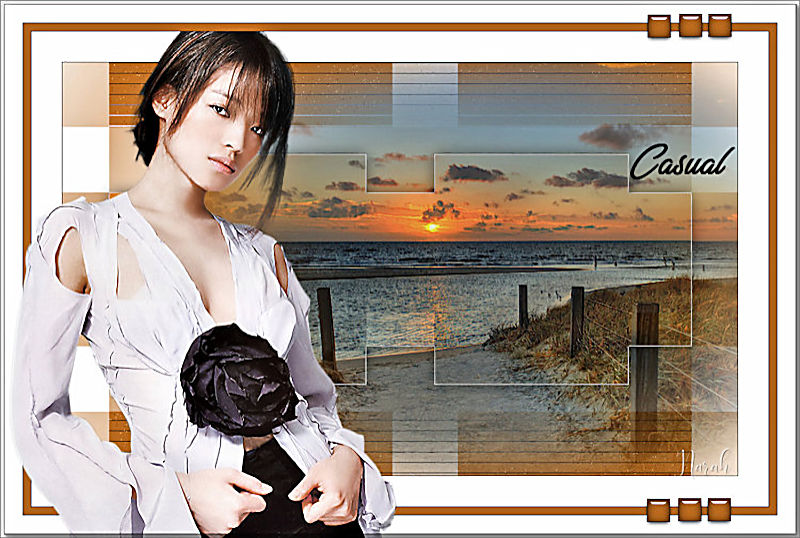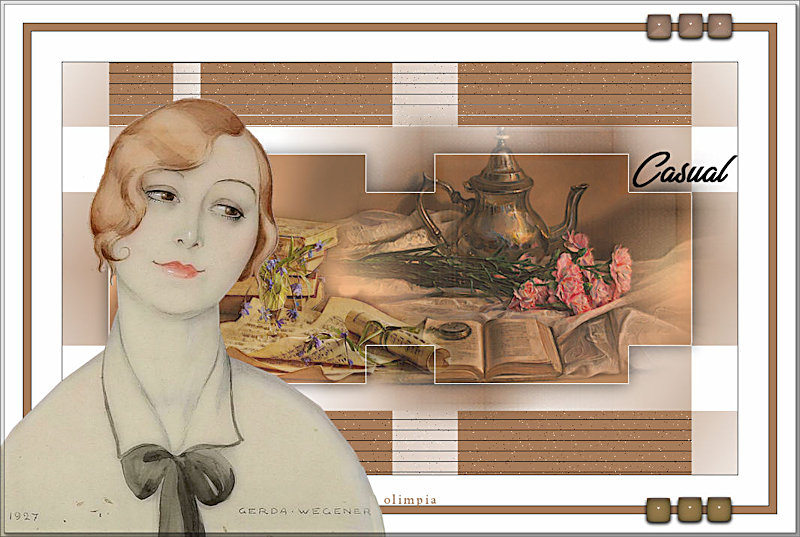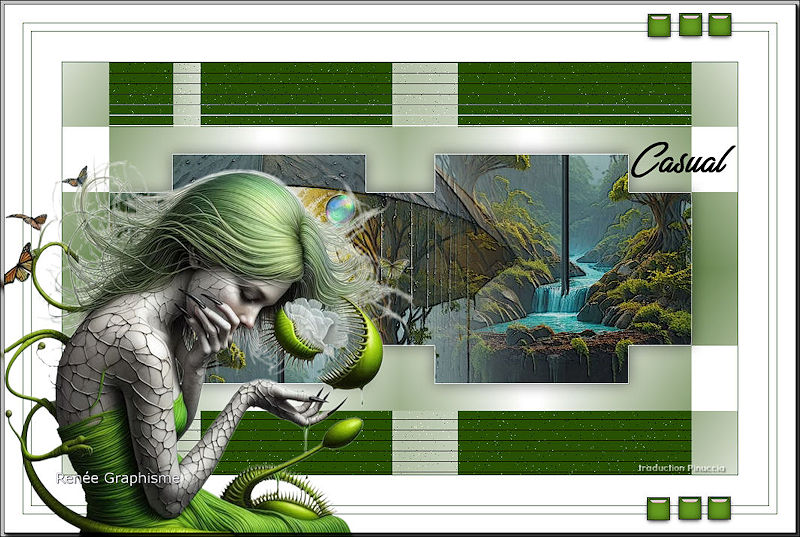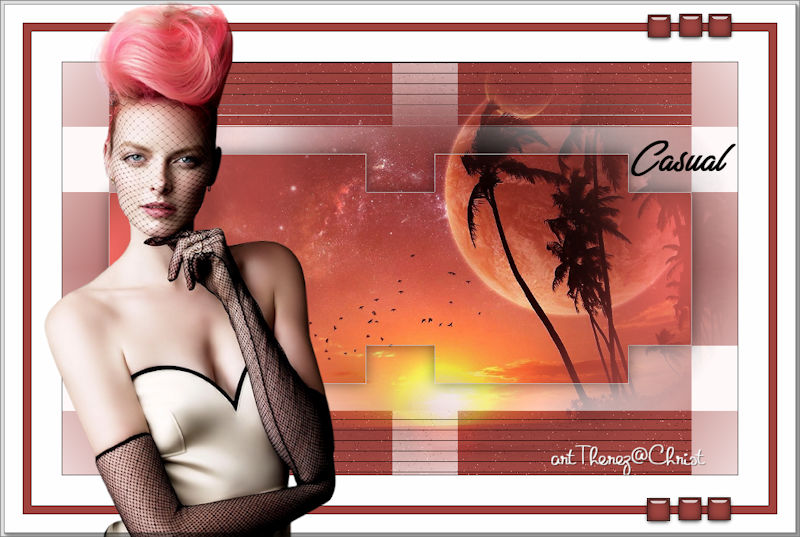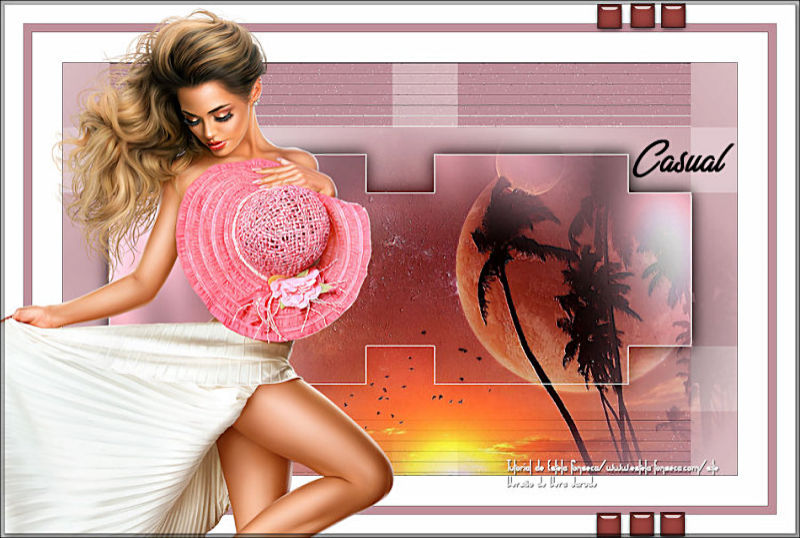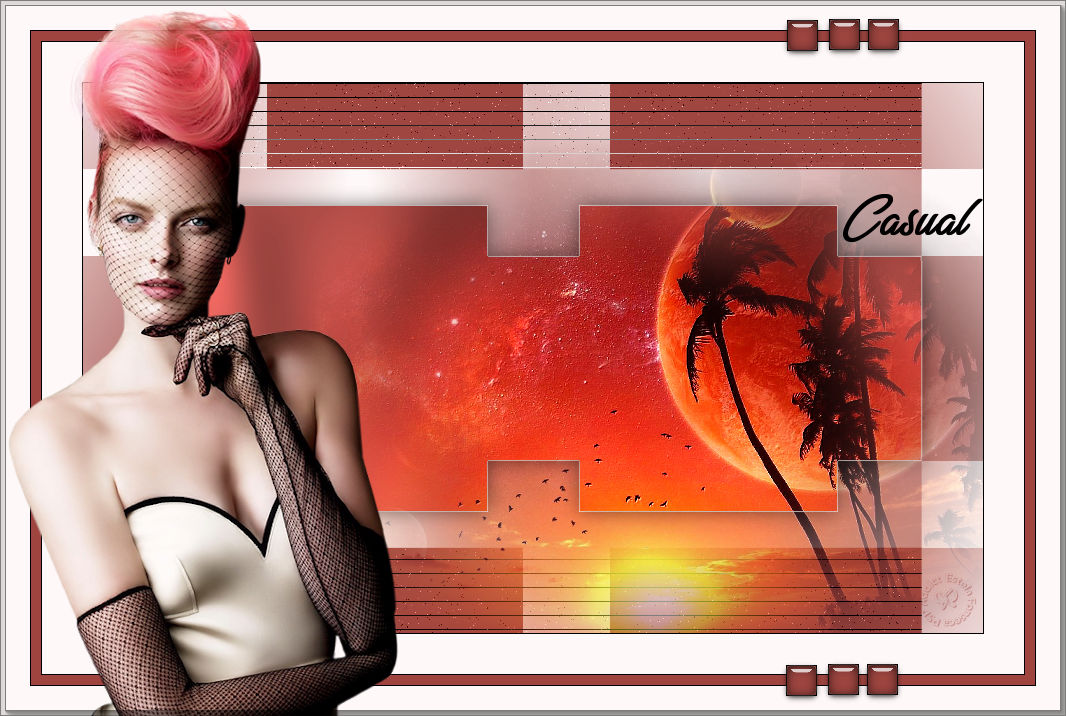
CASUAL
Este trabalho foi realizado no Corel PaintShop Pro X9.
TRADUÇÕES:


Agradeço as tradutoras:Pinuccia, Clo, Hillu e Inge Lore.
Material Necessário:
Os tubes utilizados neste trabalho são de Nara Pamplona.
A Seleção foi feita a partir de uma mask de Yaelles.
Plugins Utilizados:
Simple >>> Quick TileGraphic Plus >>> Quick Tile II
Lenk's >>> Mayra
<I.C.NET Software> Filters Unlimited 2 >>> &<Background Designers IV>
FM Tile Tools >>> Metalic Emboss
Preparação:
Copie as seleções para a pasta de seleções do PSP.
Abra as imagens e as Masks no PSP e Minimize.
Nota: Image / Mirror / Mirror Horizontal = Image / Mirror (p/ versões anteriores do PSP)
Image / Mirror / Mirror Vertical = Image/Flip (p/ versões anteriores do PSP)
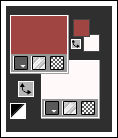
Primeiro Plano cor #a04641
Segundo Plano cor #fff9f9
Minhas Cores:
1- Abra uma imagem transparente de 900 x 550 pixels
Preencha a layer com a cor do Primeiro Plano.
2- Layers / New raster layer
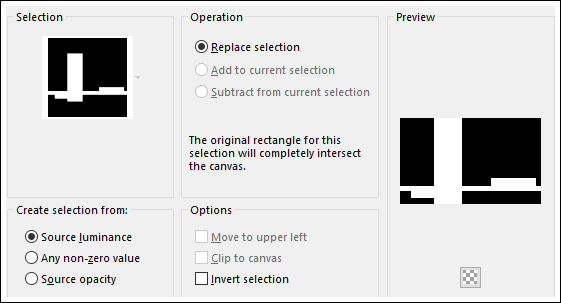
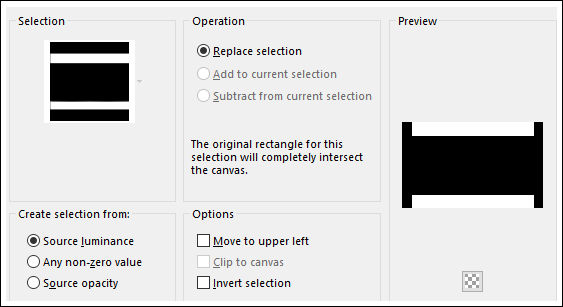
Selections / Load save selection / Load selection from disk: Casual-EF-Sel
Preencha com a cor do Segundo Plano
Layers / Merge / Merge Down
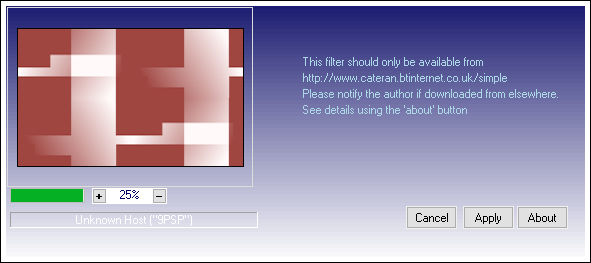
3- Effects / Plugins / Simple / Quick Tile
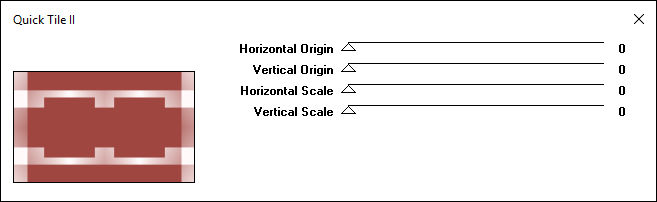
Effects / Plugins / Graphics Plus / Quick Tile II:
4- Selections / Load Save selection / Load selection from Disk: Causal-1
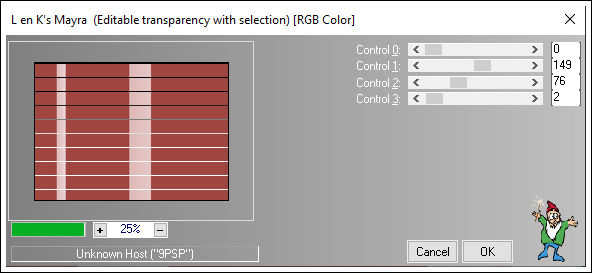
Effects / Plugins / L en k's / Mayra:
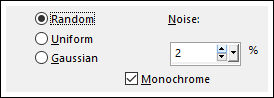
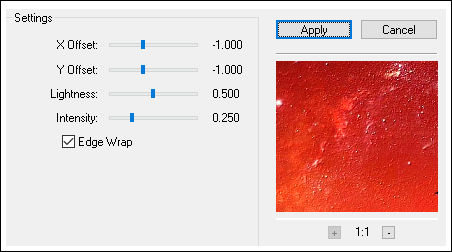
5- Adjust / Add Remove Noise / Add Noise:
Selections / Select None.
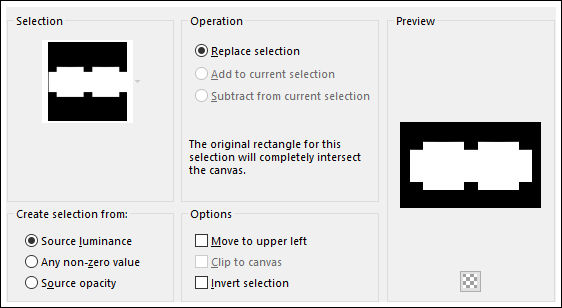
6- Selections / Load Save selection / Load selection from Disk: Causal-2
Selections / Promote Selection to Layer
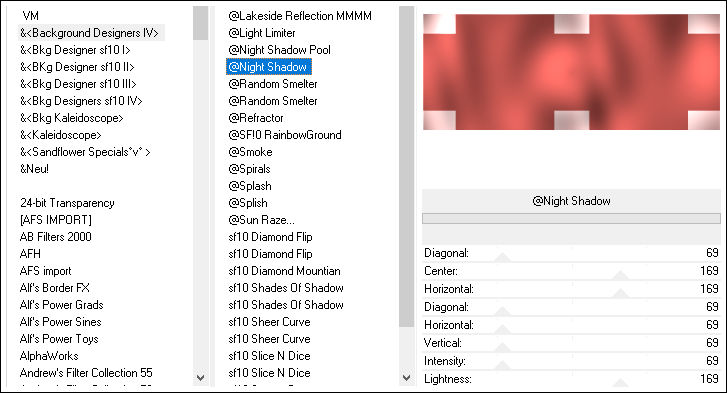
7- Effects / Plugins / <I.C.NET Software> Filters Unlimited 2 / &<Background Designers IV> / @Night Shadow
8- Abra o tube «TubeNaraPamplona 1443» copie e cole como nova layer
Arraste para baixo e para a direita.
Mantenha a seleção
9- Effects / Plugins / FM Tile Tools / Metalic Emboss / Default
Mantenha a seleção!
10- Layers / New raster layer
Preencha com a cor do Segundo Plano
Selections / Modify / Contract 1 Pixel
Delete no teclado
Layers / Merge / Merge Dowm
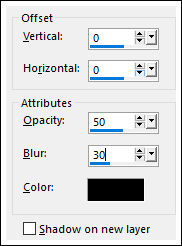
11- Effects / 3D Effects / Drop Shadow: 0 / 0 / 50 / 30,00 / #000000
Selections / Select None
12- Image / Add Borders / Symmetric Marcado / 1 Pixel cor #000000
Image / Add Borders / Symmetric Marcado / 40 Pixels cor #ffffff
Image / Add Borders / Symmetric Marcado / 1 Pixel cor #000000
Image / Add Borders / Symmetric Marcado / 10 Pixels cor #a04541
Image / Add Borders / Symmetric Marcado / 1 Pixel cor #000000
Image / Add Borders / Symmetric Marcado / 30 Pixels cor #ffffff
13- Abra o tube « TubeNaraPamplona 1441» Copie e cole como nova layer
Image / Resize / 95% (resize all layers desmarcado)
Posicione à esquerda
14- Ative o «Deco-1» Copie e Cole como nova layer
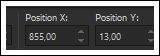
Pick Tool (K) Posicione como segue:(Position X: 855 / Position Y: 13)
Tecla "M" para sair da Ferramenta
15- Ative o «Texto» Copie e Cole como nova Layer
Posicione
Layers / Merge / Merge Visible
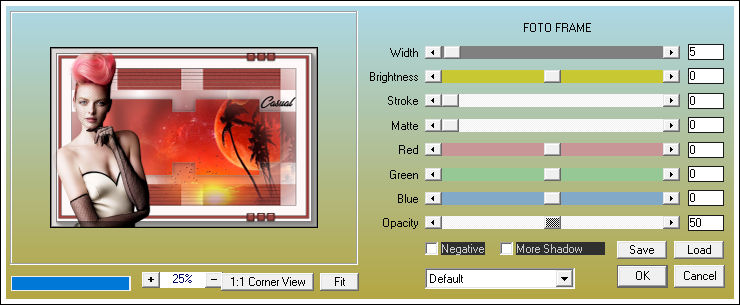
16- Effects / Plugins / AAA Frames / Foto Frame:
Assine seu trabalho
Layers / Merge / Merge All
Salve como jpg.
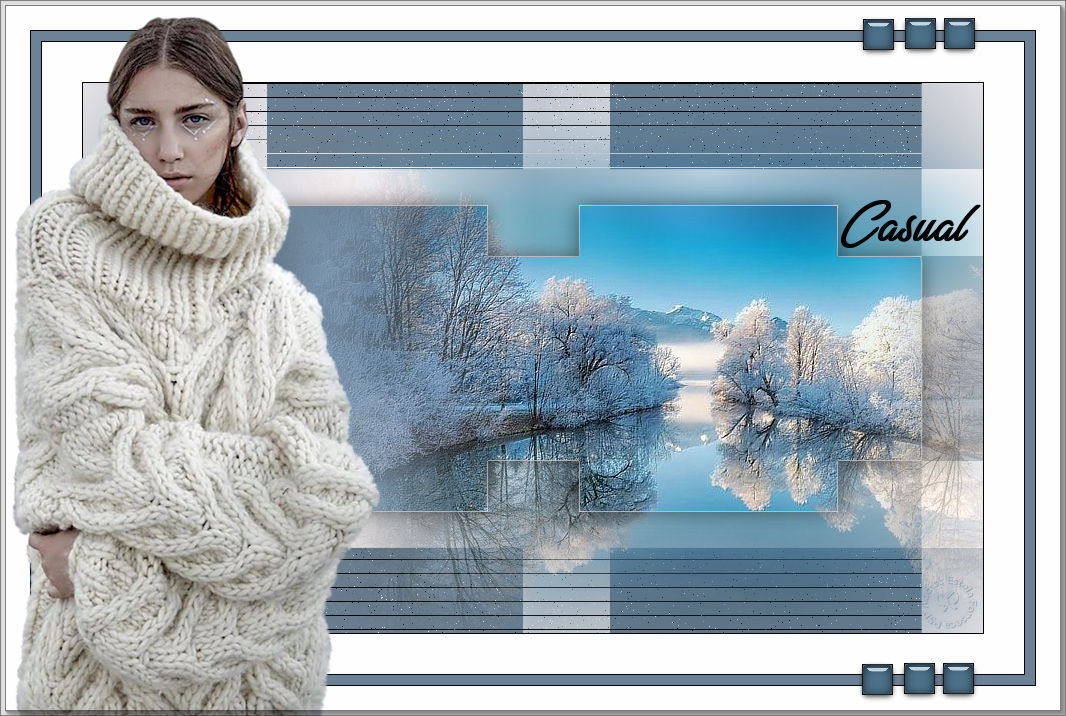
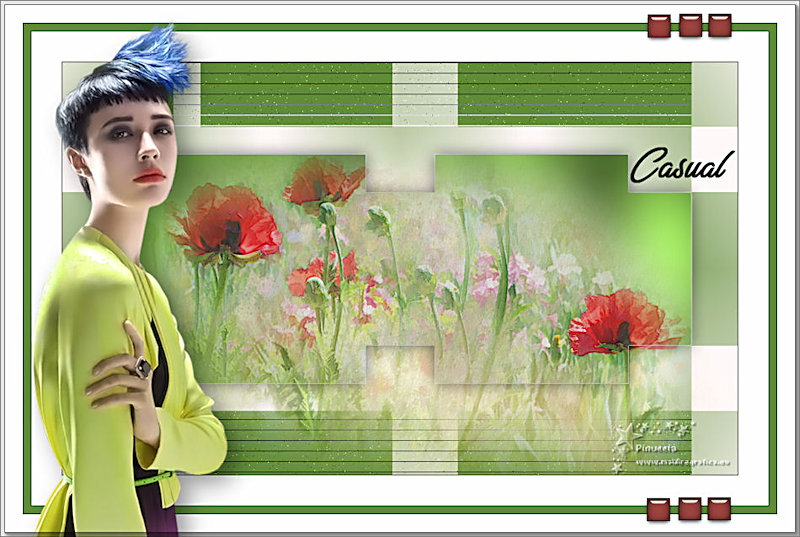
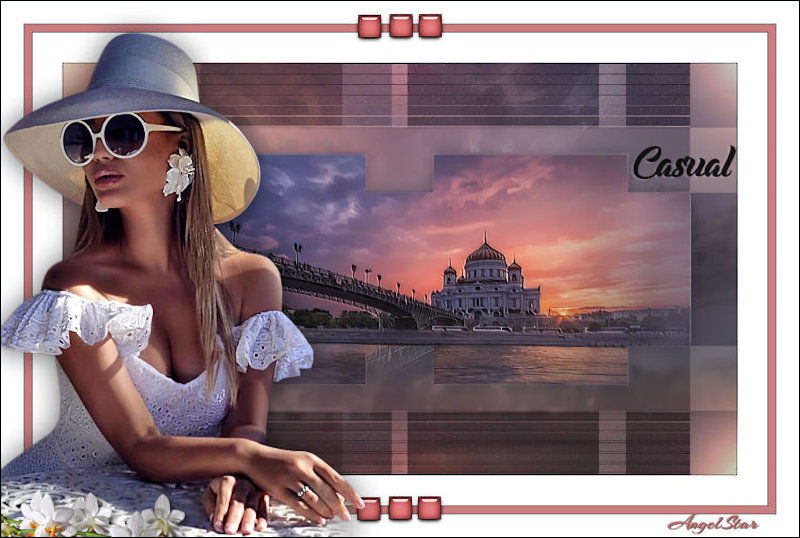
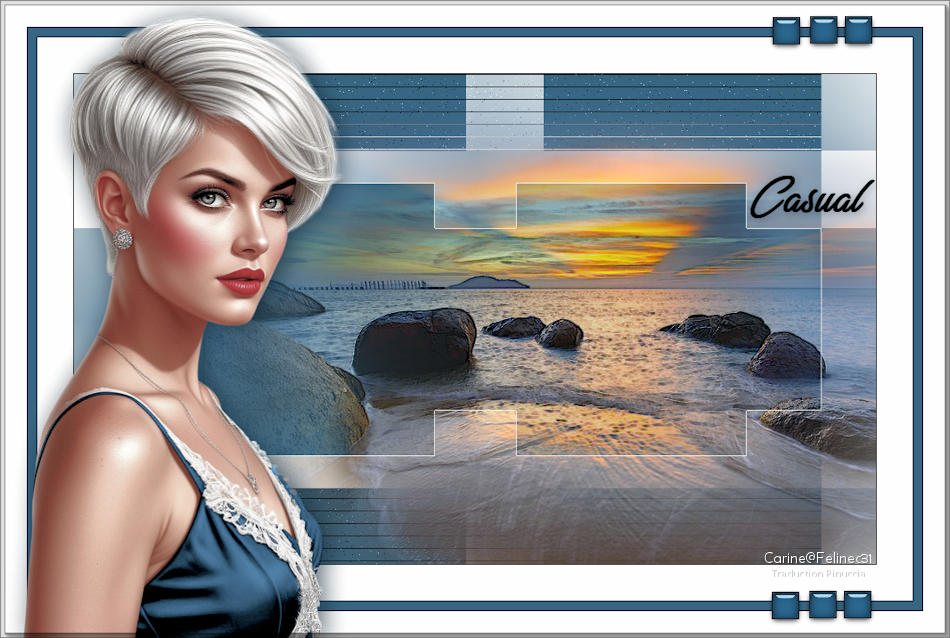
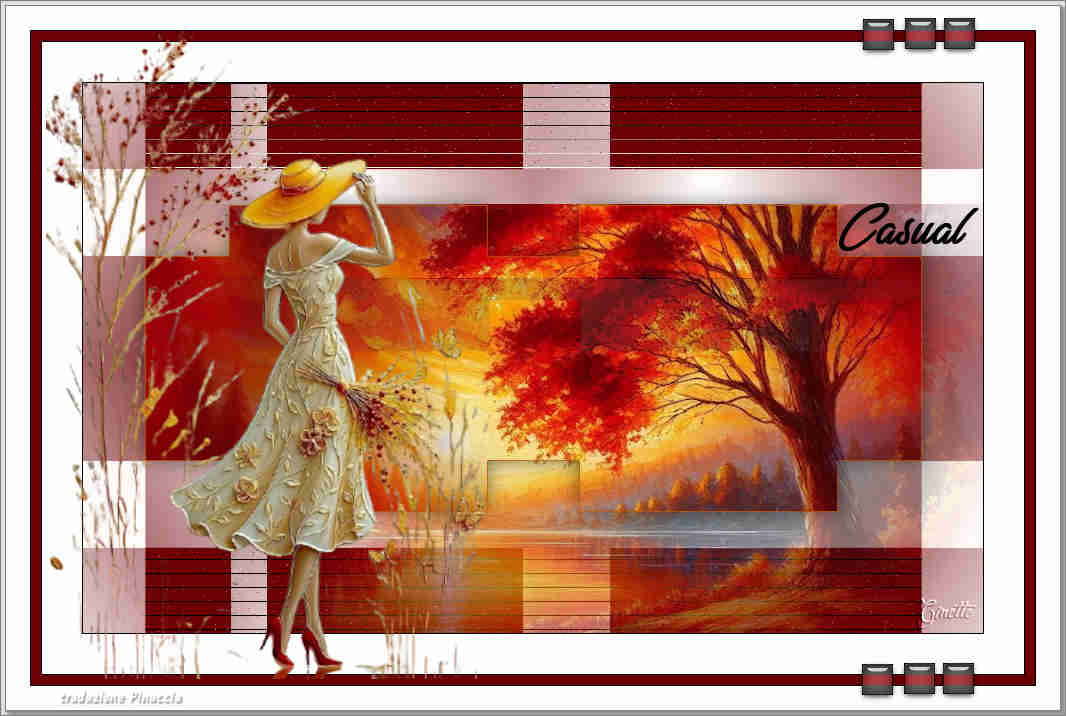
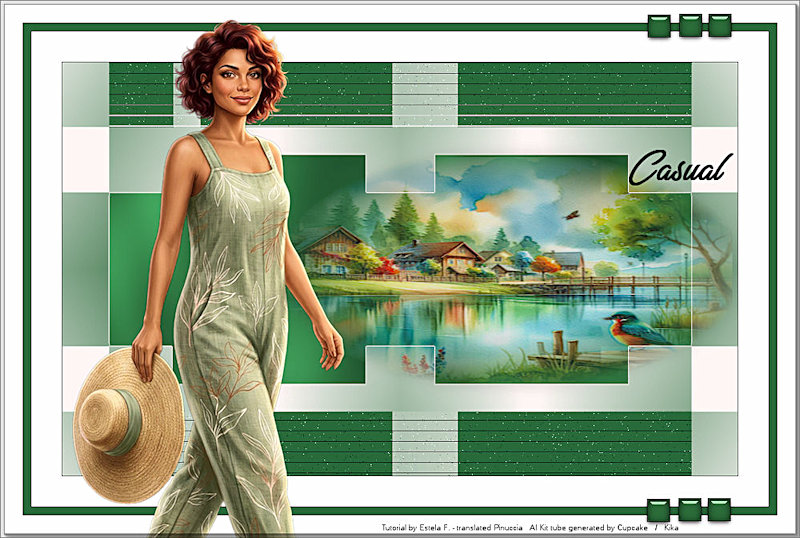
Versão com tube de Nadeje:
Pinuccia:
Clo:
Hillu:
Inge Lore:
Angel Star:
Carine:
Ginette:
Kika:
LadyTess:
Liliana:
Margit:
Maria Lucia:
Marión:
Marygraphics:
Mary:
Meluzyne:
Michele:
Monique:
Mony:
Narah:
Olimpia:
Renée Graphisme:
Thereza Christ:
Vera Jarude:


© 2015-Tutorial de Estela Fonseca.
Não alterar nem repassar sem autorização.